Category: Rainwater Harvesting (Page 1 of 3)

Planting Rain

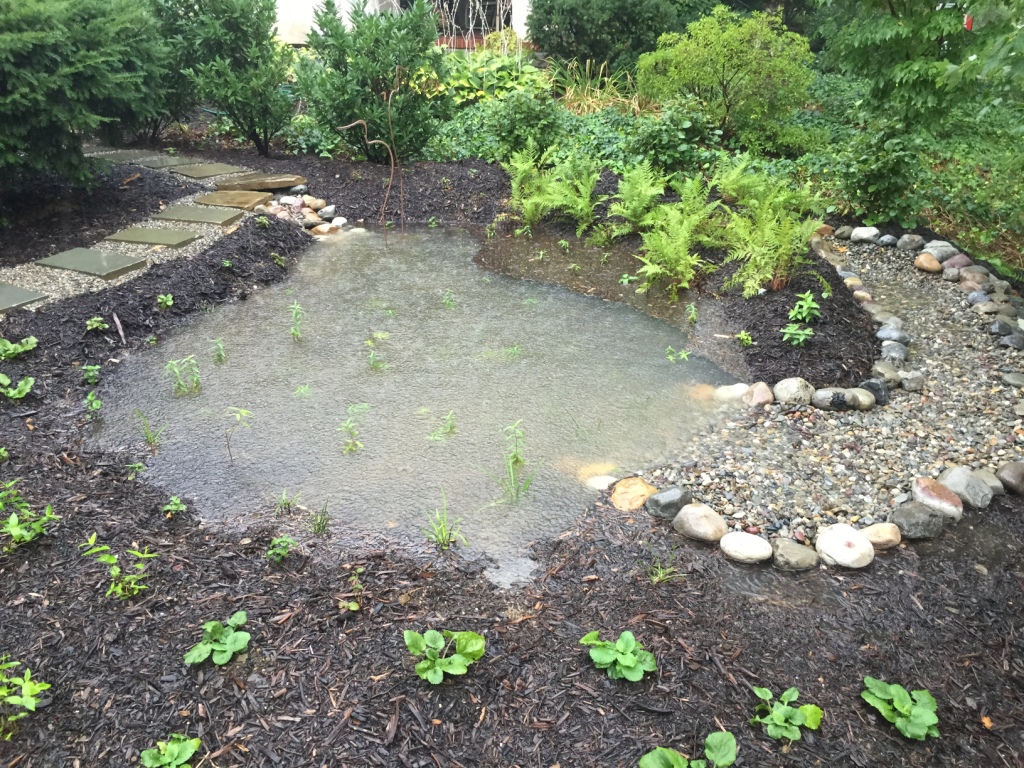
Rain garden in use. Credit: SaveItLancaster.com

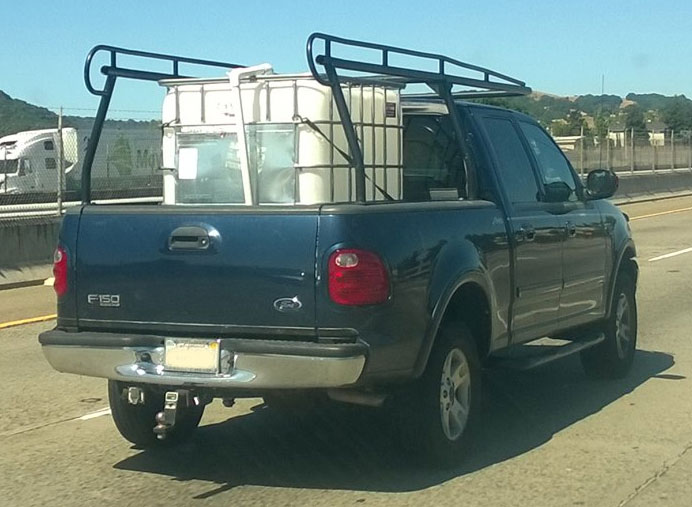
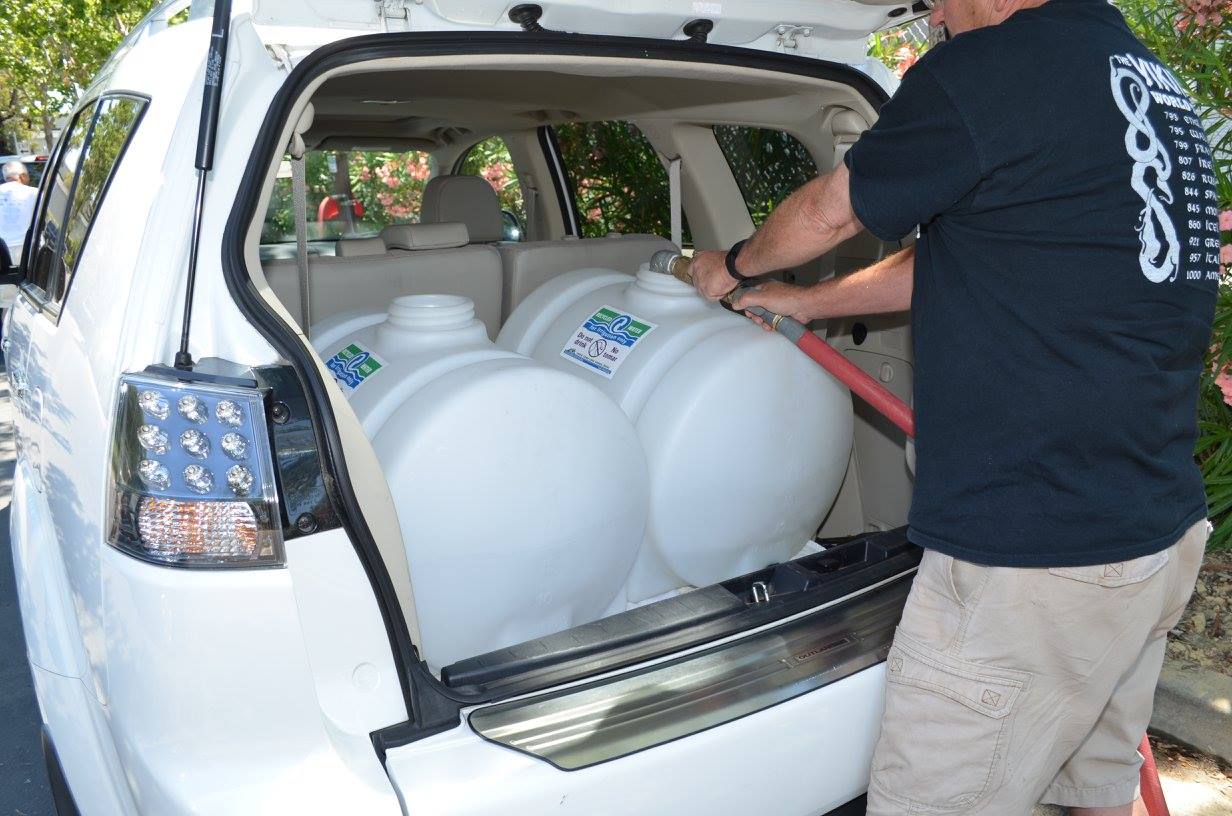
It has been a wet winter. Over 40″ of rain has fallen at my home since October 1, 2016. On my quarter acre lot, that accounts for approximately 268,000 gallons of water, or enough to sustain my needs for 3-6 years (daily use averaging between 118 and 213 gallons per day). Note: one inch of water on a square foot of land is 0.623 gallons.

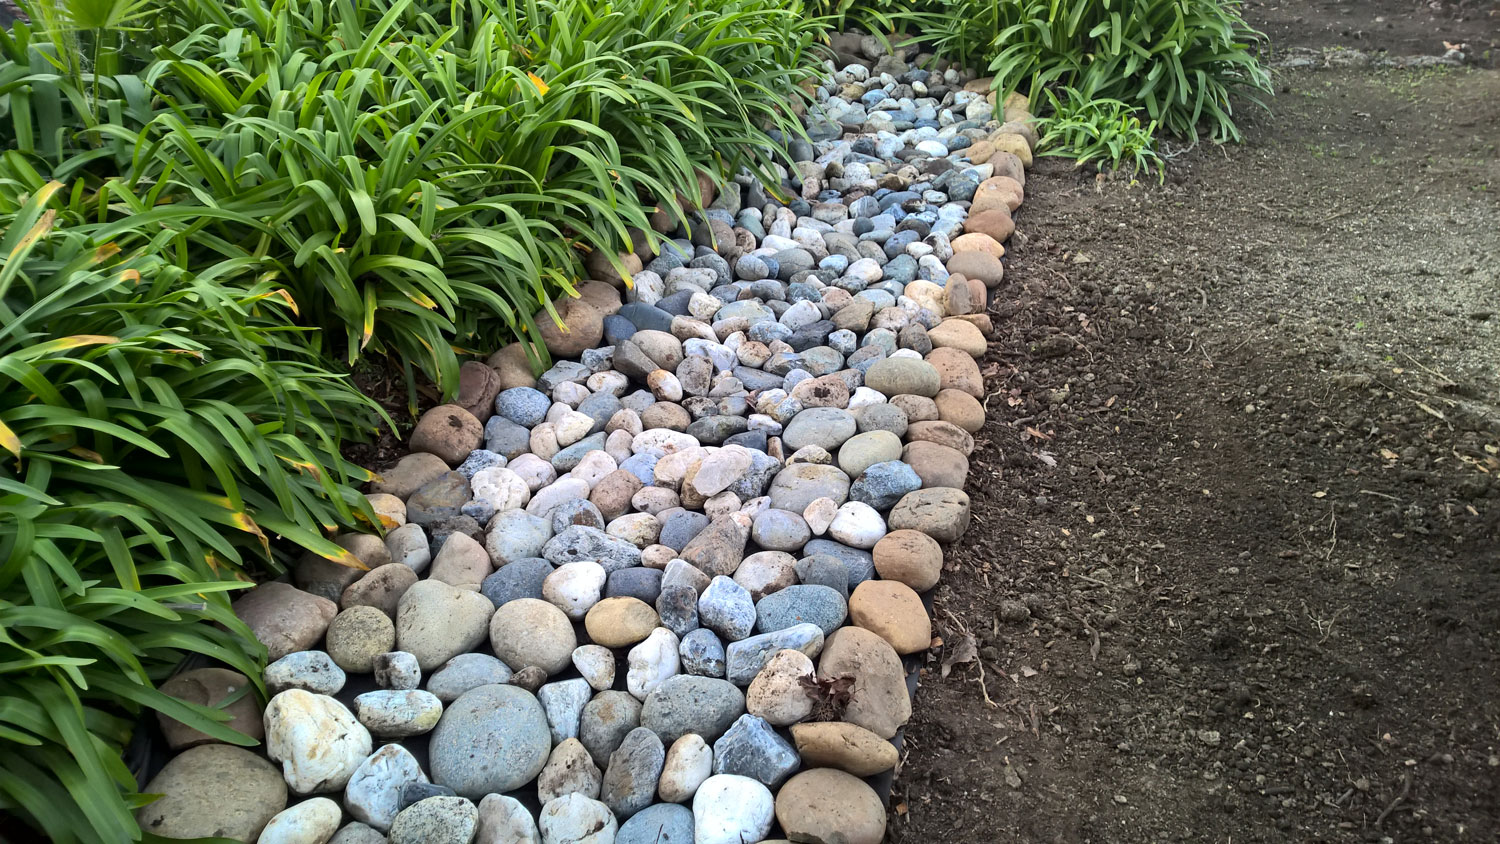
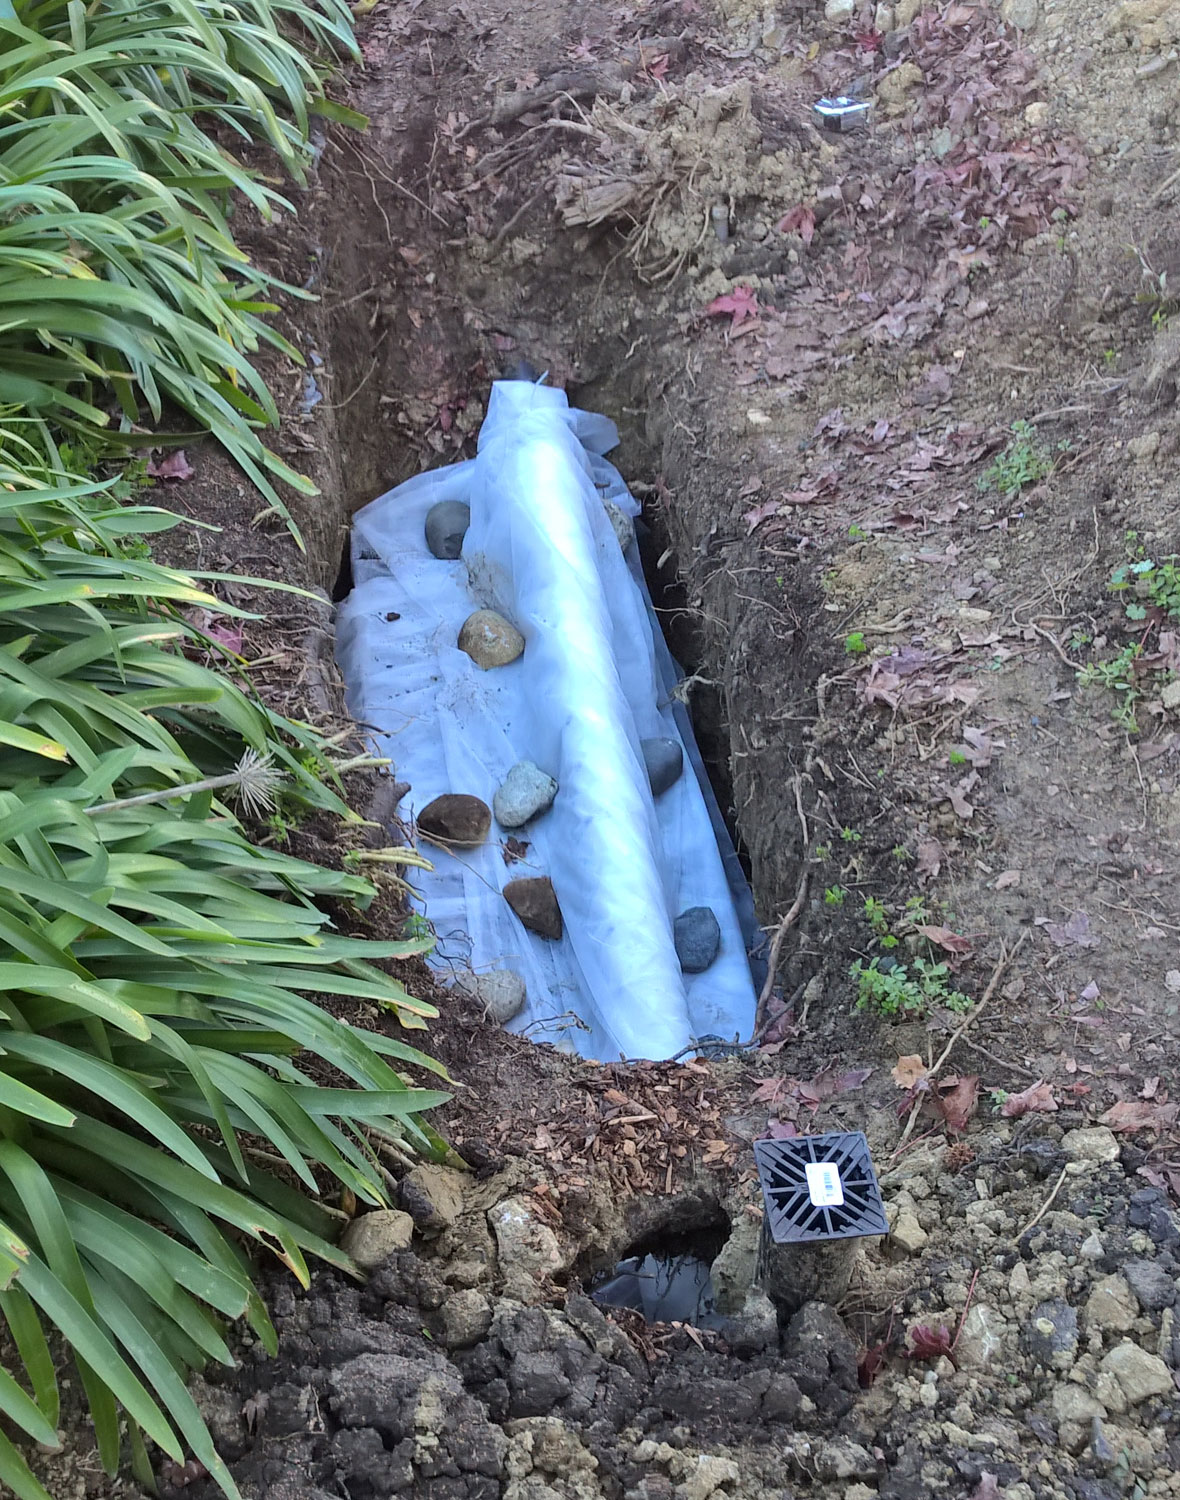
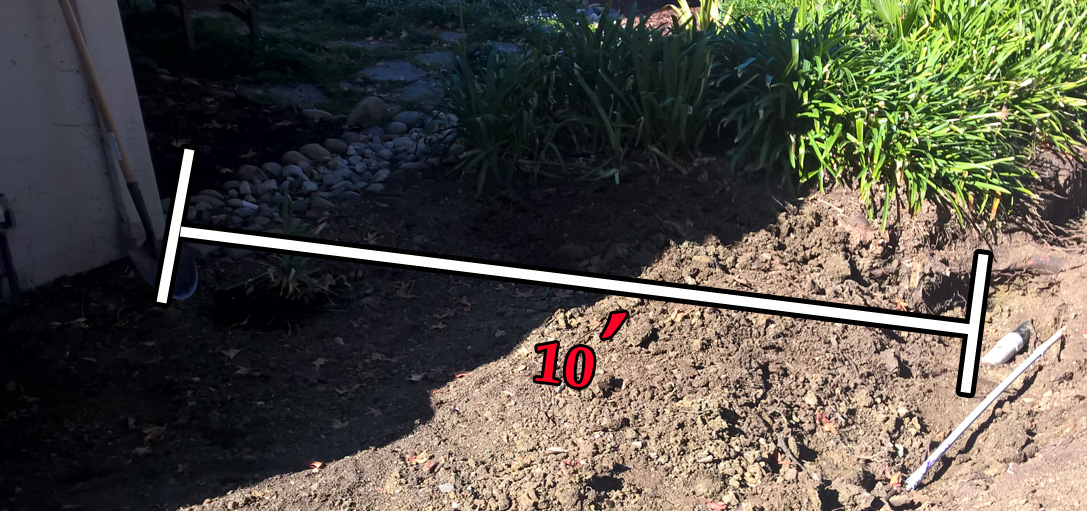
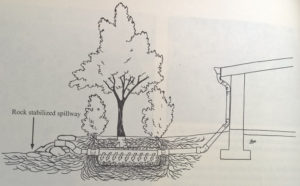
By installing a swale and a rainwater infiltration trench in my front yard, I am planting rain.

Continue reading

Catch Every Drop to end CA Drought

“Groundwater, the supply of water in underground aquifers that serves as a savings account of sorts during dry years, is still low and getting lower due to overpumping.” – Peter Gleick, chief scientist and president emeritus of the Pacific Institute

Poster from WWD’13 – India

Take it from the experts, despite epic rainfalls with feet of water falling from “Atmospheric Rivers” the west coasts’ equivalent to a hurricane, parts of California will still have to conserve water.

What? How?

Continue reading

Building an infiltration trench – a complete guide

Credit: Rainwater Harvesting

In short, an infiltration trench is a trough in the ground for water to flow into for the purpose of recharging the water table and to provide precious moisture to plants and trees in the area. It is with a built with a passive overflow to reduce ponding and flooding on the property. Depending on available space and proximity to building structures can determine the size and available free volume for the infiltration trench to hold.

In our complete guide to building an infiltration trench, we’ll show you a thorough 6-step process of how to design an infiltration trench, where to build it, how to build it and what to fill it with. Finally we’ll show you a way to make it pretty in the landscape.

Continue reading

Beautifying an infiltration trench

River rock overlay.

We get it, one of the biggest reasons most people don’t install rainwater harvesting systems is they can be ugly. Who wants a blue barrel or a caged plastic cubed tank in their yard? I wouldn’t mind it, but my wife would go ballistic. This is why putting in an underground rainwater harvesting system like an infiltration basin is so easy because you can put whatever you want on top of it. Win win! 

For the last installment for this series, I’ll show you how easy it is to “beautify” an infiltration trench.

Continue reading

Installing AquaBlox into an Infiltration Trench

AquaBlox installed in trench.

The installation part of my infiltration trench took about an hour. Compared to the testing, designing, researching, site preparation and digging phase of the project, installing the AquaBlox was the easiest and quickest part of the entire project.

This is the second to last article in this “infiltration trench” series but it is the most important. Read on to see how to install two large AquaBlox and get the most out of the rainwater that falls on your roof.

Continue reading

Digging an infiltration trench

As a followup from our site preparation post, lets focus on following our design for an infiltration trench and actually dig one in. We left off with having dug up a birch tree stump which should leave us with enough room to put the dirt from the trench.

Start trench at least 10 feet from house foundation.

Start trench at least 10 feet from house foundation.

The infiltration trench is designed to allow rainwater from the roofs’ gutters to flow into an underground chamber and then overflow to the street. This will provide the rainwater from the roof a chance to percolate into the ground first before contributing to storm water runoff. This example has been taken from “Capturing Urban Runoff At Home – Part 1“.

Continue reading

Site preparation for an infiltration trench

Root rot is the vertical section to the right of the photo.

Birch tree root rot.

Before digging the actual infiltration trench, I need to do some site preparation. I had a birch tree which suffered from root rot and it had to be removed both for the safety of nearby structures and the tree was dying. My goal with this project was to:

  • dig out old tree roots and stumps
  • remove black plastic weed barrier under top soil
  • repair old irrigation lines
  • remove enough debris to make room for trench dirt.

In this photo article, I’ll show you how I managed to complete this part of the project. All work was done by hand, except for a little chainsaw work. Click photos for full size.

Continue reading

Aquablox – a viable alternative to drainage gravel

AquaBlox with a 95% void.

AquaBlox with a 95% void.

When filling a trench or building an underground cistern, there are a few options: drainage gravel sporting a 33% void or a plastic modular system with a 95% void.

While seeking maximum storage potential, drainage gravel just won’t cut it.

Luckily, Atlantis manufactures a plastic modular system called D-Raintank and sold through a partner vendor named AquaScape Inc who calls them AquaBlox. There are two sizes – small and large and are available from the local Ewing Irrigation store or available in bulk if a project needs it.

Continue reading

Designing an infiltration trench

Eventual design from a Rainwater Harvesting book.

Eventual design from a Rainwater Harvesting book.

If you have been following along recently, you will have learned that Rainwater is the fountain of life, that you have the ability to Reduce Urban Runoff. The City of Santa Monica has a program designed specifically to Capture Urban Runoff with a guide and a worksheet to build the best rainwater capturing system for your site. You will heave learned that drainage gravel takes up considerable space in the ground, perhaps there are better options available?

“Whether you have a gardening green thumb or solar panels on your roof, capturing rainwater at home is the next logical step towards our natural resource independence.”

Our latest article in this series discussed placing a rainwater infiltration basin in an area away from underground utilities, on or near current drainage piping and away from high trafficked areas. With every project it is a good idea to draw up some design plans which we can utilize to properly build our system.

Continue reading

How to: Where to Build a Rainwater Infiltration Basin

In our article titled “Why do we talk about rainwater harvesting?”,  8 principles of rainwater harvesting are discussed, as noted from the book titled “Rainwater Harvesting For Drylands and Beyond” written by Brad Lancaster.

These principles are:

  • Begin with Long and Thoughtful Observation
  • Start at the Top – or Highpoint – of Your Watershed and Work Your Way Down
  • Start Small and Simple
  • Spread and Infiltrate the Flow of Water
  • Always Plan for an Overflow Route, and Manage That Overflow Water as Resource
  • Maximize Living and Organic Groundcover
  • Maximize Beneficial Relationships and Efficiency by ‘Stacking Functions’
  • Continually Reassess Your System: The ‘Feedback Loop’

These principles were put to use to find the best place on my property to build an infiltration basin.

Continue reading

« Older posts

© 2024 RecycledH2O

Theme by Anders NorenUp ↑