We get it, one of the biggest reasons most people don’t install rainwater harvesting systems is they can be ugly. Who wants a blue barrel or a caged plastic cubed tank in their yard? I wouldn’t mind it, but my wife would go ballistic. This is why putting in an underground rainwater harvesting system like an infiltration basin is so easy because you can put whatever you want on top of it. Win win!
For the last installment for this series, I’ll show you how easy it is to “beautify” an infiltration trench.
At the end of the last article titled “Installing AquaBlox into an Infiltration Trench” it was mentioned that wood chips had been spread over the top of the trench. In the 2-3 weeks since I did that, the wood chips began to break down and were noticeably full of worms. Worms are great in the garden as they work to breakdown organic material which helps plants grow bigger and stronger.
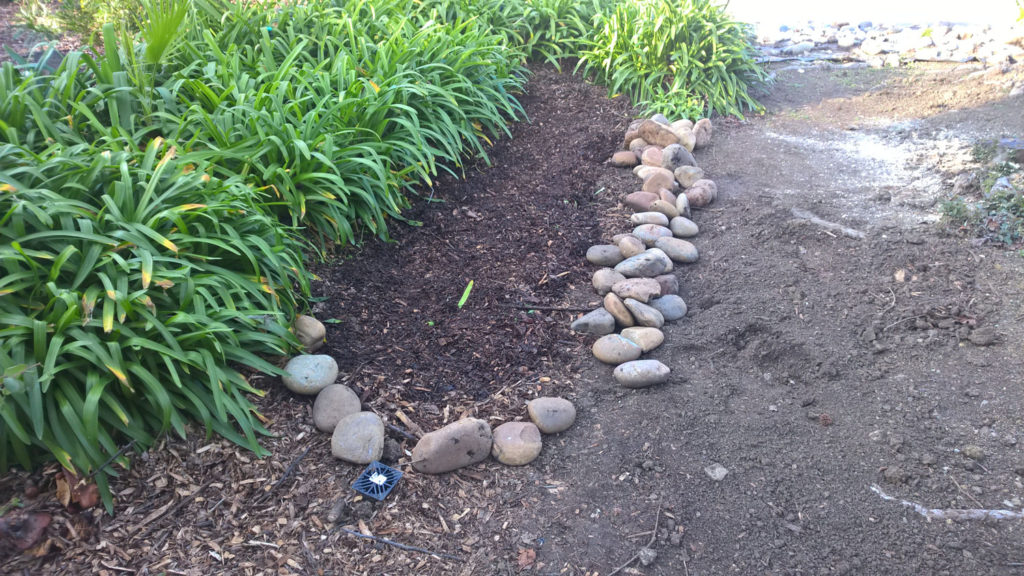
The first step was to smooth out the wood chips so I had a flat surface to work with. The surface stretches the length of the trench and a little more on the downhill end.
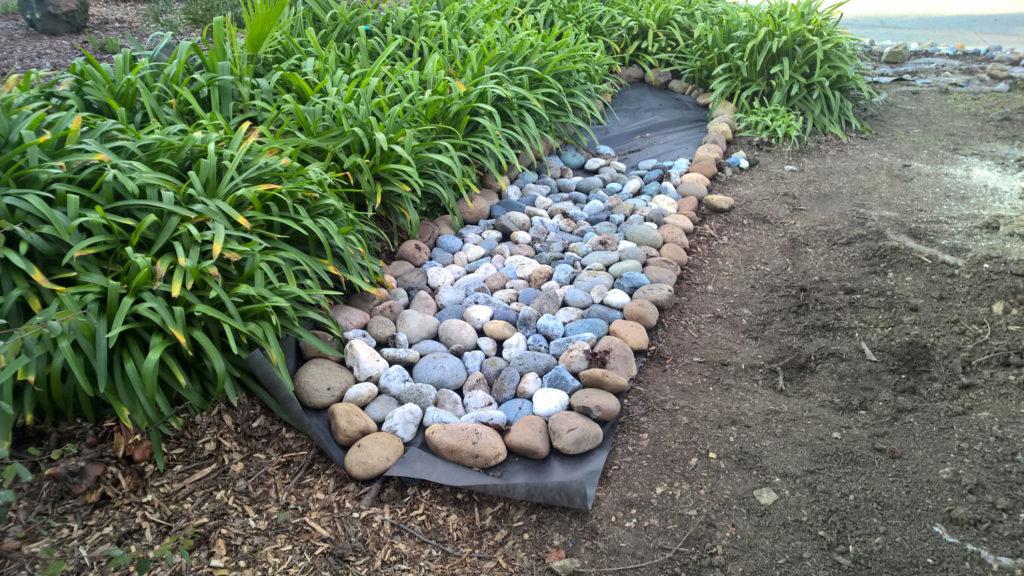
Next, I gathered some 5″ river rock of similar color – brown – and they’ll be used as a border to the rock overlay.
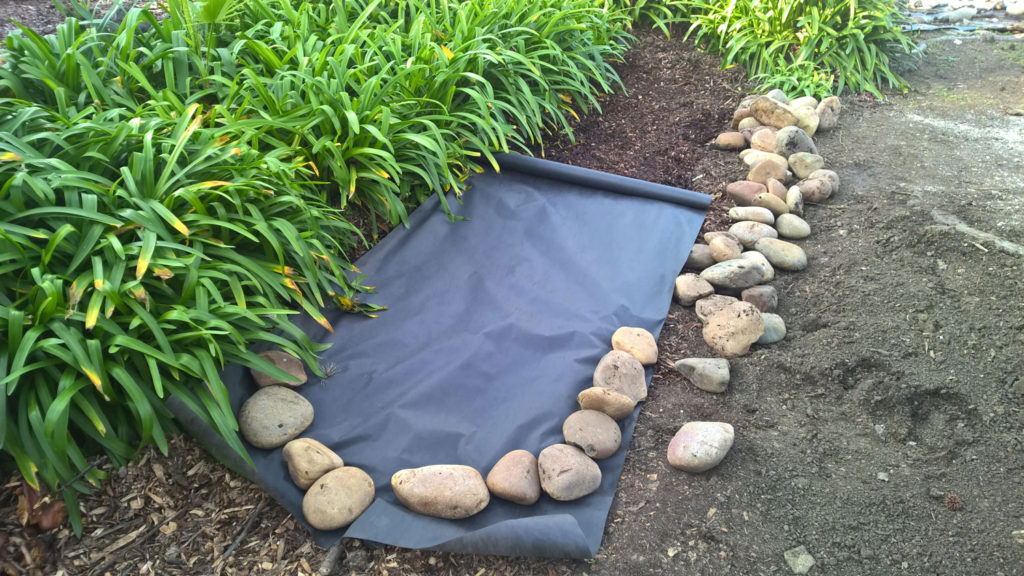
With rock on hand, I laid down some weed block underlayment material which is available at your local home construction store for around $15.
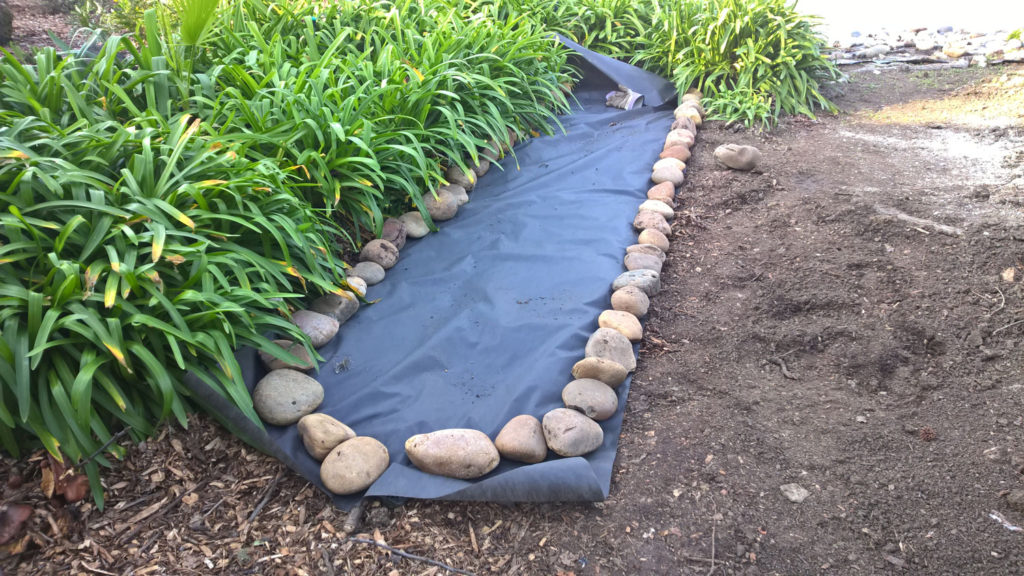
The brown rocks were used to hold down the underlayment. It was then unrolled the entire length of the proposed rock overlay. At the end, it was cut with scissors.
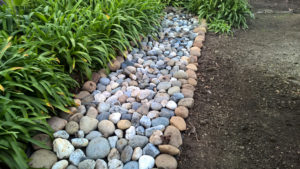
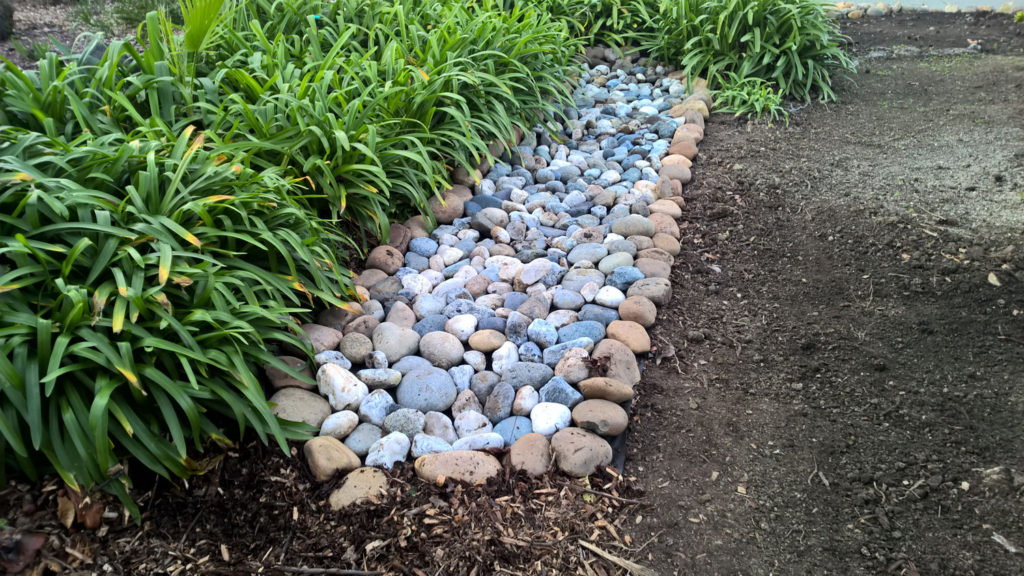
Now it was time to find lighter colored river rock and place on top of the underlayment. Laying them down in a non-symmetrical pattern is ideal to mimic nature and not let your eye be directed to one area of the covering.
Continue to fill in the area until done. When finished with the rock, brush wood chips over any underlayment still visible.
That is all there is to it. Very easy to do, took about an hour and its a great workout.


Leave a Reply