
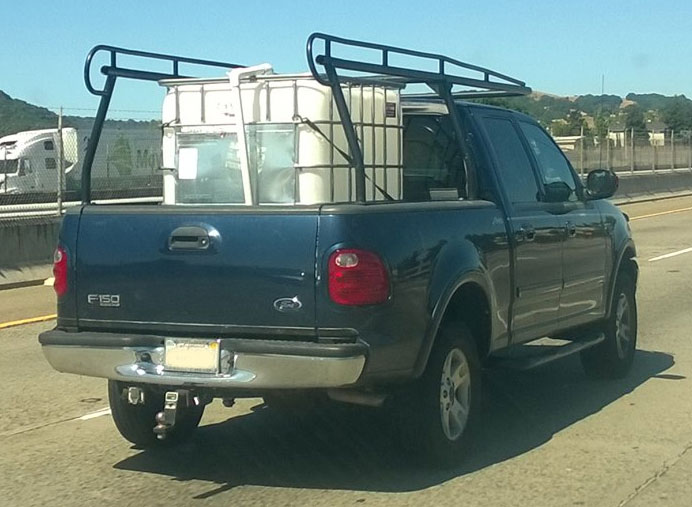
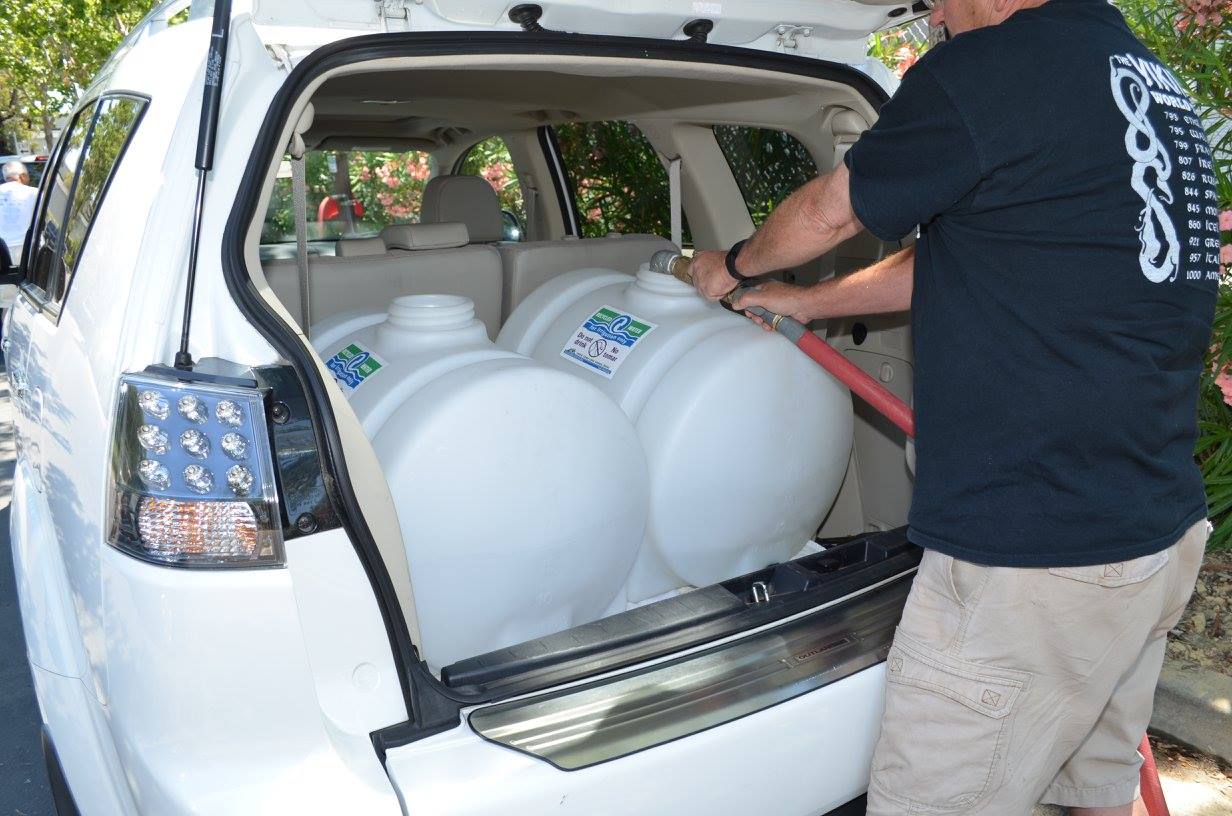
After spending three summers hauling recycled water, the drought of 2014 to 2017 opened my eyes to the world of rainwater harvesting. Why? Because rain that falls for free at my house is much cheaper to capture and store than gas and vehicle maintenance costs of hauling recycled water from a local treatment plant.
In February of 2018, I went on a trip to Australia. We visited the tropics in Carnes, the dry-lands of Alice Springs and Lighting Ridge, as well as Sydney and Perth.
Most of Australia doesn’t get much rainwater, just like California has experienced in the last few years. But what Australia does really well is capture every last drop of rainwater and puts it to use at home in gardens, kitchens, bathrooms, you get the point.
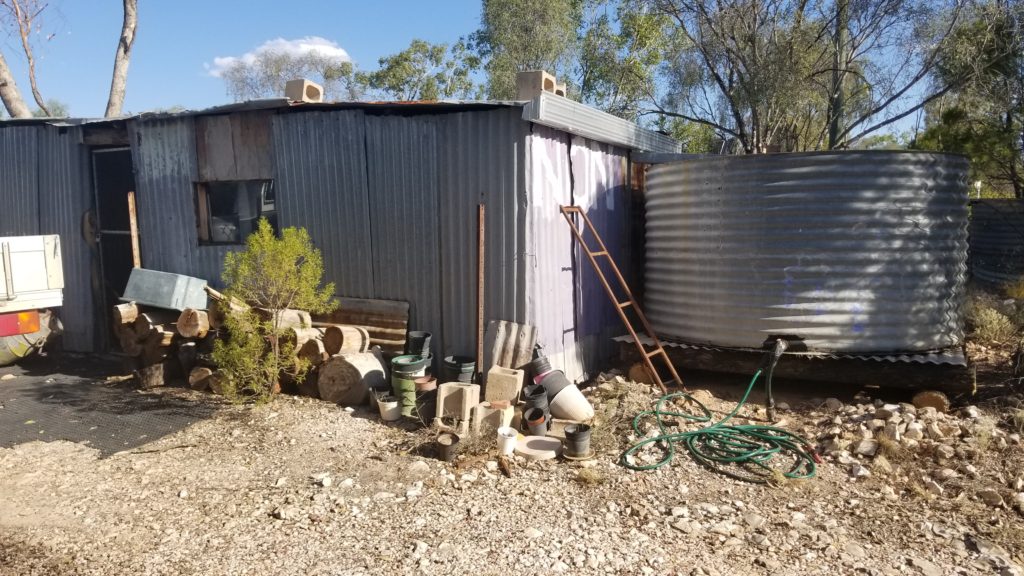
During my trip, I went to a place called Lightning Ridge. If you’re into cool rocks like Opal, you already know that Lightning Ridge is the Black Opal capitol of the world. While there, I wondered how this town of miners can survive with seemingly no water source. Their trick is rainwater harvesting (and underground artesian wells).
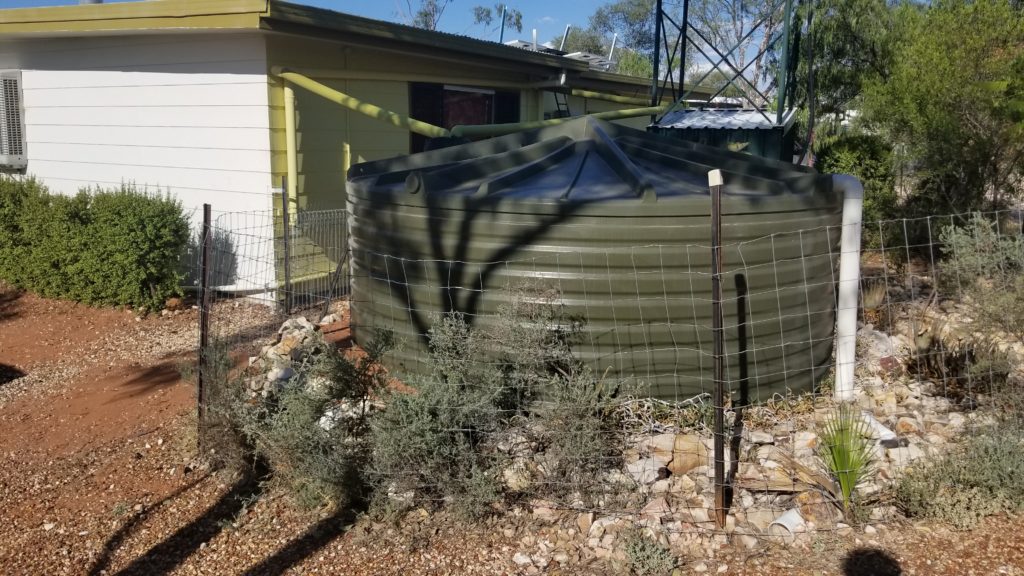
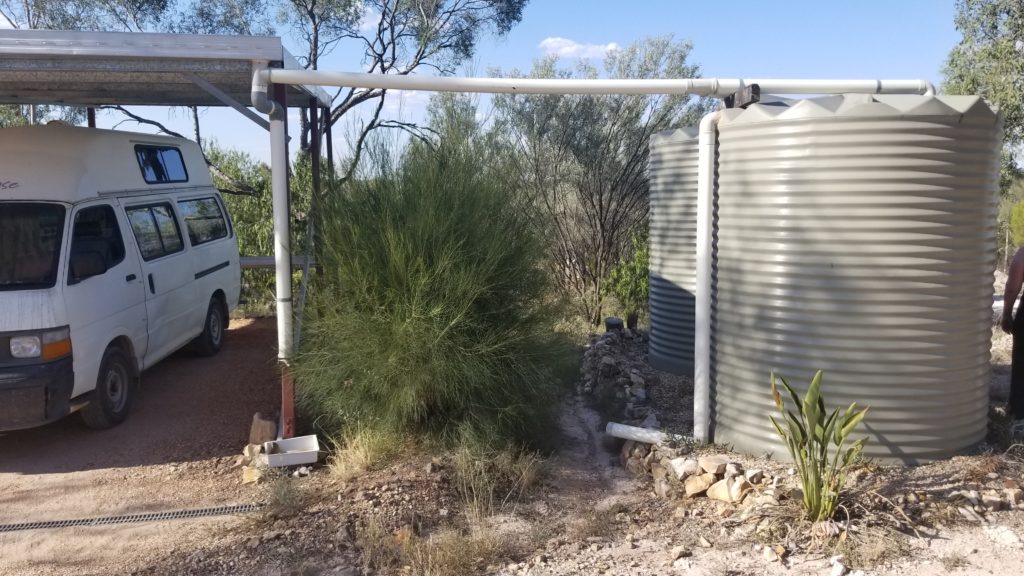
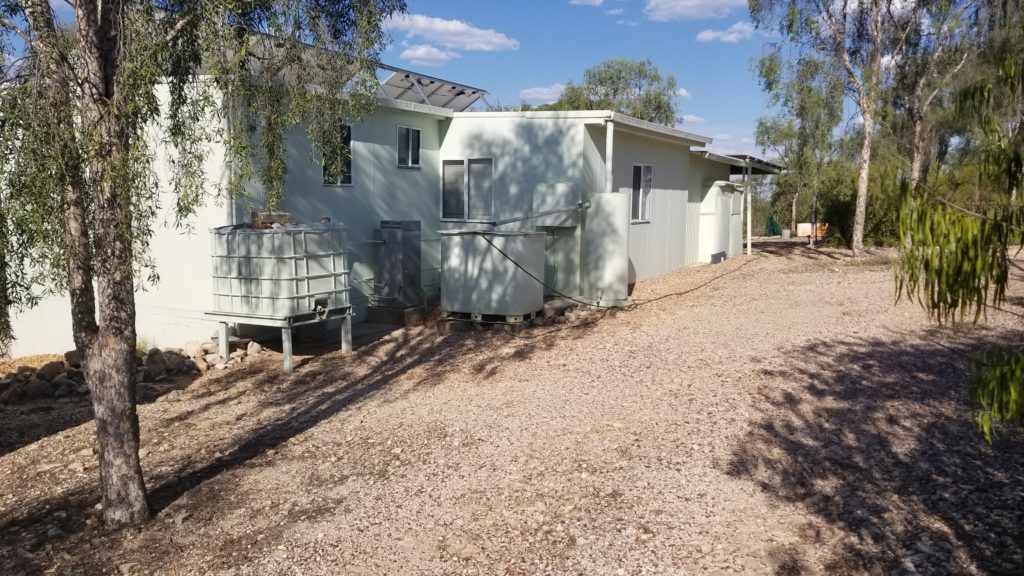
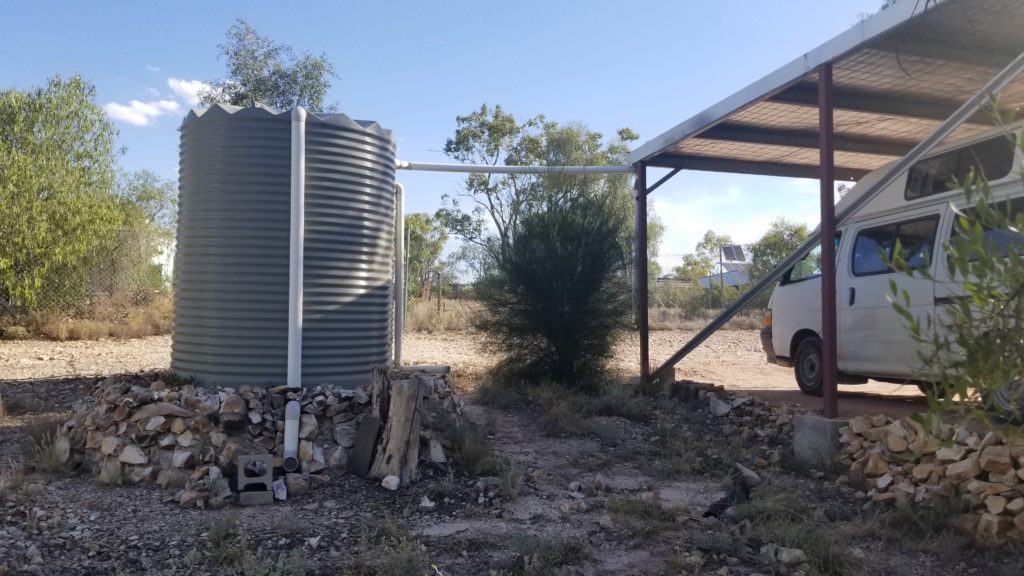
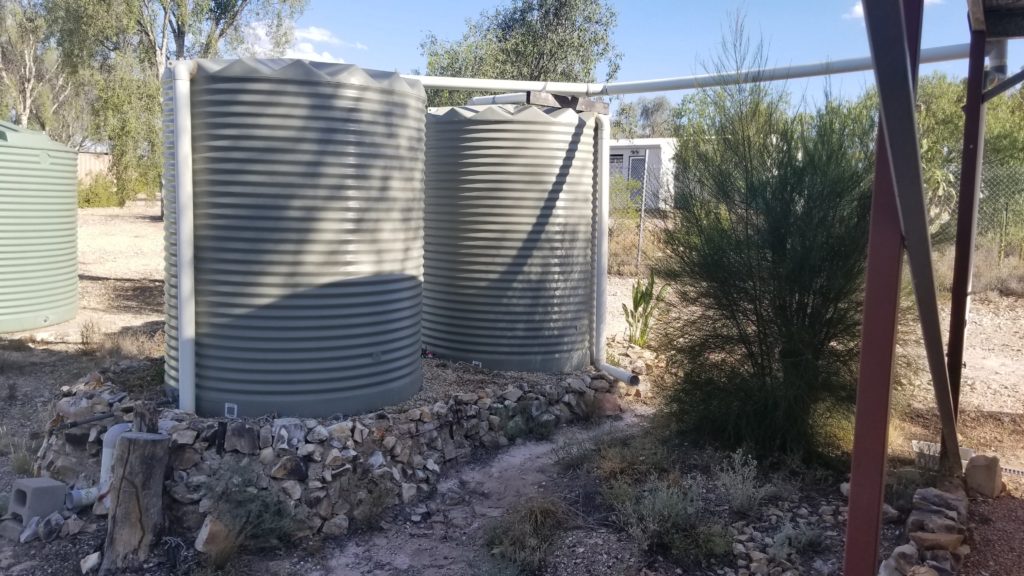
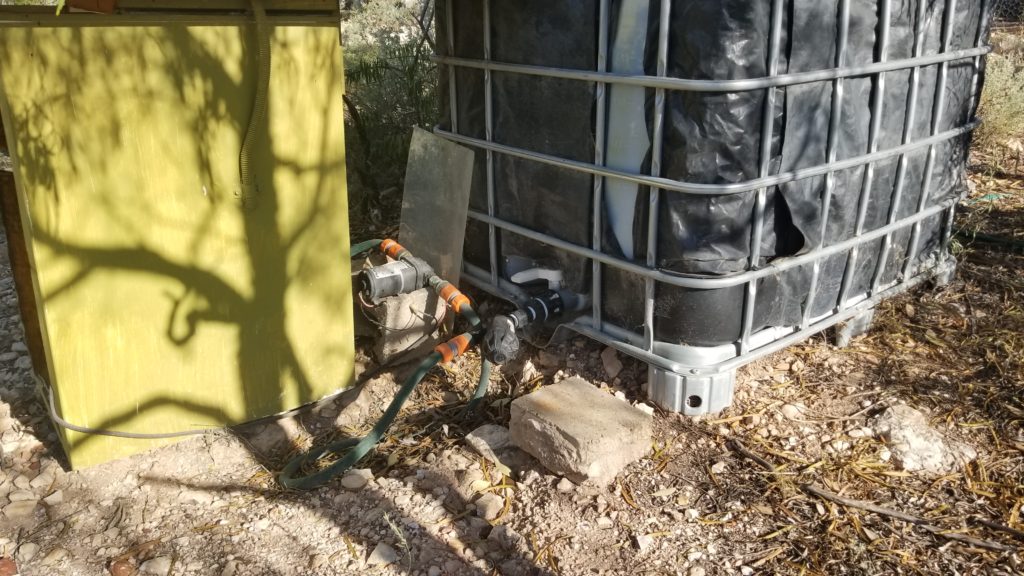
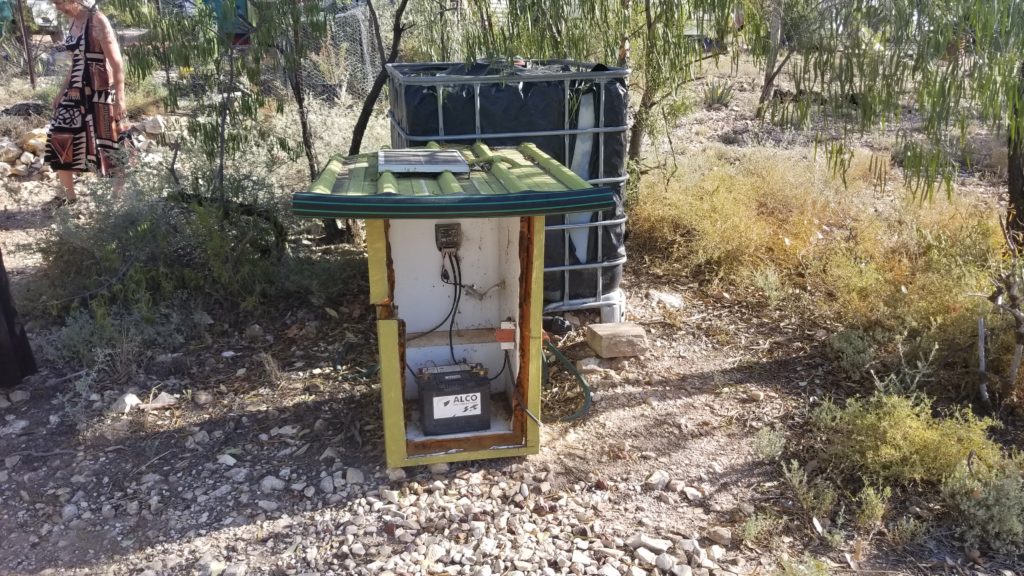
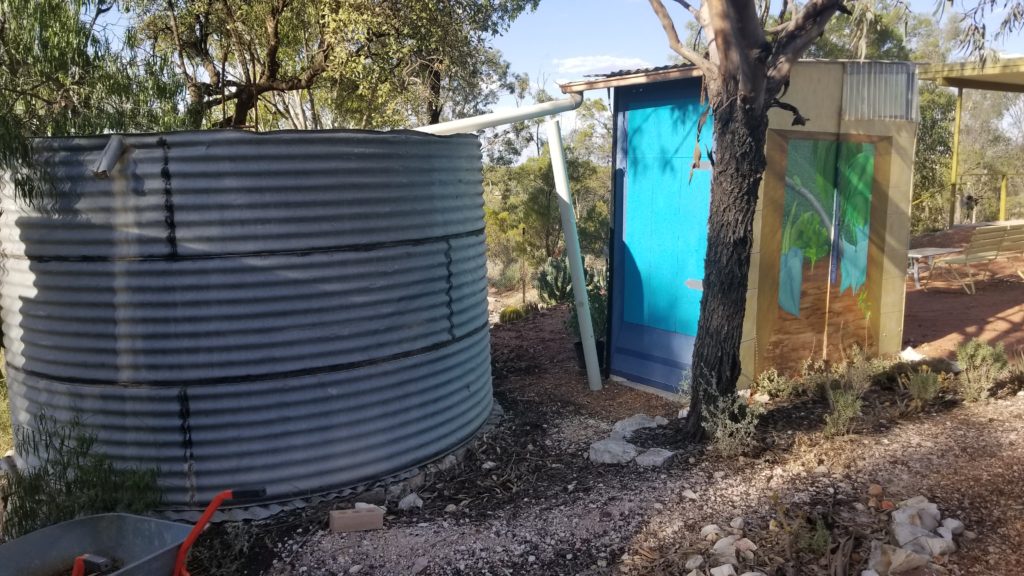
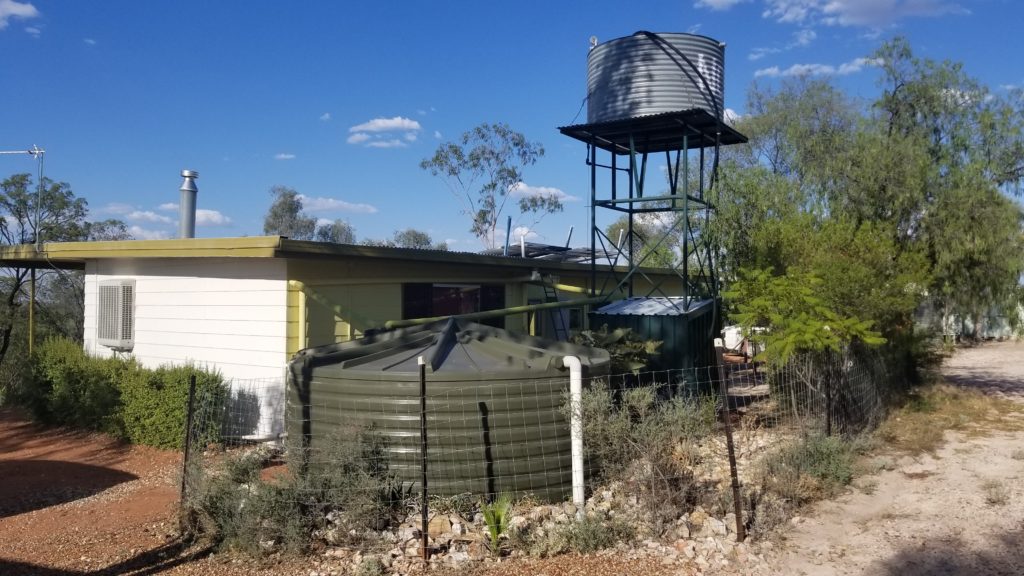
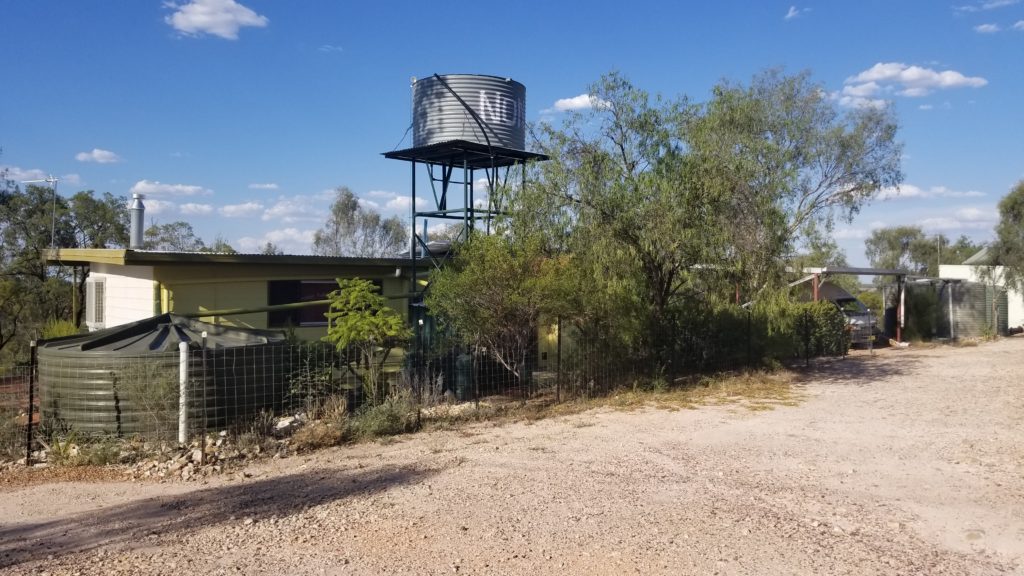
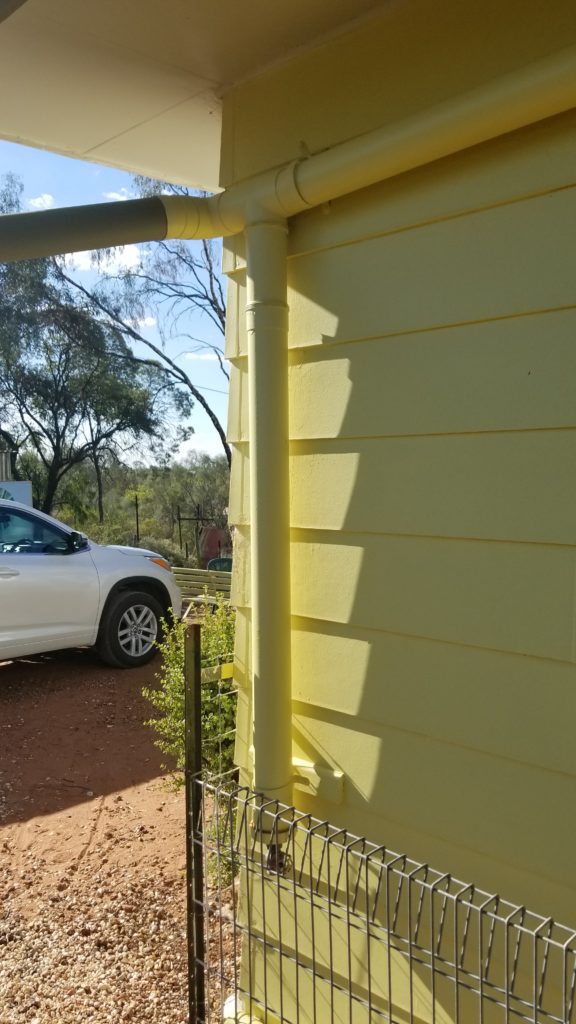
We visited an acquaintance’s house on the outskirts of town and they live entirely off of the rainwater they capture during the wet season. Their roof gutters and elaborate piping system conveys water to numerous storage tanks on their property. Their shower and sink drainage water becomes gray water that they capture and reuse for toilet flushing.
I asked for a tour to get an understanding of their setup and a few items stuck out to me.
- First Flush Diverter – used to capture the “first flush” of debris from their roof to ensure the water going into their rain tanks is free of sediment, bird droppings, leaves, tree branches, etc.
- Passive Overflow Devices – you can’t always be around when a tank overflows to let water out, so having a means for passive overflow is a must
- Strainers on tank inlet to ensure the cleanest water is captured and anything that may carry over from the first flush diverter.
- Ports/fittings to get water out of the tank.
Quite incredible. When I got home I wanted to build my own, smaller setup. Just like I did when I started hauling recycled water, I calculated how much rainfall I could capture off the different gutters around my property, I researched a tank that would fit my space, and went hunting for one that fit my needs.
How to calculate how much water falls on a roof
A cubic foot of water is 7.48 gallons.
If my roof was 1 foot by 1 foot and an inch of rain were to fall on it, 0.623 gallons of water could be captured. But its not. I live in a single story 2400 square foot house. Negating roof slope, in a single 1″ of rain storm, about 1500 gallons of water would fall on my roof.
((2400 sq ft X 7.48 gallons per cubic ft) / 12 inches per foot) = 1496 gallons.
While this is good to know, it doesn’t make sense for me to capture water from every downspout on my house. Plus my wife doesn’t like the look of rainwater tanks everywhere. So for a pet project like this, out of sight out of mind was important.
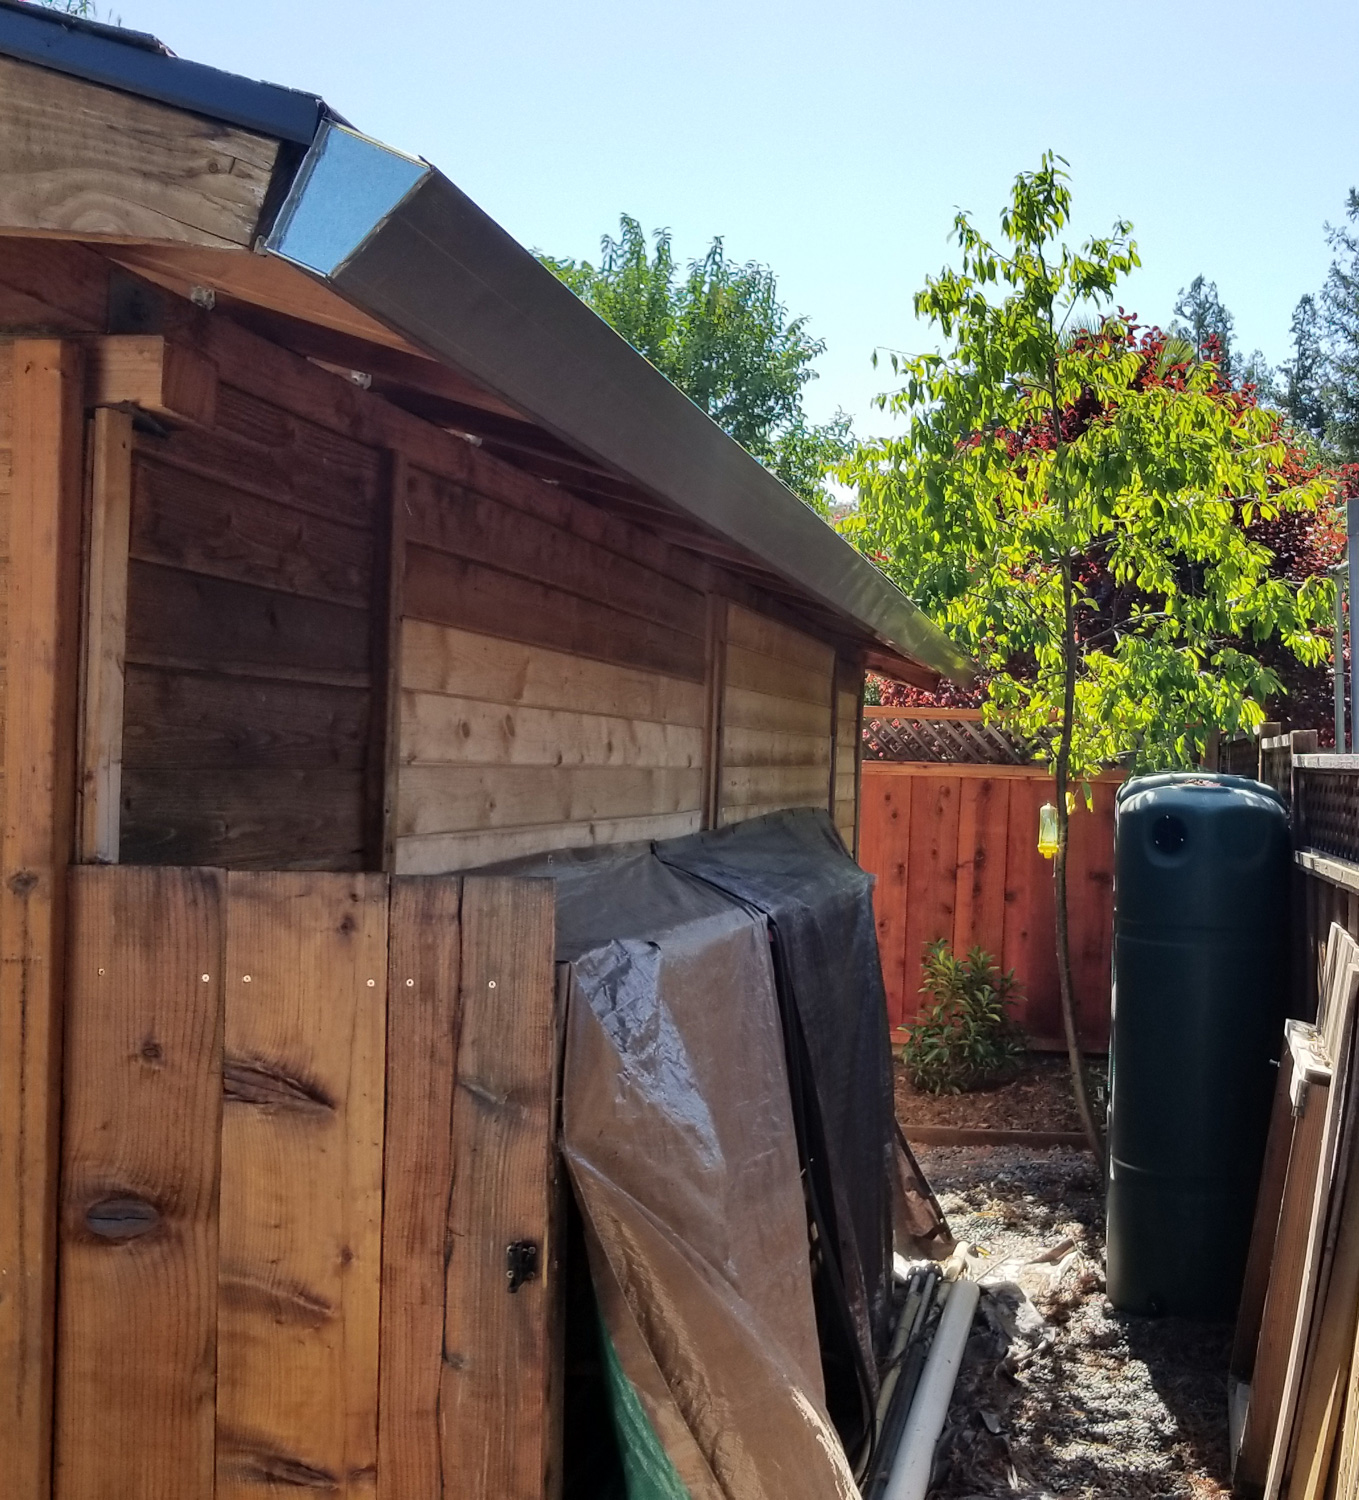
We have a covered cabana on our property, with a roof area of 300 square feet that I could place a rain tank underneath. In that same 1″ rain storm, we could capture 187 gallons.
Tank Research
I researched a tank and ended up with a Bushman 530 Gallon Slimline Rain Tank. It measures 25″ wide, 78″ tall and 86″ long. It comes with a passive overflow, a strainer basket, covers and fittings to get water out of it.
In my searching, I learned there are a variety of companies that sell slim line rain tanks, you just need to find what is available to you.
Why slime line? Because in theory, you could stick these tanks on the side of your house, under the eave and they wouldn’t take away space in your yard.
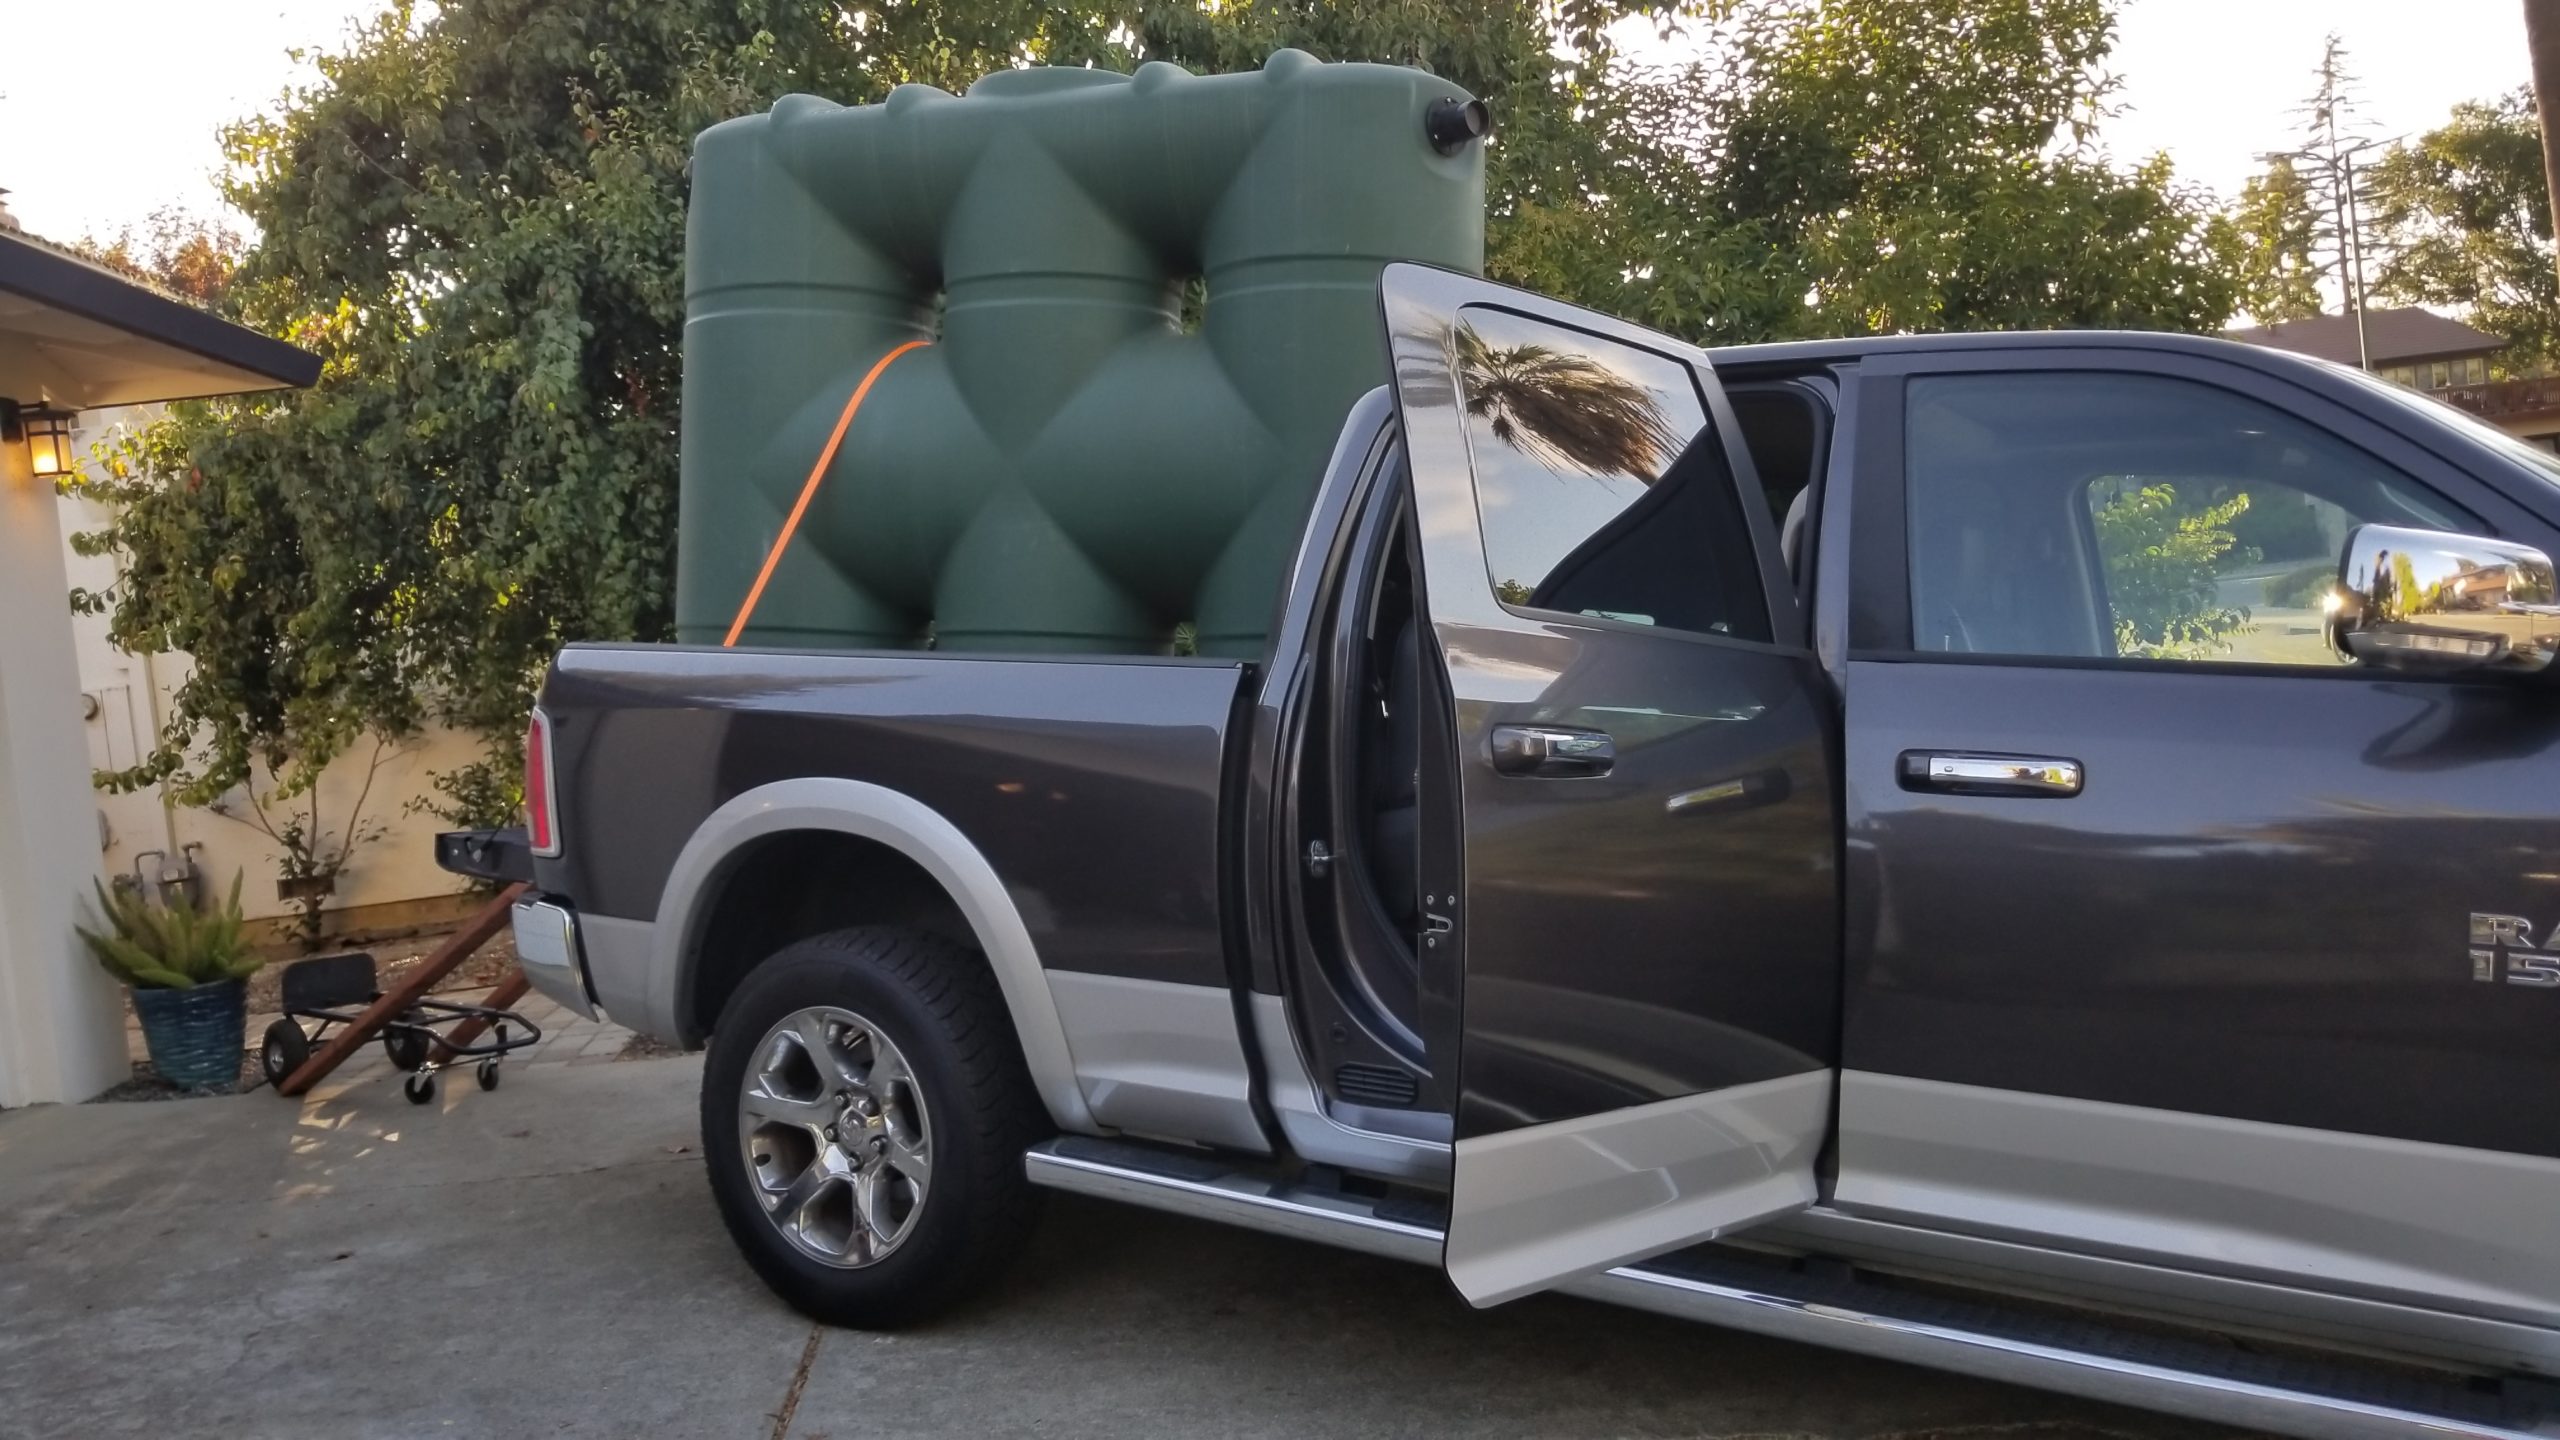
At the time I think this tank cost $1200. While expensive for its purpose, it will provide for a place for clean water to sit before I use it, plus the tank comes in a variety of colors to “hide” on the property.
For installation, the tank should sit on stable and level ground. Keep in mind a full tank will weigh 4,420 pounds (1 gallon of water weighs 8.34 pounds). You need to ensure that the tank won’t tip over as it could crush and seriously hurt someone.
I moved my tank into position near the cabana roof downspout. I couldn’t make it fit under the downspout, but that is fine. I was going to do some plumbing for my first flush diverter, anyways.
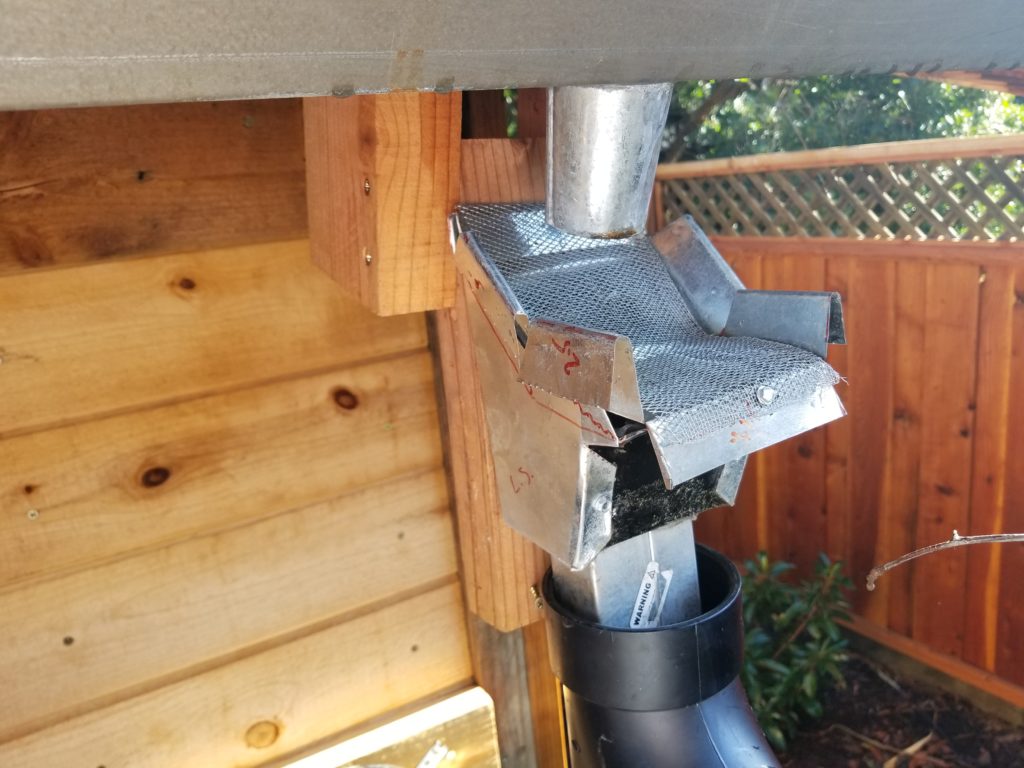
Once the tank was in, I wanted to build a debris filter to ensure the cleanest water was flowing into my tank. I saw a product on Amazon called a “Rain Harvesting Leaf Eater Advanced Rain Head” but it was $53. I knew I could build one for cheaper.
Using the same general design I built a model using cardboard and then eventually out of sheet metal, a small section of gutter and metal sliding door screen material.


While rudimentary it worked, but not good enough. I ended up adding a second piece of screen to capture the bigger pieces which I could remove quickly to clean during a rain storm.
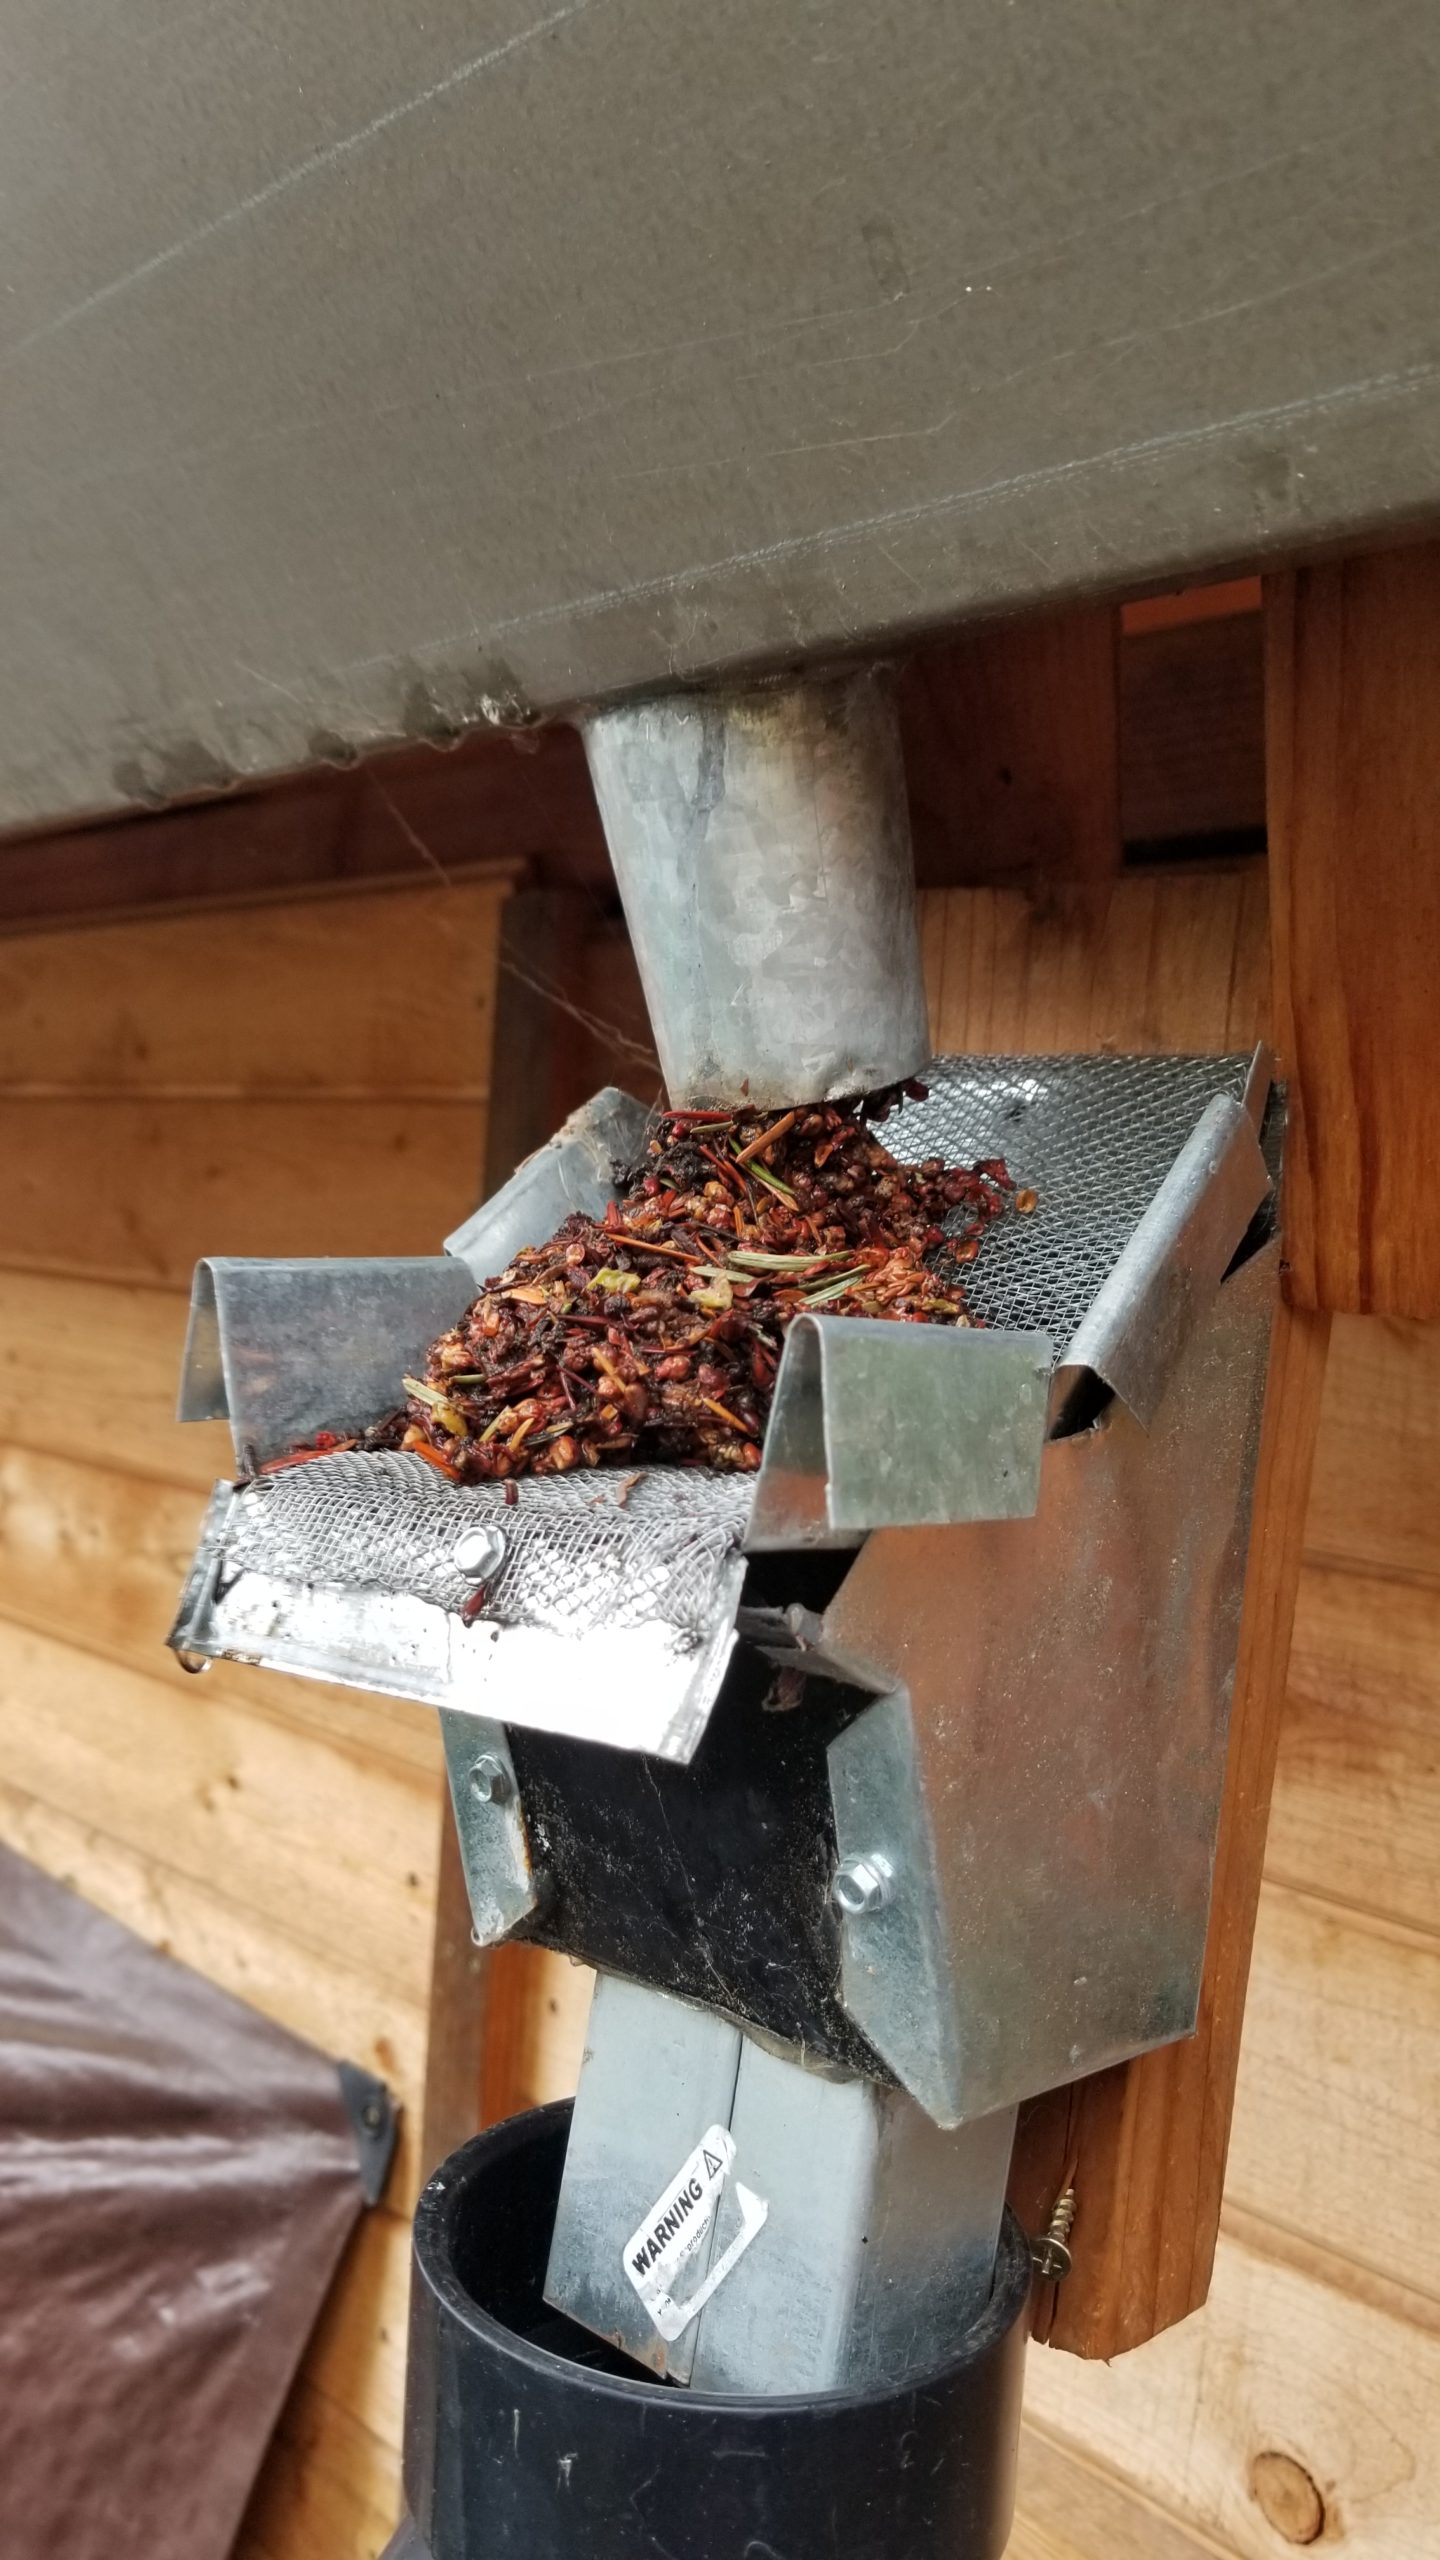
Next I built the first flush diverter. My piping is 3″ ABS drainage piping, glued together. The first flush diverter as seen in the photo below enable the water to flow into the piping, straight down to a plugged pipe. The dirtiest/heaviest debris in the water will be caught in this water column. The plug on the bottom can be unscrewed on a dry day to remove the debris, clean out the pipe and get ready for the next rain storm. The first flush diverter holds about 4 gallons of water.


Then I plumbed the overflow from the first flush diverter to the rain tank, keeping a slight slope on the piping leaning towards the tank for the water to flow. Once in the tank, I had no way to see the water level so I added UV rated schedule 40 clear PVC.
At the point I added a tank shut-off valve, plumped in the tank sight glass and capped the outlet with a threaded cap before I added the hose connection. Eventually I would use the water, at this point I was just trying to capture it.


Now that I could see the level and had a means of getting the water out, I wanted to ensure the water coming out was a clean as could be. Who knew what kind of shape it would be in after collecting it in January and using it in June.
I ended up buying a Pentair Single Cartridge Filter Housing from Grainger for $37 and a 5 micron filter cartridge for $7.25.
To test it out, I ran it through my utility pump (which the filter should be on the discharge side of the pump, not the suction side) and quickly learned I don’t need a pump to get the water out of my tank. The head pressure of the water alone is enough to fill a watering can or 5 gallon bucket relatively quickly. I was surprised at the water clarity coming out of the tank.


Recap
By now, I have had my rain tank for 2.5 years. I use the water from the tank to fill watering cans to hand water the plants in my yard. It will take me about 265 refills of my watering can to use the entire tank.
After last summer, through all that heat and hauling recycled water daily for keeping my landscape alive, I used about 400 gallons of water from the tank. By the time it rained there was about 8″ of water left in the bottom. That rain storm however, a 100 year atmospheric river which dropped over 6″ of rain at my house, filled my tank to the brim, and then some.


The rain storm filled all the buckets, cans and wheel barrows I set out before the storm. Once the landscape dries out, I use the water in place of running the sprinklers until I can use the rain tank to hand water the plants.
Future Plans
On my to-do list is to add an irrigation pump and plumb it to some drip sprinklers in my yard, but that will take away the love and labor of hand watering the plants. It will also work to remove the value of the water. We’ll see.
Leave a Reply