AquaBlox with a 95% void.
When filling a trench or building an underground cistern, there are a few options: drainage gravel sporting a 33% void or a plastic modular system with a 95% void.
While seeking maximum storage potential, drainage gravel just won’t cut it.
Luckily, Atlantis manufactures a plastic modular system called D-Raintank and sold through a partner vendor named AquaScape Inc who calls them AquaBlox. There are two sizes – small and large and are available from the local Ewing Irrigation store or available in bulk if a project needs it.
Aquascape Inc’s AquaBlox product can be used in a pond-less system by placing a pond liner underneath the crates or in an overflow application by just laying down geotextile fabric underneath. In my application where I am interested in using it as an overflow to percolate water in the ground, this works perfect.
Watch their promotional video below:
AquaBlox come in two sizes, small and large. The small size costs ~ $42.99 from Ewing Irrigation and the large size costs $52.99 from the same store.
Small AquaBlox
These measure 26.5″ long, 16″ wide, 9″ tall and will hold about 17 gallons of water. As copied from the Ewing Irrigation webpage:
| Manufactured using recycled materials, the AquaBlox® D-Raintanks® modular water storage system is an efficient way to maximize your water storage capacity in Pondless waterfall reservoirs. The Small AquaBlox® will provide enough space to store 17 gallons of water and can easily support the weight of ornamental rocks and gravel. The lightweight design of AquaBlox makes installation quick, safer and less expensive. Takes only 1 minute to assemble!
Key Benefits and Features:
|
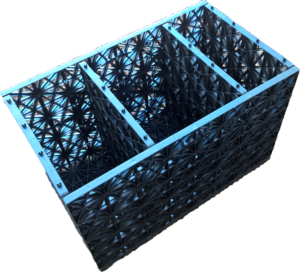
Large AquaBlox, assembled.
Large AquaBlox
These measure 26.5″ long, 16″ wide and 17.5″ tall and will hold 32 gallons of water and will support up to 5,472 lbs/sq ft when properly installed. As copied from the Ewing Irrigation webpage:
| Manufactured using recycled materials, the AquaBlox® D-Raintanks® modular water storage system is an efficient way to maximize your water storage capacity in Pondless waterfall reservoirs. The Large AquaBlox® will provide enough space to store 32 gallons of water and can easily support the weight of ornamental rocks and gravel. The lightweight design of AquaBlox makes installation quick, safer and less expensive. Takes only 1 minute to assemble!
Key Benefits and Features:
|
Assembly
They are very quick to assemble, each one takes less than a minute.
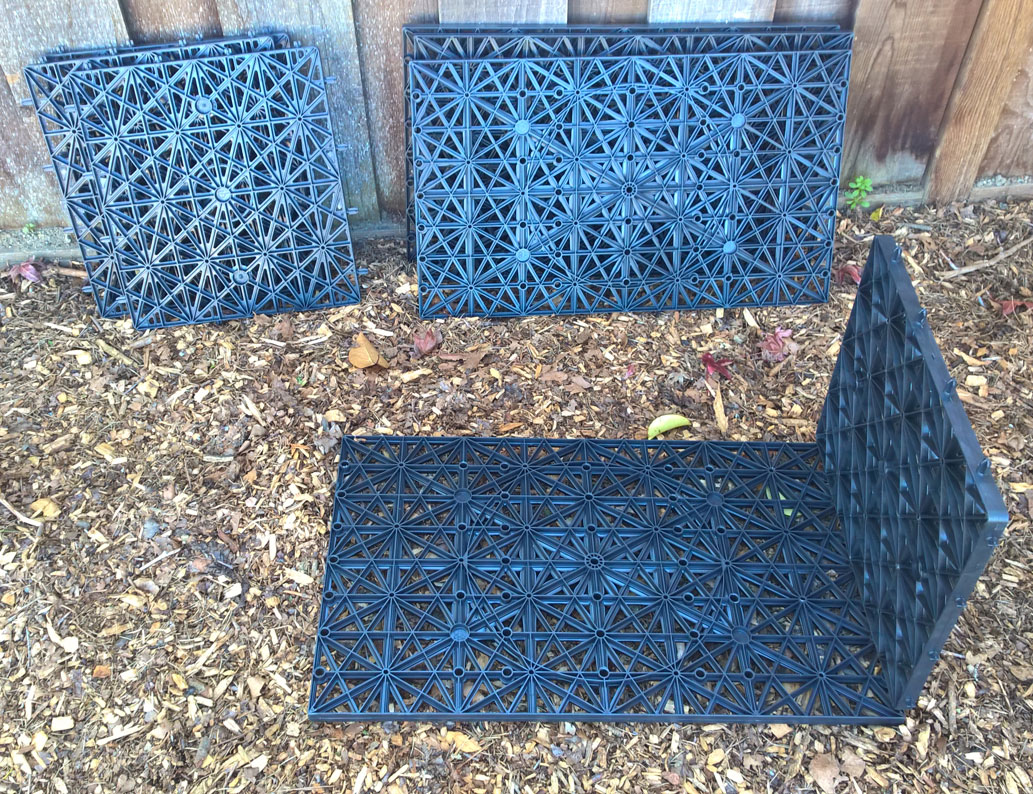 4 large pieces, 4 small pieces. |
 Little spikes fit into small holes. |
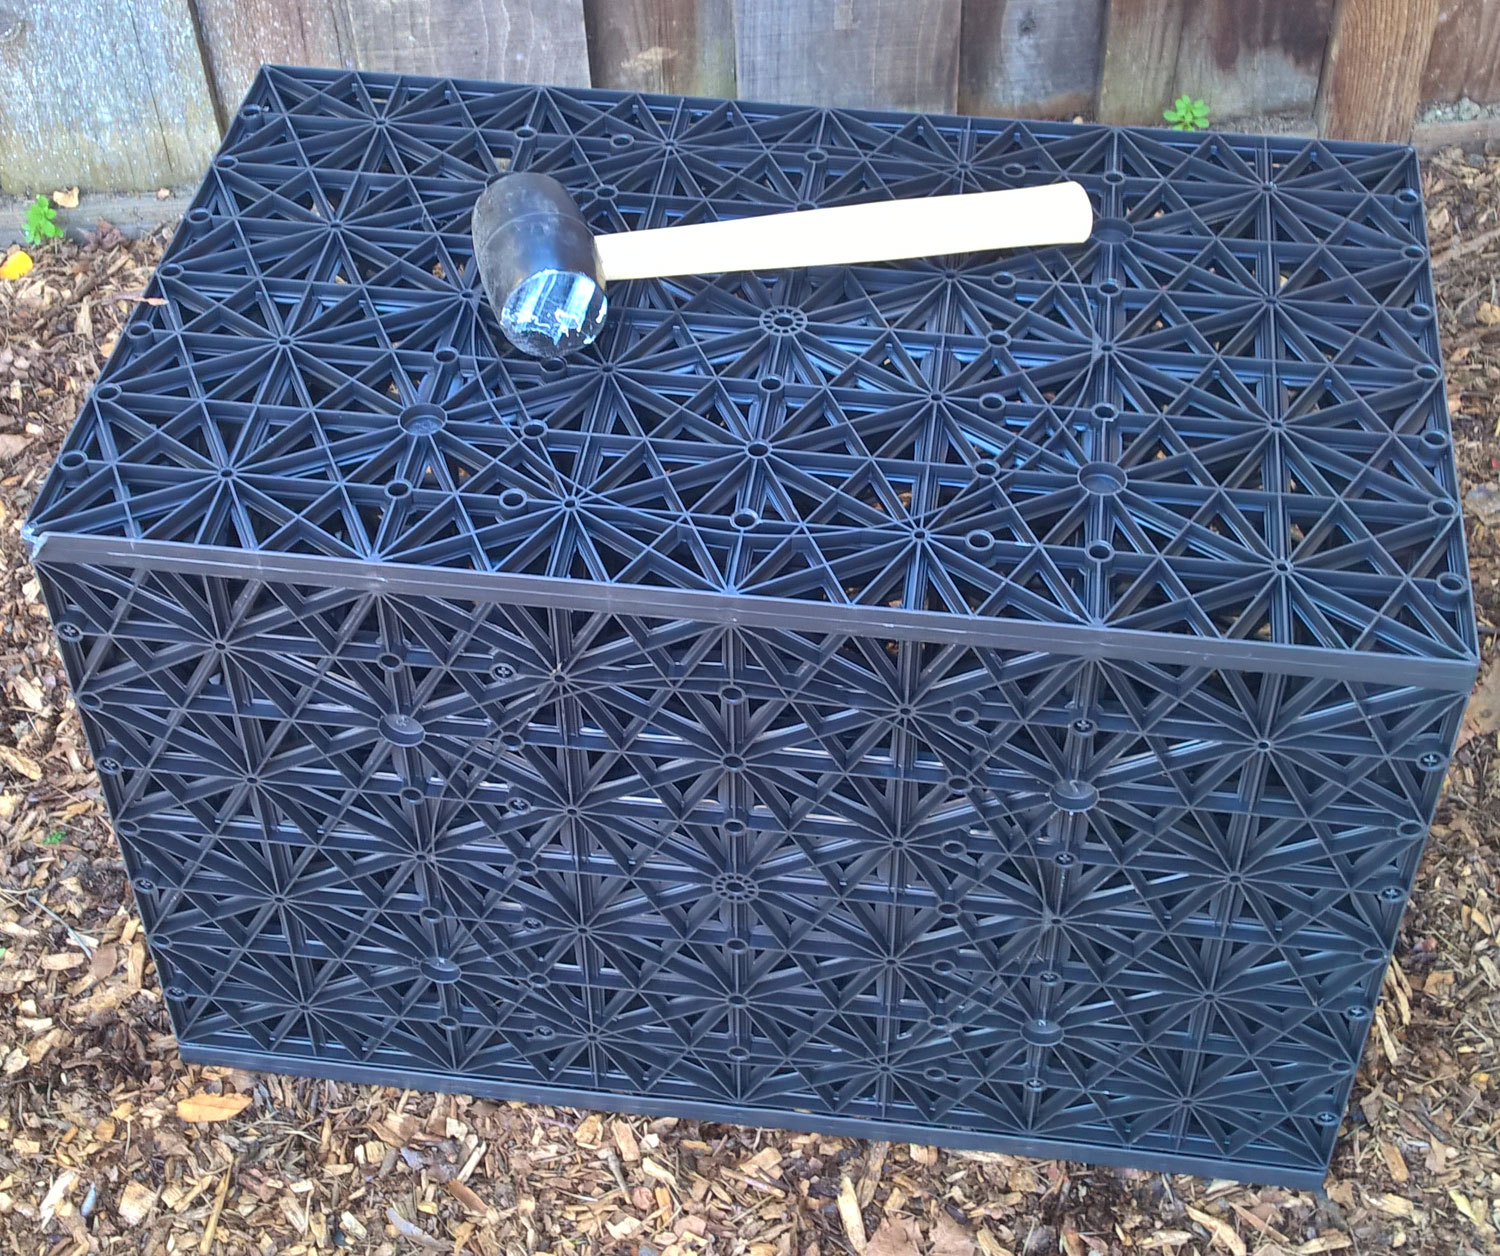
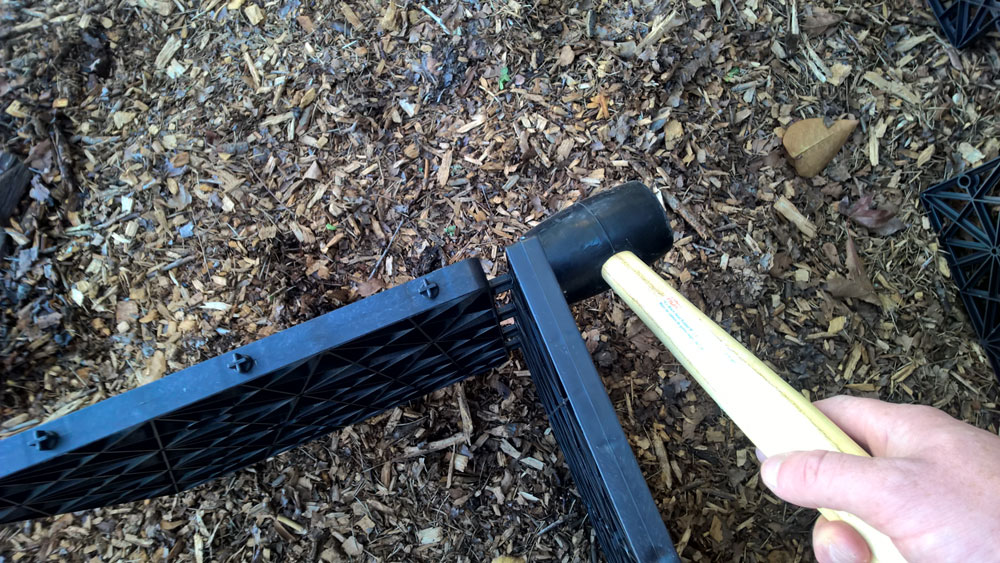
 Using a rubber mallet, pound together. |
|
Grab the large section, attach a small piece to the end and tap together with a rubber mallet. Do it again until rest of the small pieces are attached. Then turn on its side and attach a large section again.

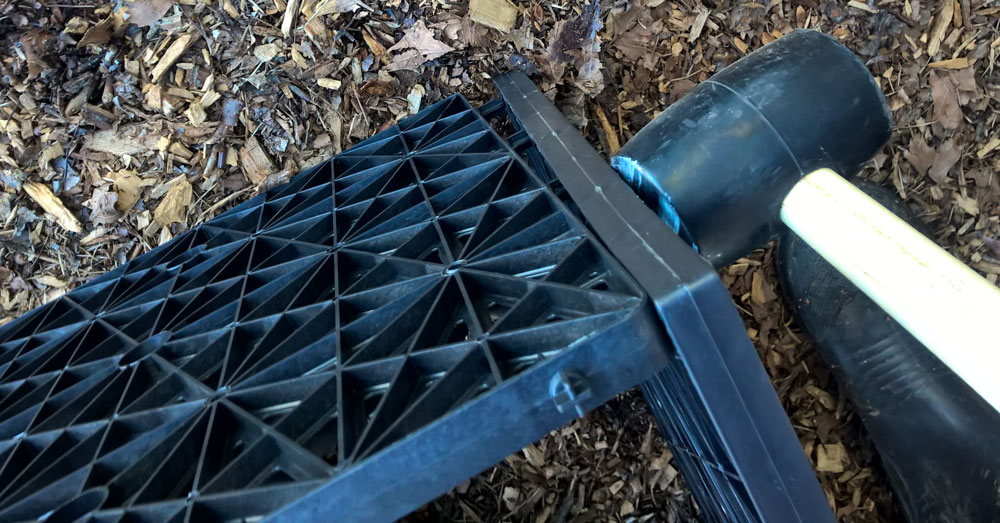
Before attaching the last piece.
When you’re done you’ll have a completed box.
This video shows how it is done sped up, and shows the construction of a 30,000 underground rainwater harvesting tank:
Installation
A recommended installation manual is available here.
In short,
- Excavate the storage basin – making sure the water table is at least 3 feet below the bottom of the Aquablox. It is recommended to include “an additional 6″ of excavation per side of the basin to allow for sufficient backfill material and compaction required during backfilling.”
- If using the pondless waterfall vault or snorkel, plan for that as well – in my installation, its not used so I won’t type it up.
- Prepare base, making sure the bottom and sides are smooth, flat and free of lumps
- Install outer geotextile, overlapping fabric can be used to provide complete coverage.
- If using a pond liner, install that now – in my case I’m not making mine water tight, so this is unnecessary.
- Install option inner geotextile – recommended if using the pond liner system. Unnecessary in my situation.
- Install Pondless Waterfall Vale or Snorkel – if using that system.
- Install AquaBlox, butting tightly against each other.
- Backfill sides making sure to evenly distribute backfill material.
- Install overflow – all systems needs a passive overflow!
- Backfill top and finish edges.
Refer to the installation manual for complete instructions – photos are included!

AquaBlox label on packaging.
0 Comments
4 Pingbacks