Before digging the actual infiltration trench, I need to do some site preparation. I had a birch tree which suffered from root rot and it had to be removed both for the safety of nearby structures and the tree was dying. My goal with this project was to:
- dig out old tree roots and stumps
- remove black plastic weed barrier under top soil
- repair old irrigation lines
- remove enough debris to make room for trench dirt.
In this photo article, I’ll show you how I managed to complete this part of the project. All work was done by hand, except for a little chainsaw work. Click photos for full size.
Tree Removal
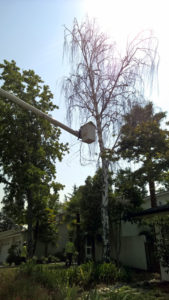
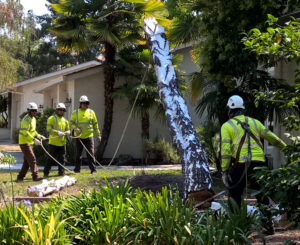
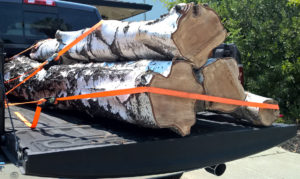
We had a birch tree in our front yard which we discovered had root rot, apparently it is something birch trees often die of. We hired an arborist who came out and said that the tree would have to come down. We made plans and for about $800, four guys cut down the tree, cut the trunk of the tree into 10′ logs and loaded them in the back of my truck.
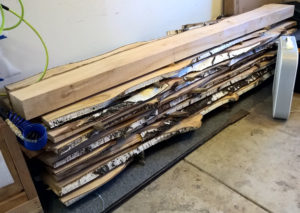
There is a local saw mill that I took the tree to, they cut it up into custom sized boards, one large one will be used for a fireplace mantle, the rest will be made into furniture to use in the house.
Once the tree was cut down, there were no more trees in this section of the property. There were however a ton of roots and old stumps. Everything had to come out. Time to start digging!
Stump & Root Removal
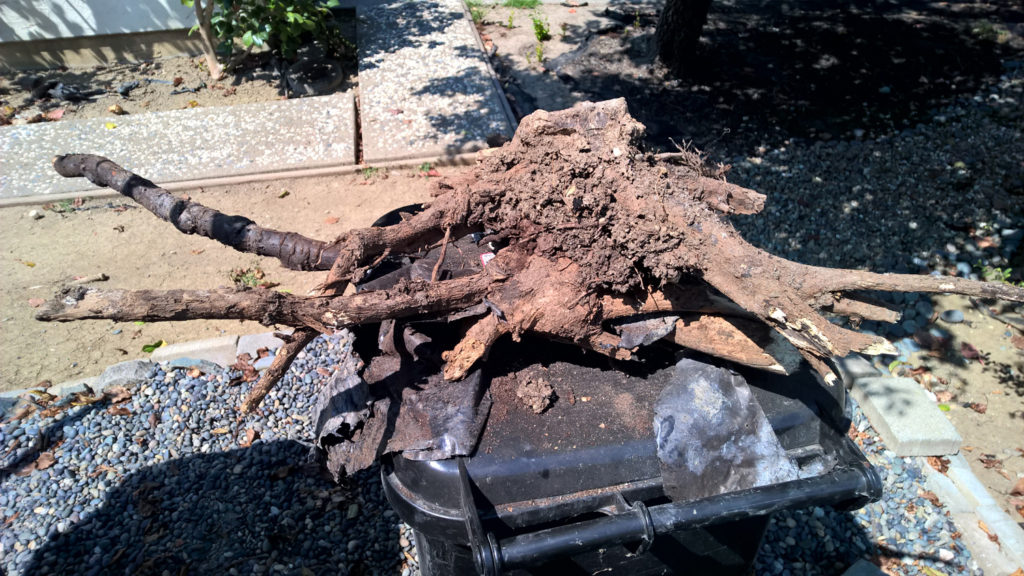
While digging out the first old tree root, I discovered that someone (before I owned the house) had put down thick black plastic sheeting to be used as a weed barrier. It worked, but no water or nutrients were able to get into the soil below. So while there were tree roots to remove, they weren’t very deep, maybe 4-6″ down as seen by the root section I was able to easily pull out of the ground.
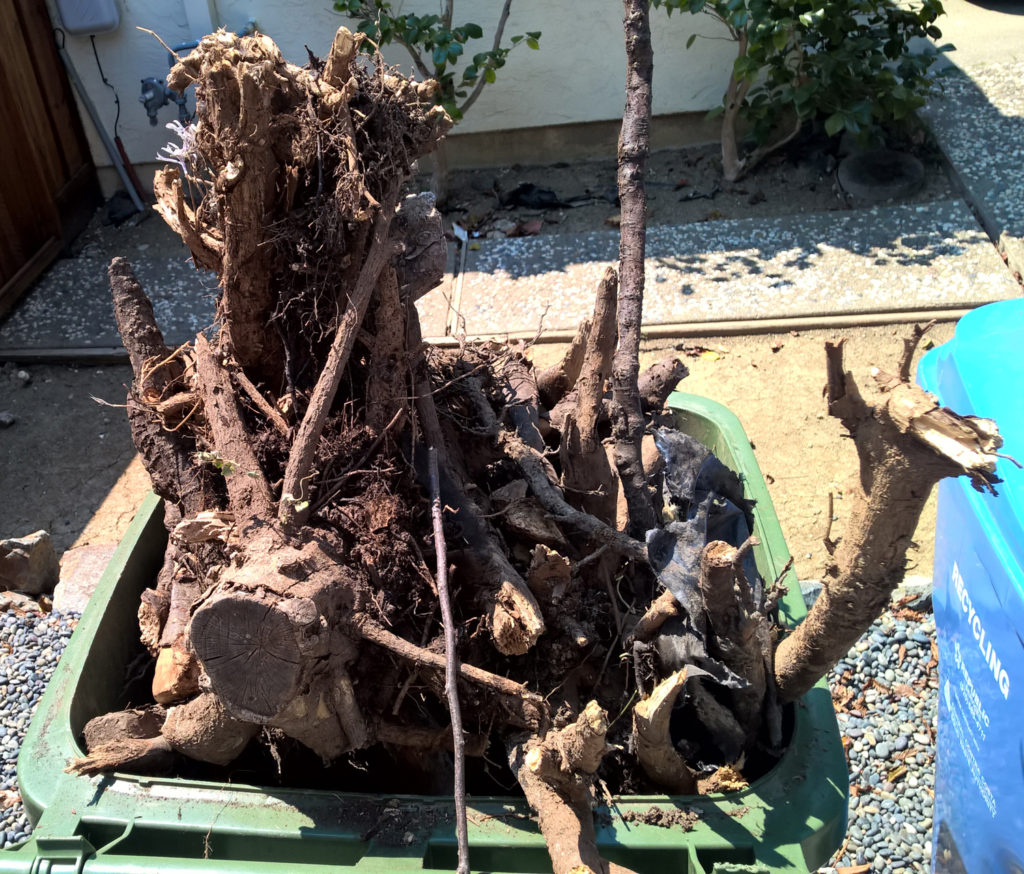
Each day I worked on the project I would fill up the green waste container. I would stop when the container got full and waited for another week.
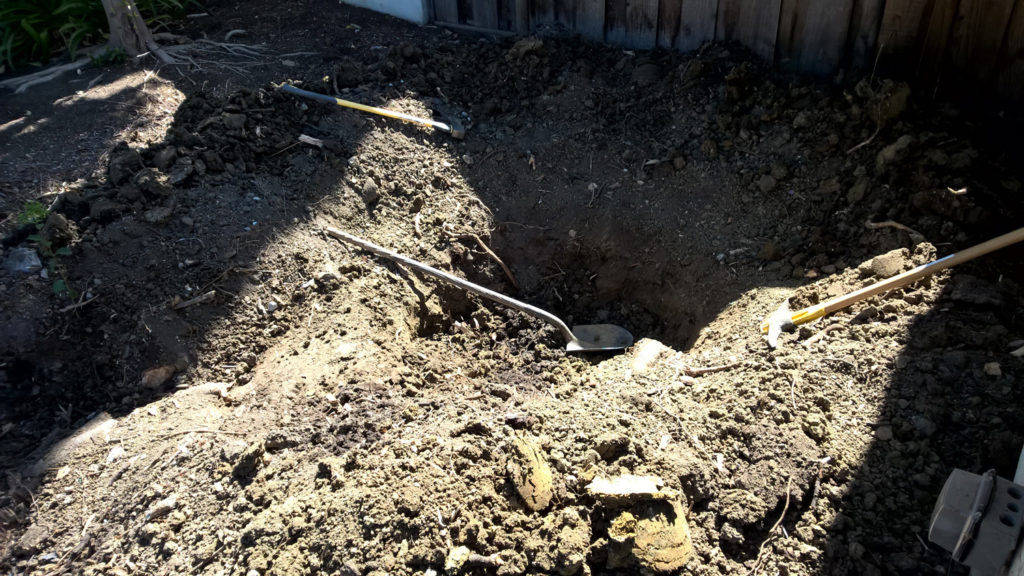
As time progressed, I eventually got all the roots out, but I also found myself with a giant hole in my front yard. At least now I knew if I were to dig in this section again, I wouldn’t run into anything unexpectedly. 🙂
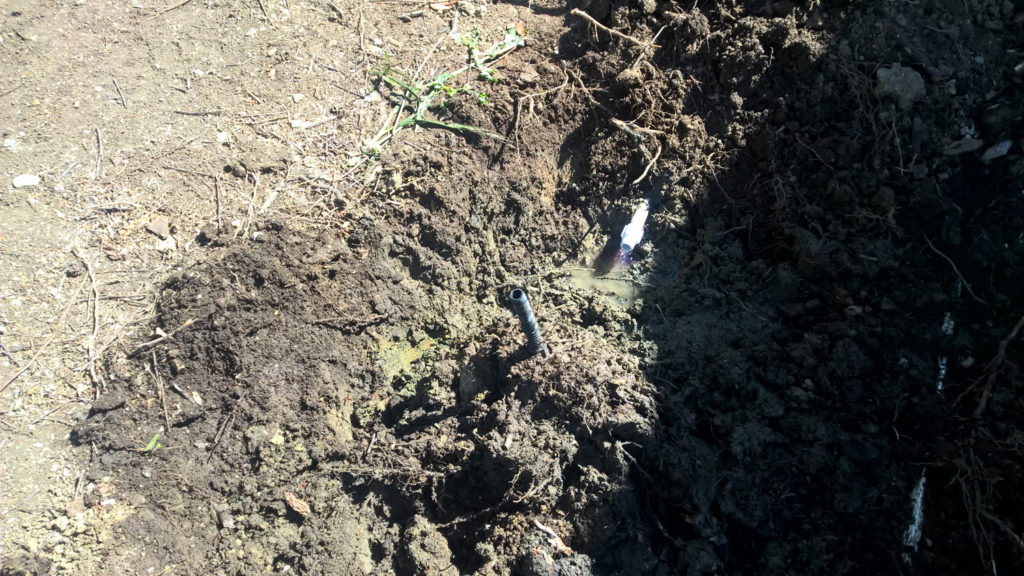
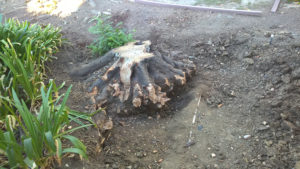
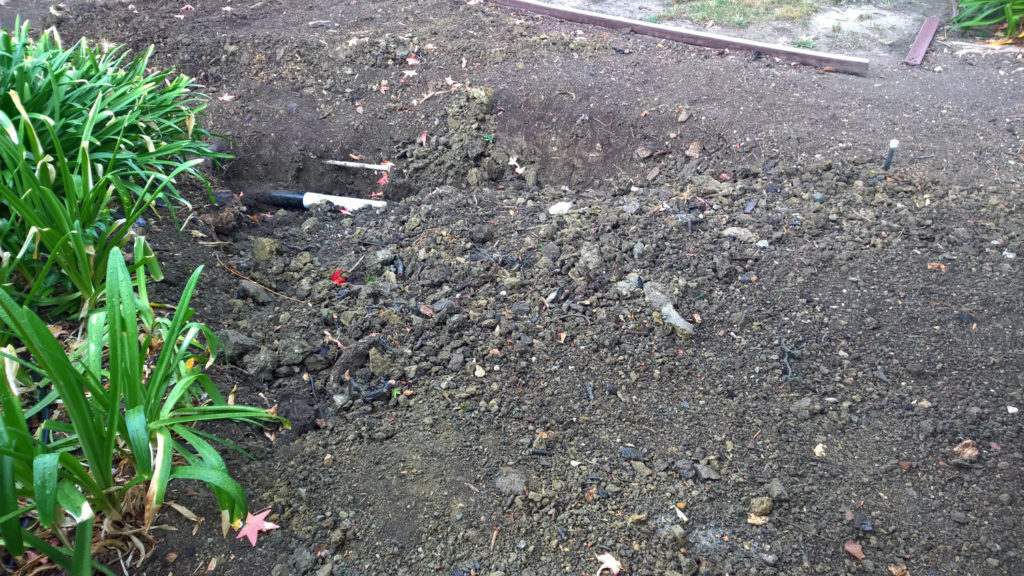
One thing I did learn, is roots love leaky sprinklers. Shoot, roots love anything that provides them free water. While digging I came across so many root balls wrapped around sprinkler heads, like this one.
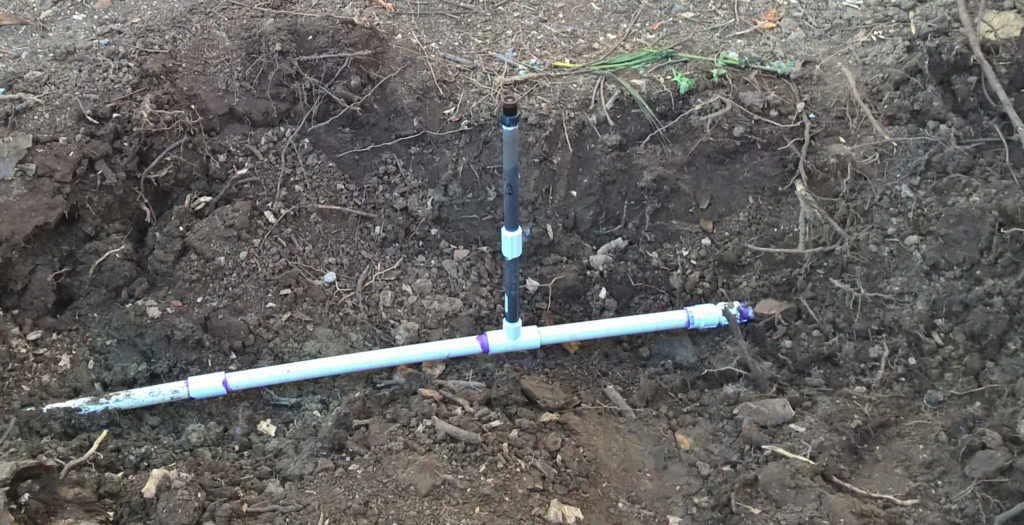
I had to break the irrigation pipe, connect a slip to thread male fitting and then screw on a cap so that the sprinkler irrigation line would stop leaking. What I later found was my neighbors irrigation valves were so old and corroded they needed to be replaced. I let them know of their irrigation leak and we talked about it when they got home from work.
They were thankful to learn about the problem and quickly had their sprinklers fixed. This stopped the leak and quickly dried the ground up.
Since I broke their irrigation line to find the problem, I gladly re-fixed it. I would later re-break this numerous times and fixed it every time so they could run their sprinklers if they needed to.
Birch Stump Removal
It took a few weeks to finally get to the birch tree stump. I had drilled some holes in the top of it and poured in stump remover to help start the decomposing process sooner. I’m not sure if it helped.
The roots on the birch tree were huge to begin with, and they were plenty. Each root section I would remove was the size of a pro football players thigh.
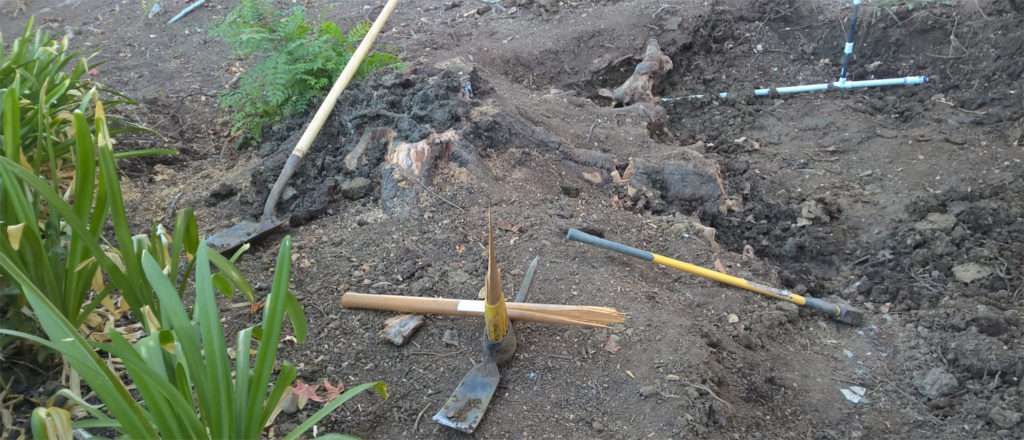
When I got to the trunk, I found by cutting it in half and using some 5 pound splitting wedges helped to break the stump into more manageable sections. The splitting wedges I found at Home Depot for about $8 a wedge. I bought two. I also had an ax with a cutting head on one side a hammer head on the other.
Initially I wanted to keep the stump intact but quickly learned that I didn’t have the physical strength nor the ability to move it, once it was free from the ground.
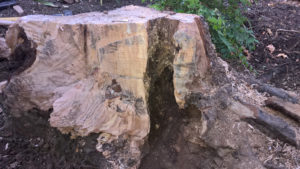
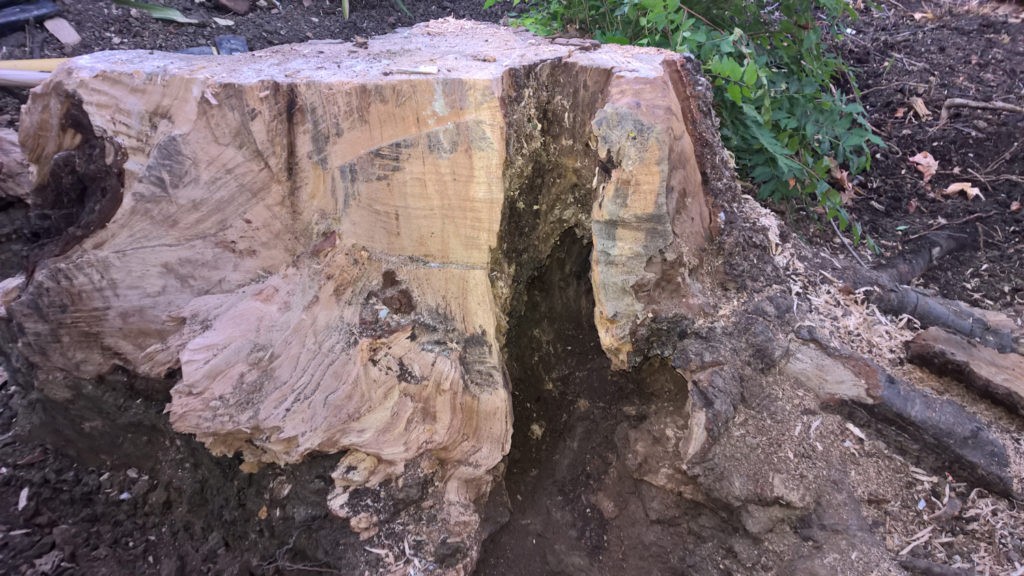
After cutting it in half and separating it, I found the root rot had taken out about 10% of the stump base and the ground underneath was loose with decayed wood matter. I could easily dig out the decayed wood with my hand and it came apart easily.
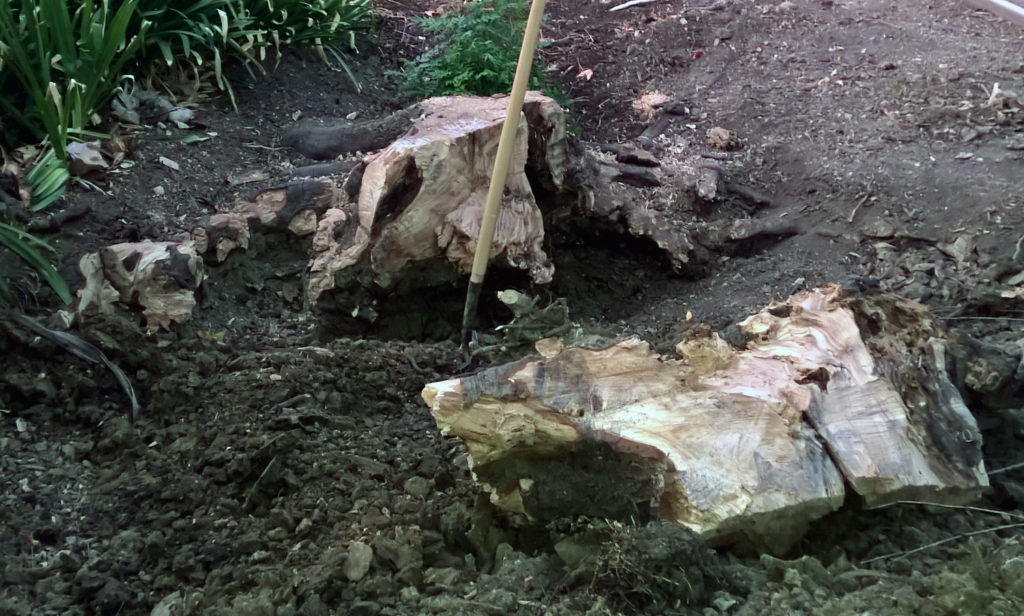
As you can see the stump sections were large and I had to dig deep into the ground to get the sections apart.
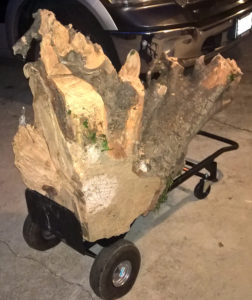
The first section, seen in the forefront of the picture easily weighed about 200 pounds. I tried putting it into a wheel barrow that the stump weighed more than the tire could hold. I could rock the stump side to side and figured out rolling it would be the best. Moving these sections was quite hard.
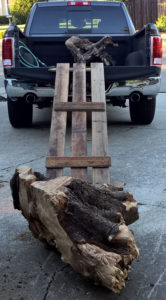
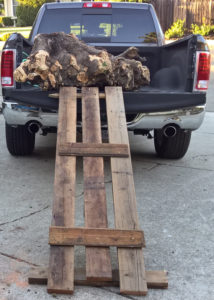
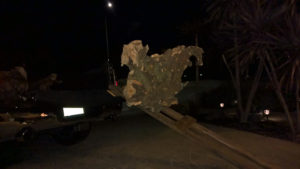
Using a ramp made from spare 2×4’s and ship lap, I was able to roll the stump into the back of my truck.
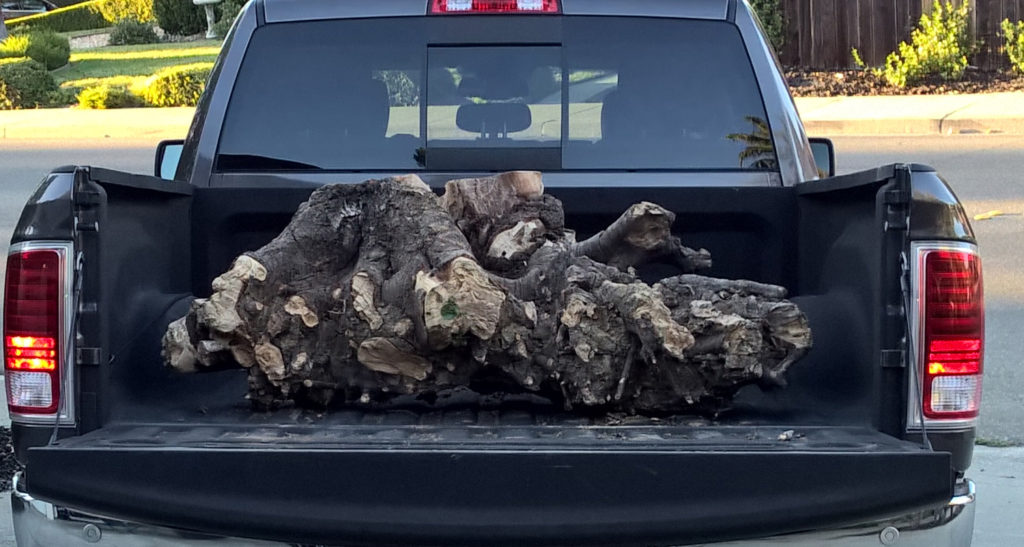
As you can see the stump is huge, nearly as wide as the truck. The last few sections of the stump were brought out in the same way. Rolled to the driveway and into the back of the truck.
Once the birch tree stumps were out of the ground, I filled in the hole with the dirt I had dug out from around the stump. I took the stumps to a local landfill.
Now that I had the tree stump removed, I was ready to start digging for the infiltration trench. I had enough room left from the tree stump for extra dirt to re-level out the landscape again. I wouldn’t need to haul away any dirt. This was ideal in my situation. Plus I also knew that if I chose to plant another tree in this spot in the future I wouldn’t run into any unexpected roots, rocks or water pipes.
Next up, digging the infiltration trench.


Leave a Reply