AquaBlox installed in trench.
The installation part of my infiltration trench took about an hour. Compared to the testing, designing, researching, site preparation and digging phase of the project, installing the AquaBlox was the easiest and quickest part of the entire project.
This is the second to last article in this “infiltration trench” series but it is the most important. Read on to see how to install two large AquaBlox and get the most out of the rainwater that falls on your roof.
Recap
I have a section of my front yard that is rarely accessed and a stormwater drainage pipe runs right through it. I decided to dig a 3′ deep, 2′ wide and 5′ long trench around the drainage pipe for the sole purpose of installing two AquaBlox. This was to provide an avenue for rainwater from the roof to percolate into the ground, help recharge groundwater and provide moisture for drought stricken trees and plants in my front landscape. The final product would be hidden from view and could be walked on top of.
All work was done by hand and costs were relatively low. When available, free materials were used (such as wood chips, gravel, sand and river rock).
Supplies Needed
- 2 Large AquaBlox – $52.99 x 2 ($105.98+ tax)
- Rubber Mallet
- Soil Sepearator Geotextile Fabric – $14.99
- 3 inch Perforated Drain Pipe – $7.71
- Gravel or Sand
- Fill Dirt
Installation
Three days before this installation a big rainstorm came through and filled the trench up with rainwater. My first step was to drain the trench before I could get in and install the ‘Blox.
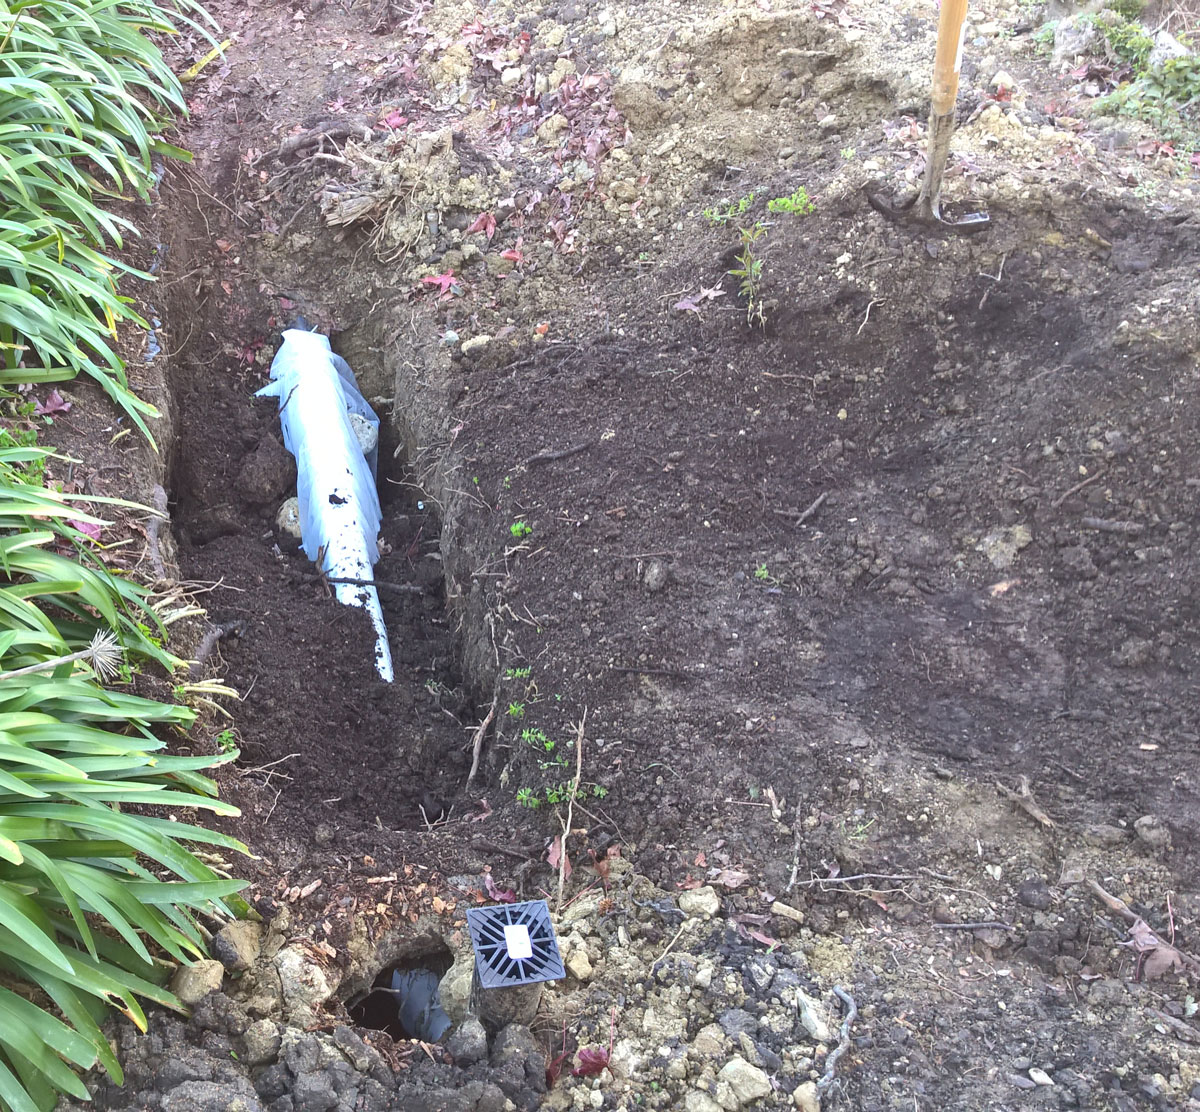
Infiltration trench before AquaBlox installation.
I removed the white preforated drain pipe and used a bucket to drain the trench. I guesstimate there was easily 80 gallons of water in the trench.
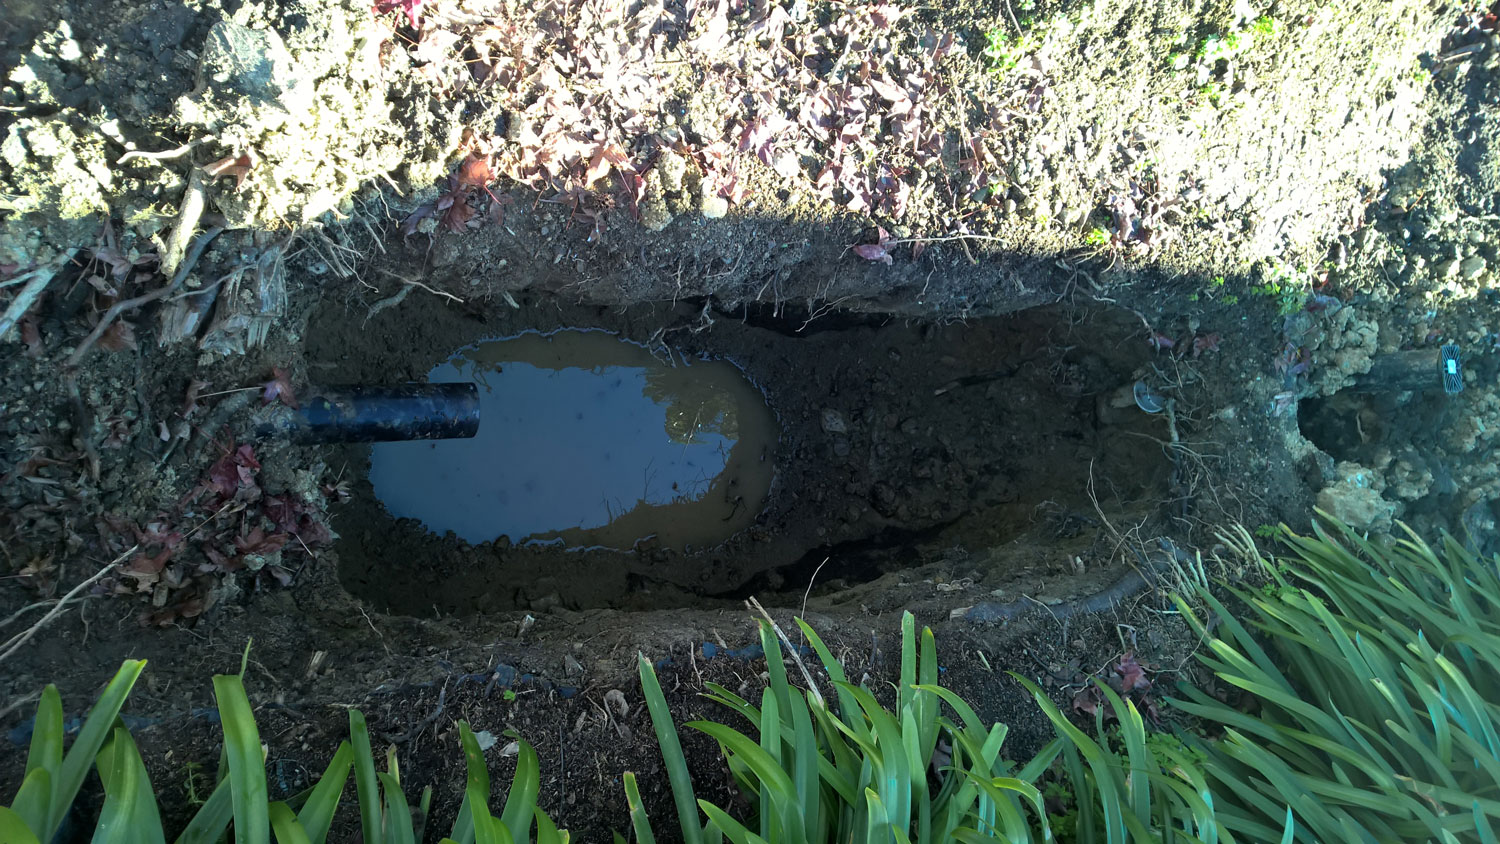
Dewatered infiltration trench.
Now with the trench emptied, I dug out the bottom a little and ensured it was flat. Using a measuring tape I ensured the distance from the bottom of the drain pipe to the bottom of the trench was at least 21″ (17.5″ for the AquaBlox and 3″ for bottom fill media for the AquaBlox to sit on).
Despite installation directions saying I should use sand at the bottom, I filled mine with free wood chips. Why? Wood chips act like sponge when in the ground for water and I wanted to provide the maximum space available for water to soak into. Plus, the ground is mostly clay (it drains, the clay really is not that bad) and wood chips would work to help improve soil structure and aid in drainage. It is a hugelkultur thing. 🙂 The wood chips were free because a neighbor ordered a truck of wood chips and now they have too much.
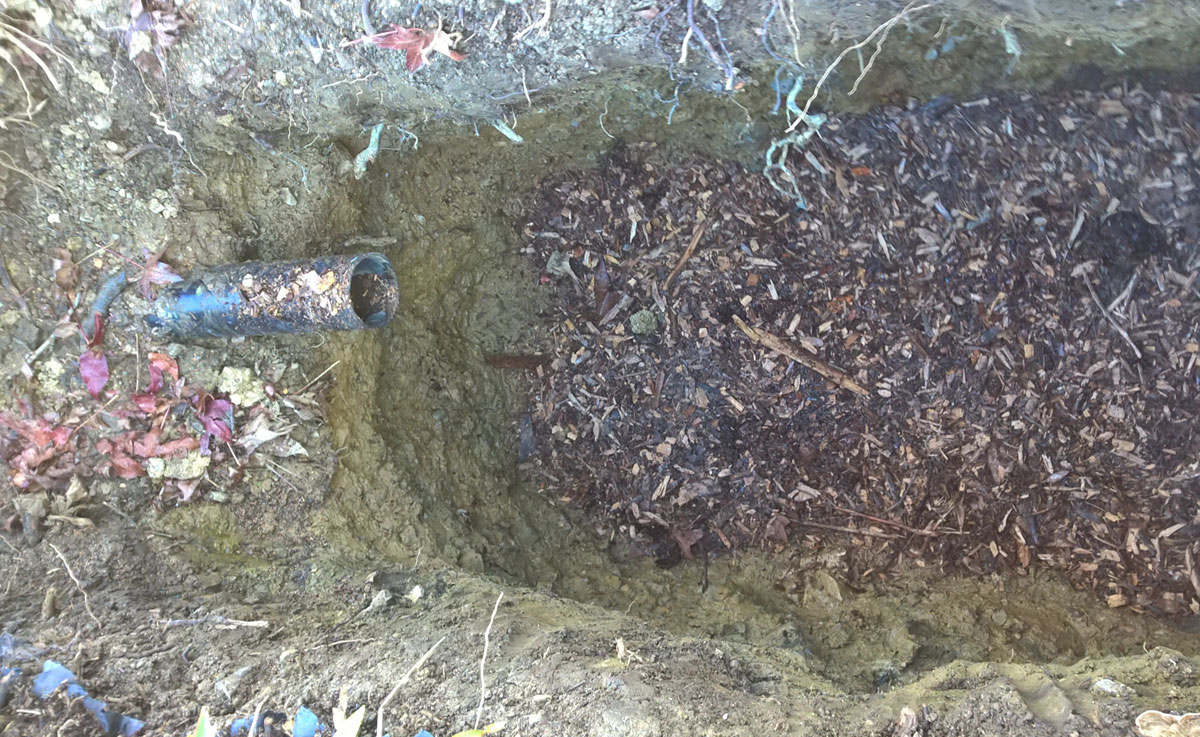
Free wood chips in bottom of trench.
Now with the trench bottom filled, it was time to build the AquaBlox.
AquaBlox Assembly
They are very quick to assemble, each one takes less than a minute.
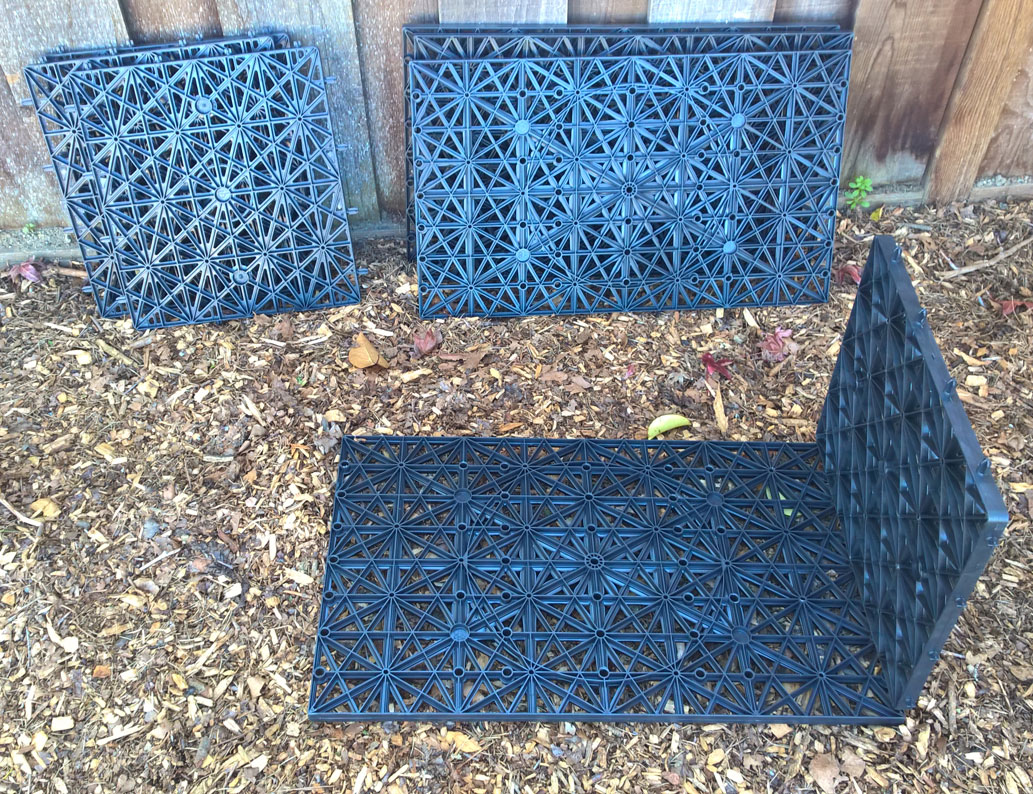 4 large pieces, 4 small pieces. |
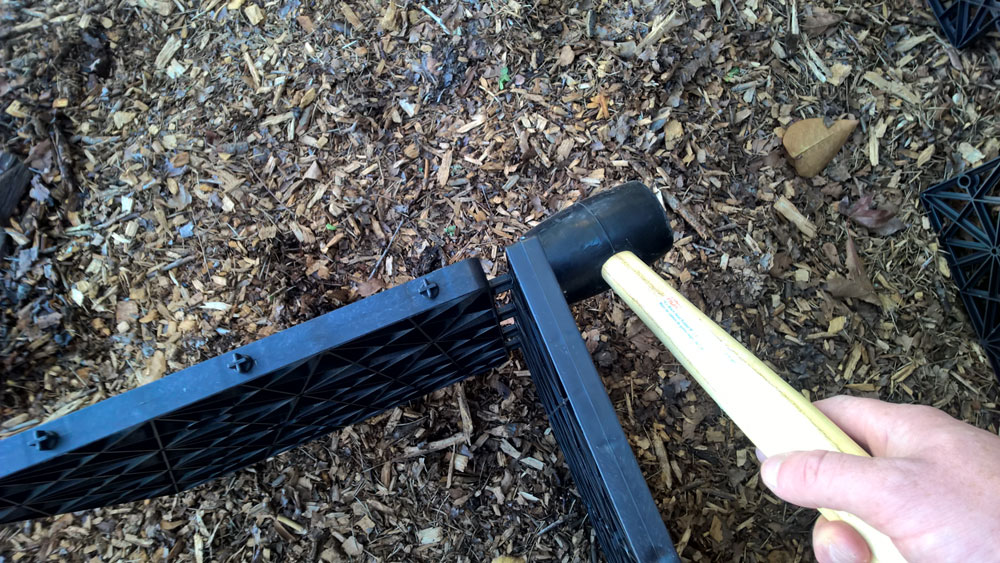 Little spikes fit into small holes. |
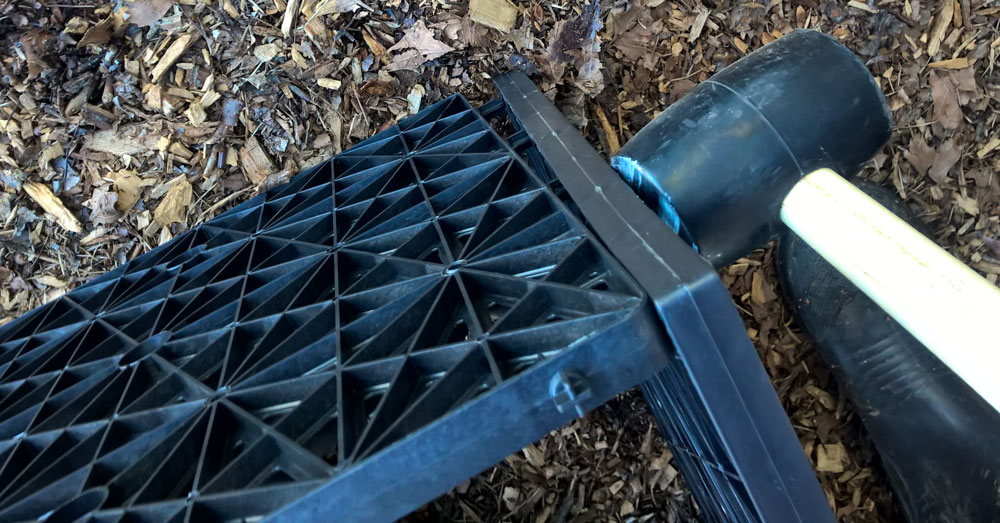 Using a rubber mallet, pound together. |
|
Grab the large section, attach a small piece to the end and tap together with a rubber mallet. Do it again until rest of the small pieces are attached. Then turn on its side and attach a large section again.
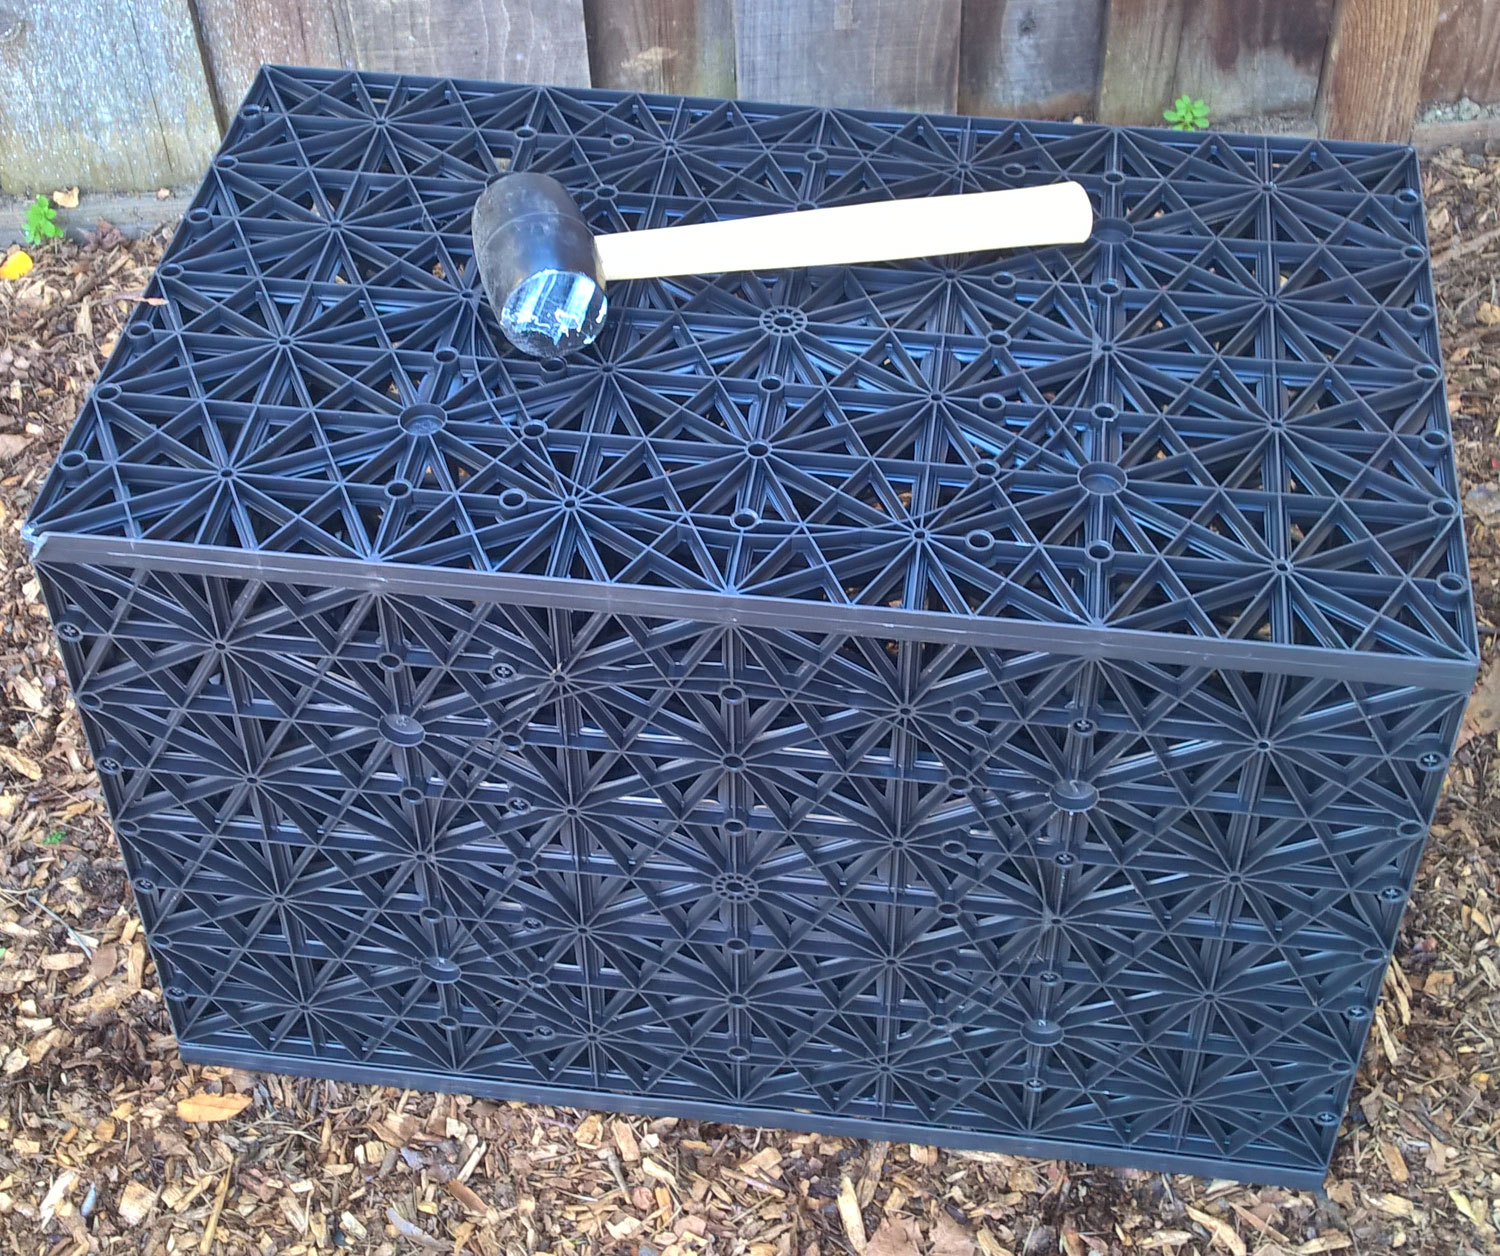
Large AquaBlox, assembled.
When you’re done you’ll have a completed box.
The next step is to line the infiltration trench with soil separator fabric, overlapping when possible. Think of it like the AquaBlox are a package and you’ll need extra wrapping paper to ensure it is completely covered.
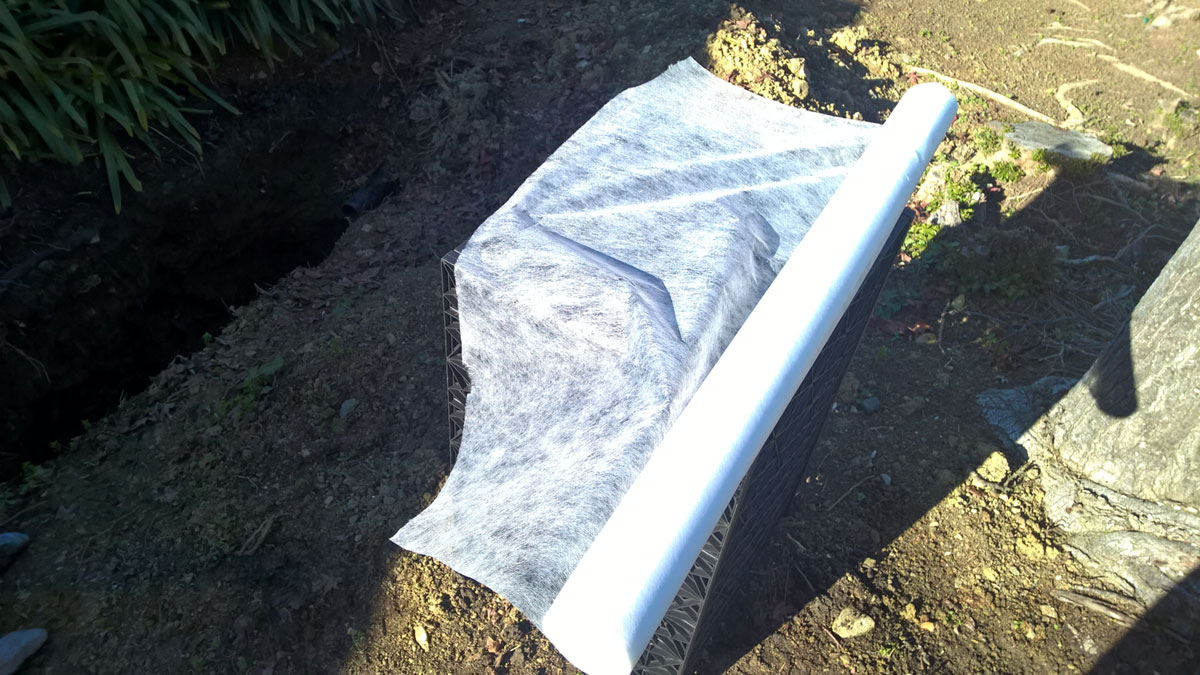 Soil separator fabric. |
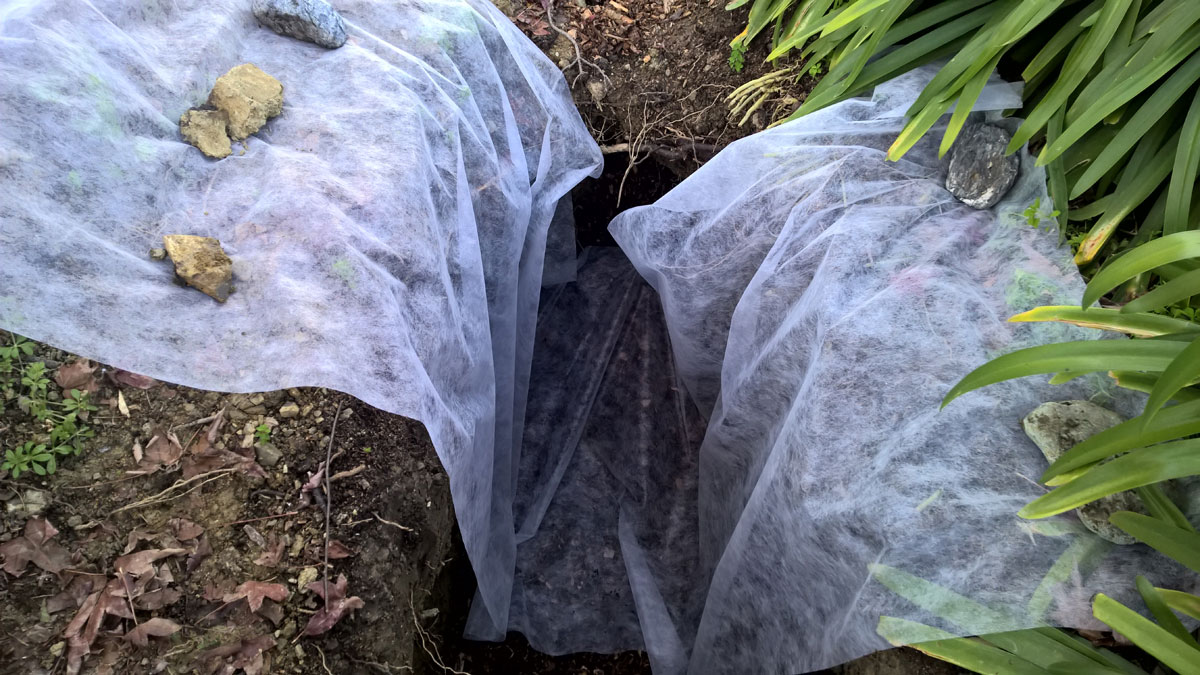 Excess “secured” using rocks found while digging. |
Once the first pass of the fabric was done, I laid the first AquaBlox in place.
First AquaBlox in place.
Next, I laid down the rest of the fabric, overlapping on each pass and holding it in place with rocks.

Next AquaBlox ready to go in.
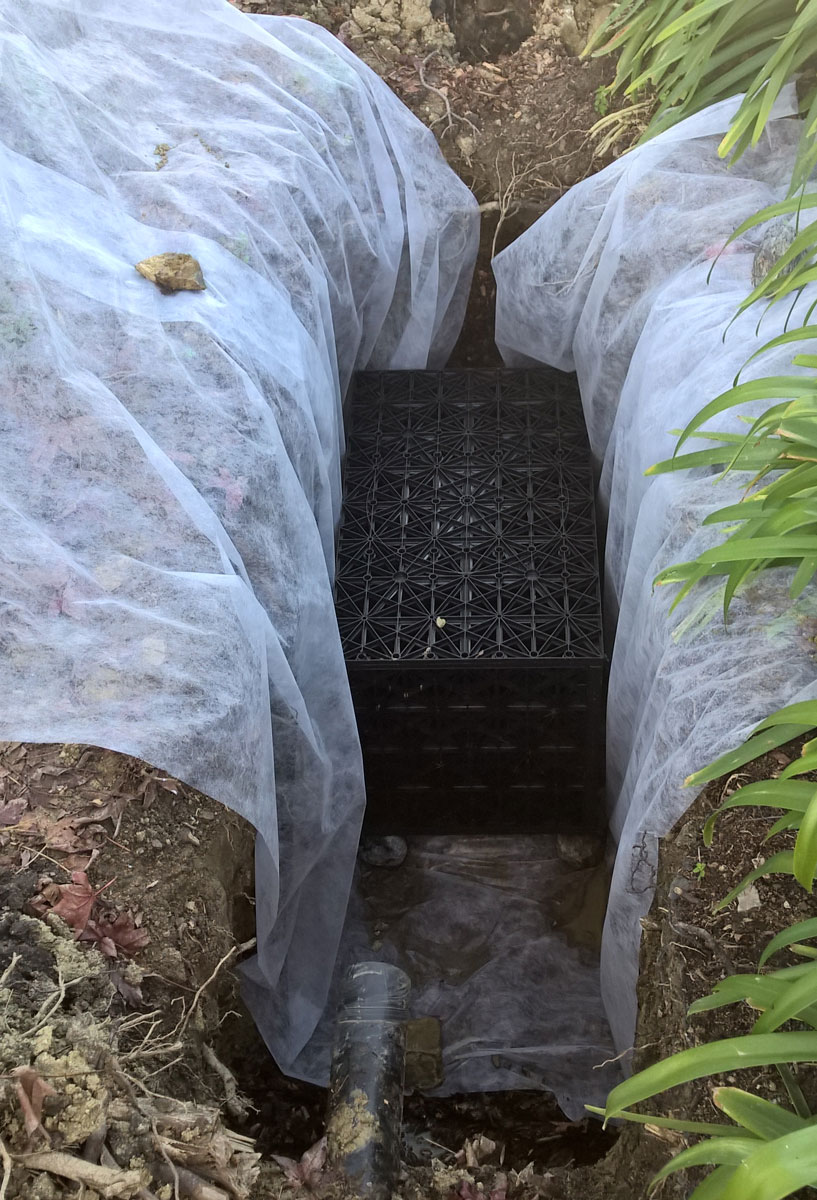
The installation of the second AquaBlox slid in next to the first one and under the drainage pipe.
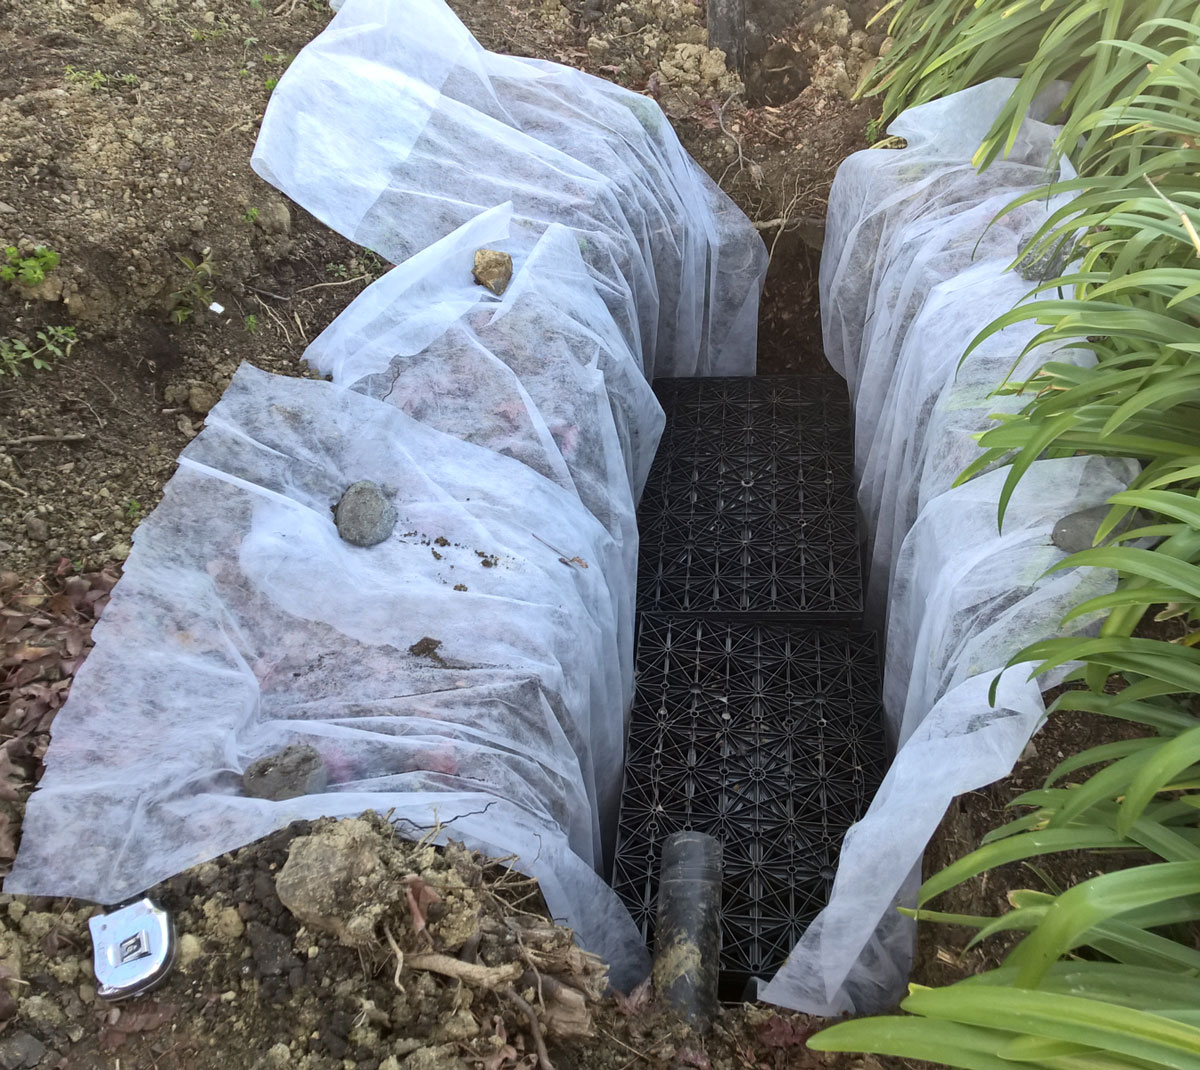
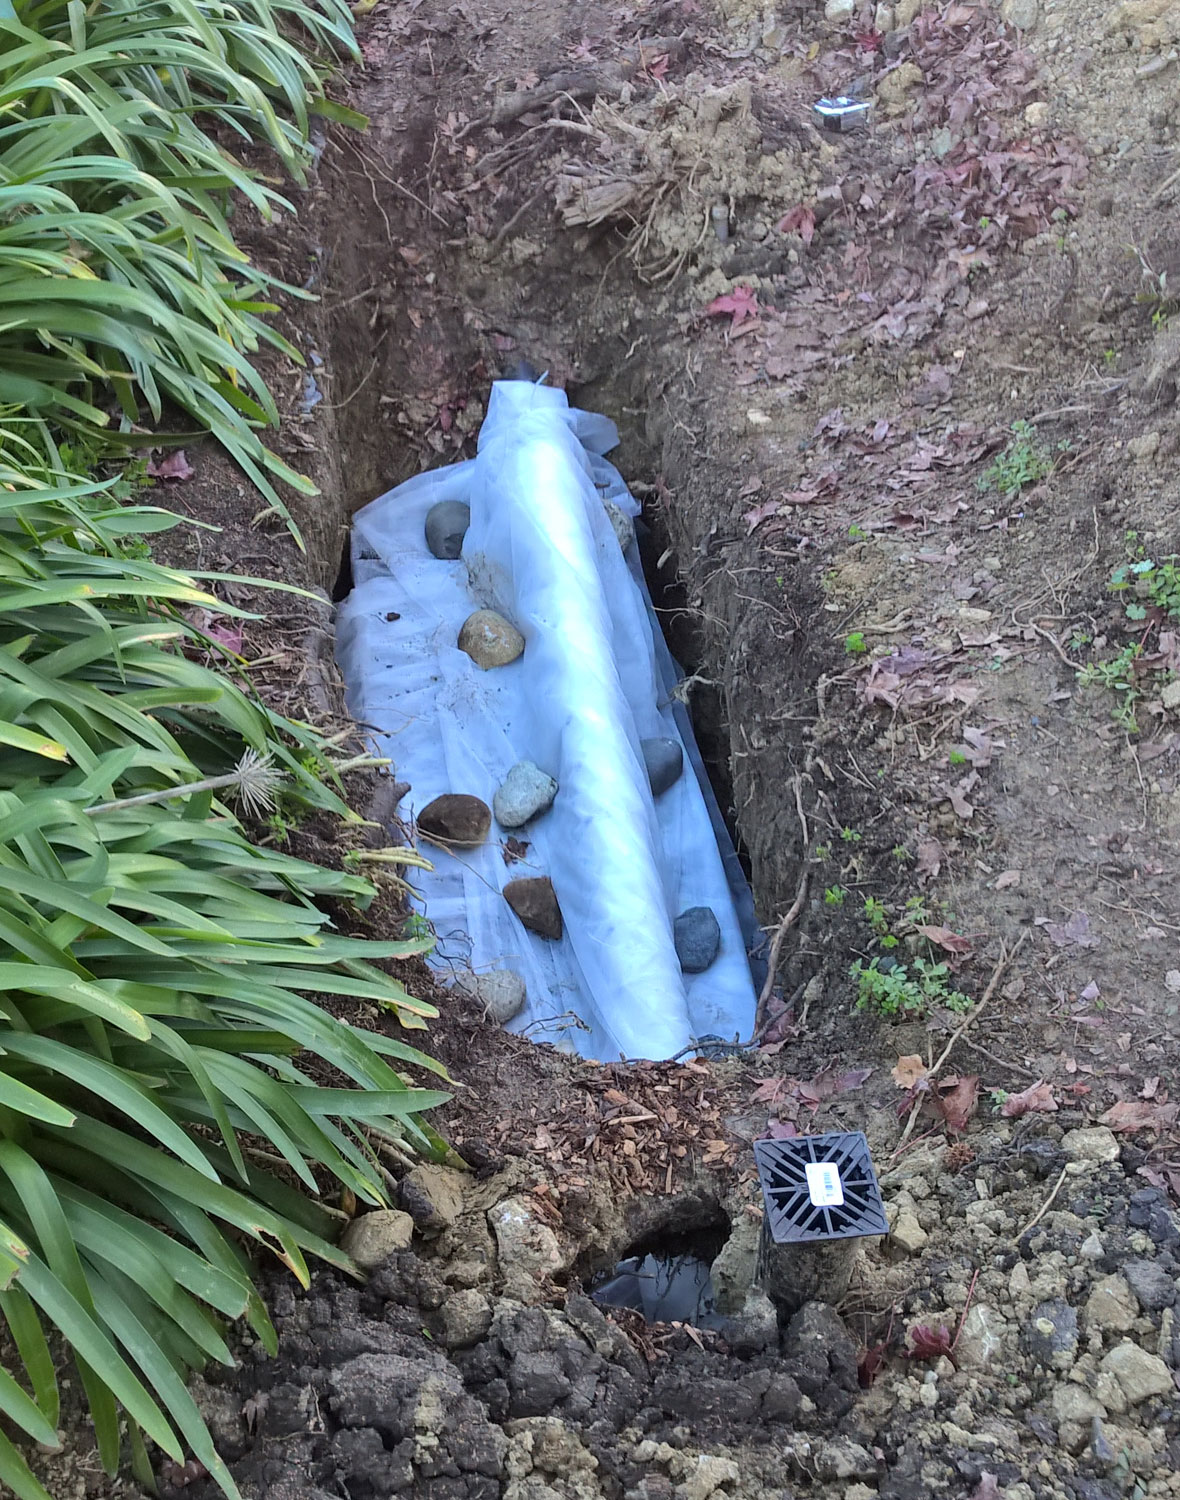
Two large AquaBlox installed in series.
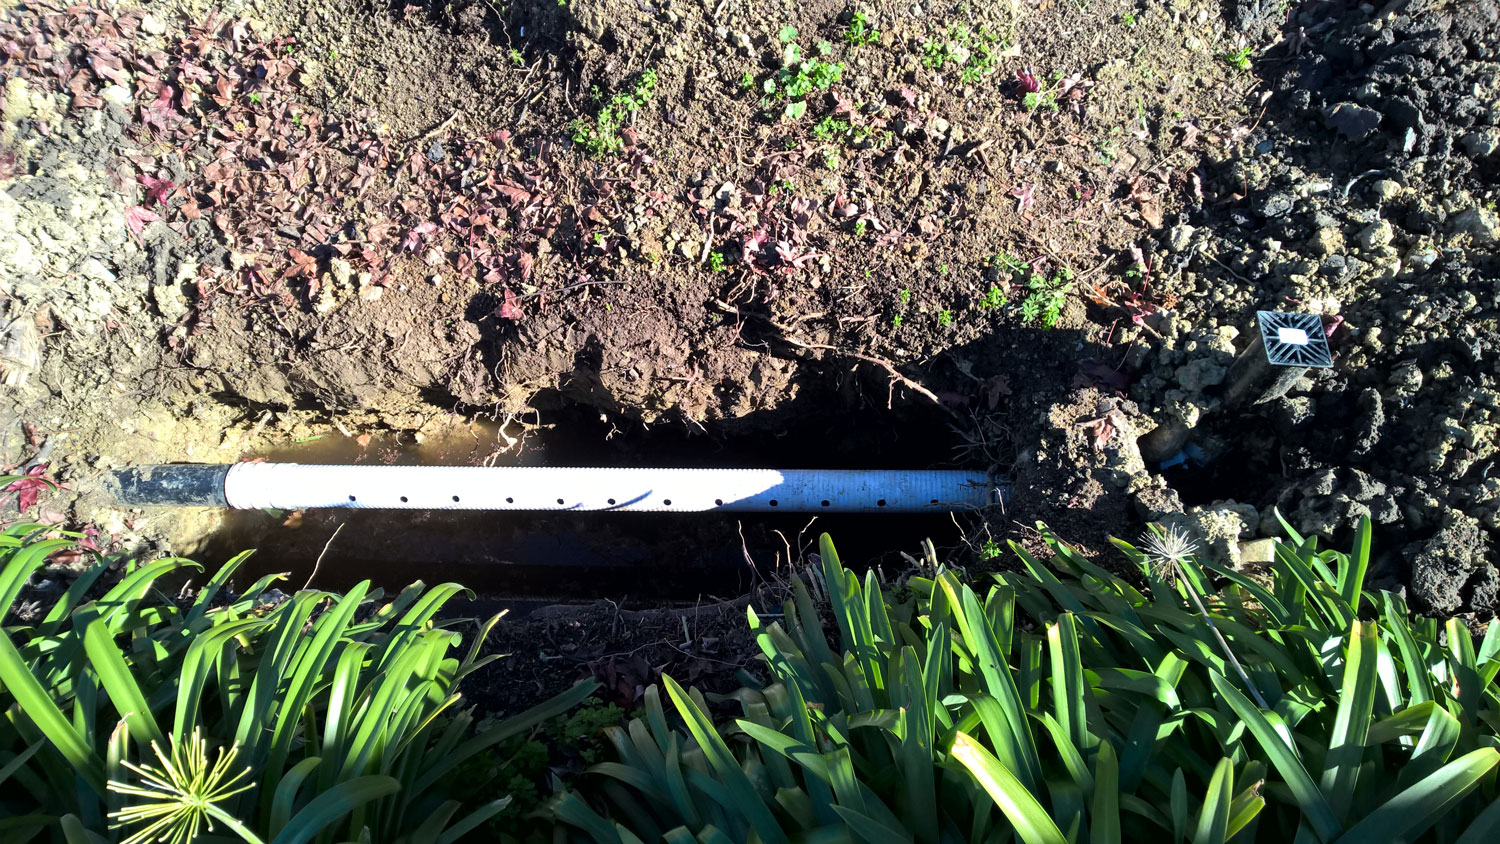
Now that the ‘Blox were in, I could re-install the preforated drainage pipe. First I needed to drill extra holes in the bottom of the pipe. This was to allow more water to drain into the trench when water flowed down the pipe. I grabbed my drill and a 1″ drill bit and drilled quite a few more holes.

Drilled more holes in drainage pipe.
Next, reinstall the pipe back in line as before ensuring the extra holes are positioned towards the bottom. Standing on top of the Blox was a requirement at this point, something easily done as the Blox can withstand up to ~ 5,400 pounds per square foot.
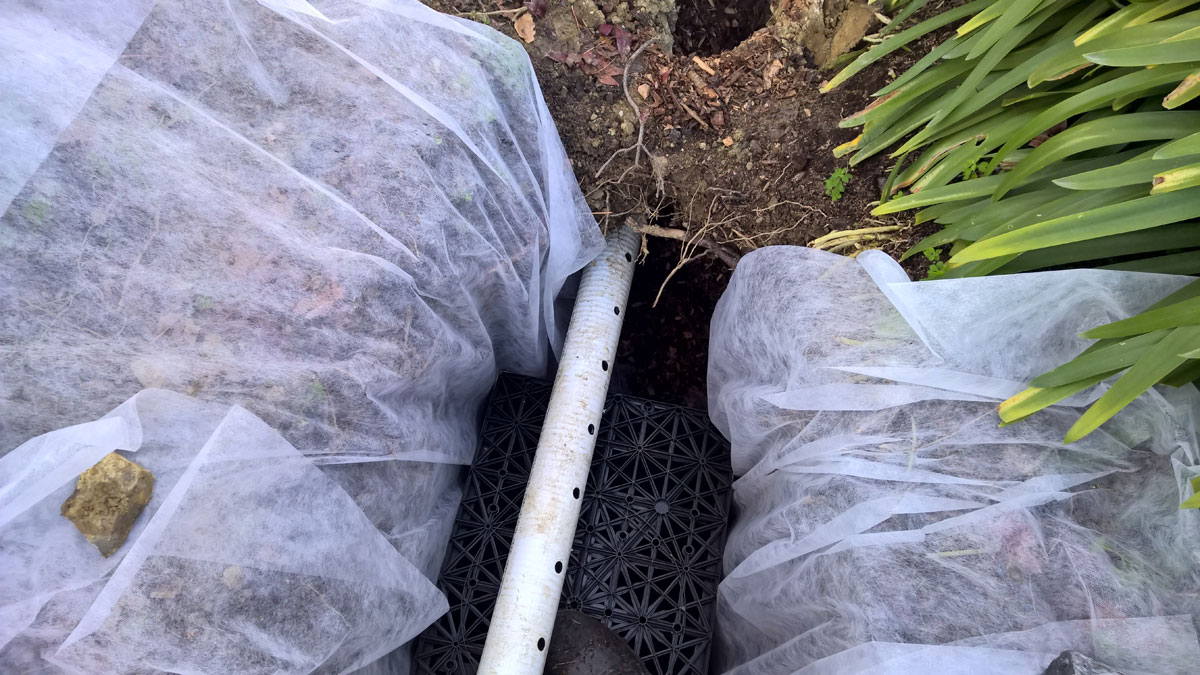
Perforated pipe re-installation.
With the pipe reinstalled, now it was time to wrap the excess soil separator fabric around the pipe and tuck it in along the side of the AquaBlox. Very similar to wrapping a present or a gift.
z Wrap the excess soil separator fabric around the AquaBlox.
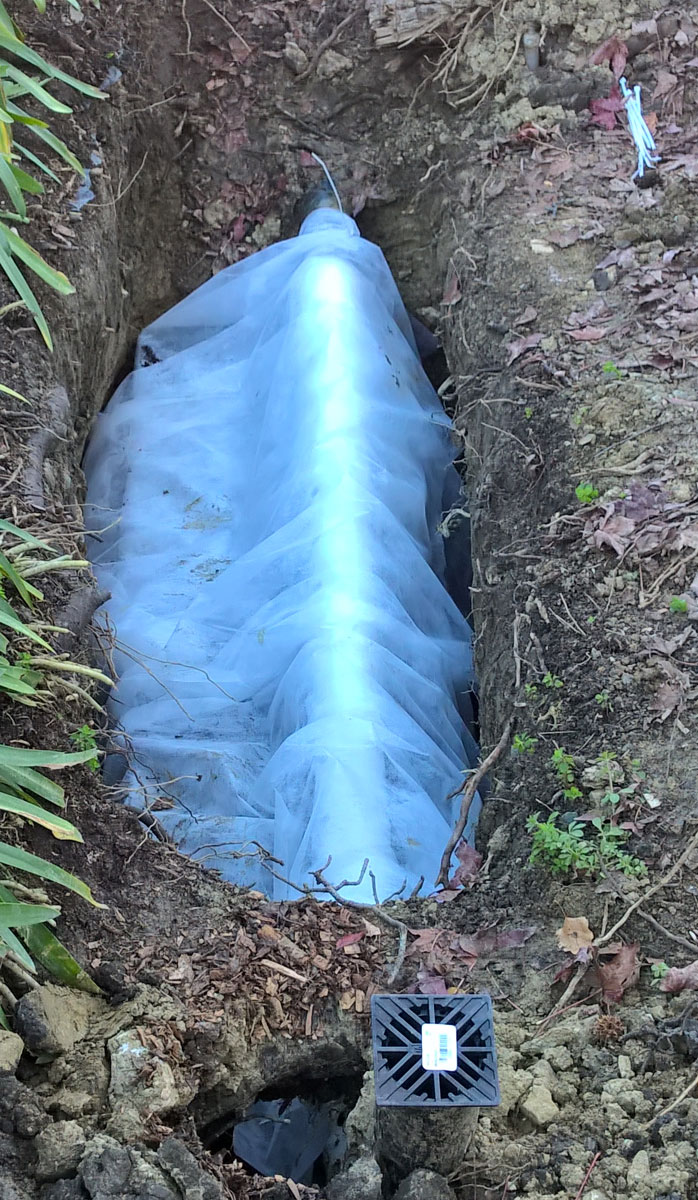
For an extra layer of protection from the top, another sheet of soil separator fabric was laid down on top of the wrapped “package” and held in place with spare rocks.
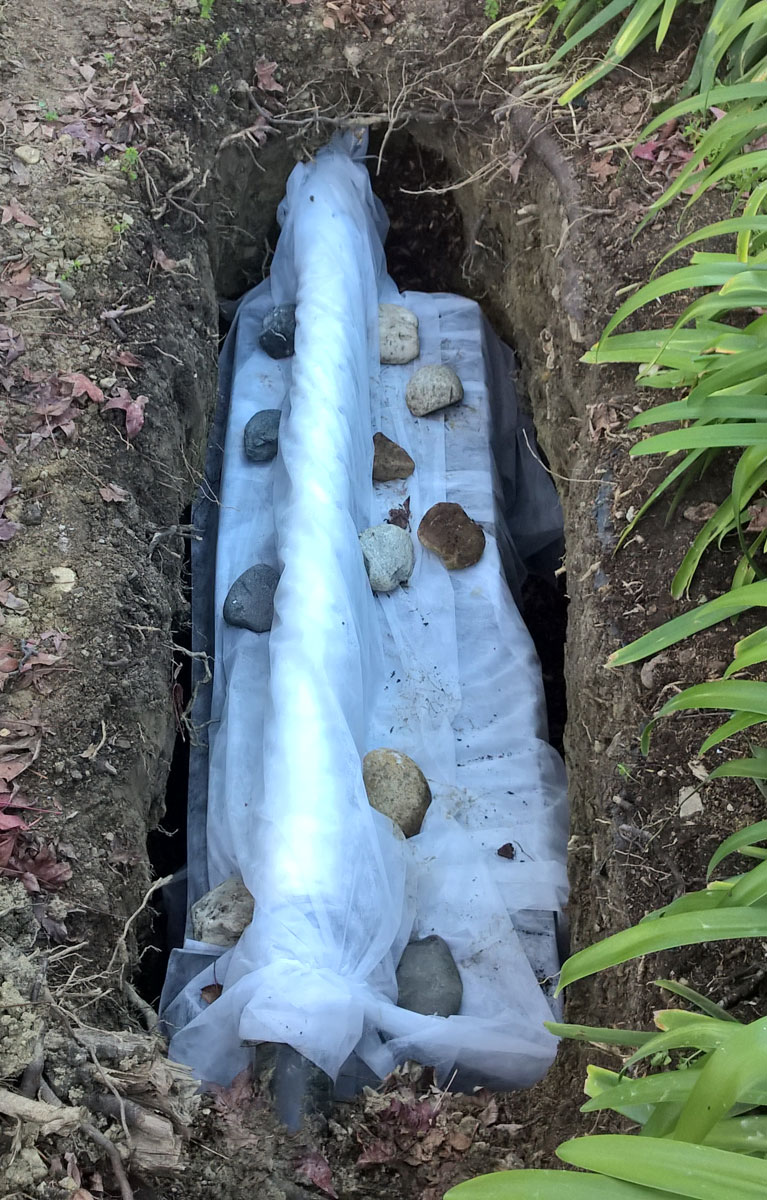
Extra layer of soil separator held in place with rocks.
Now that the AquaBlox were in and they were wrapped with geotextile fabric, it was time to fill the sides of the trench between the ‘Blox and the dirt with gravel and sand. This was meant to provide some structure support and fill between the void the ‘Blox make and backfill the space before it reaches the soil walls. It took quite a few buckets of gravel and sand – material I had laying around my side yard.
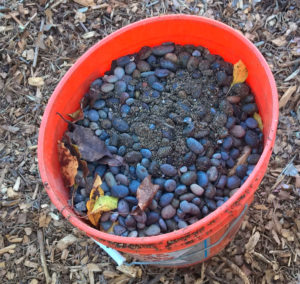
Gravel and sand used for backfill.
Once the sides had been back filled, it was time to use the excess fill dirt removed from the trench to cover the AquaBlox and re-level out the ground again.
 Covering the AquaBlox with dirt. |
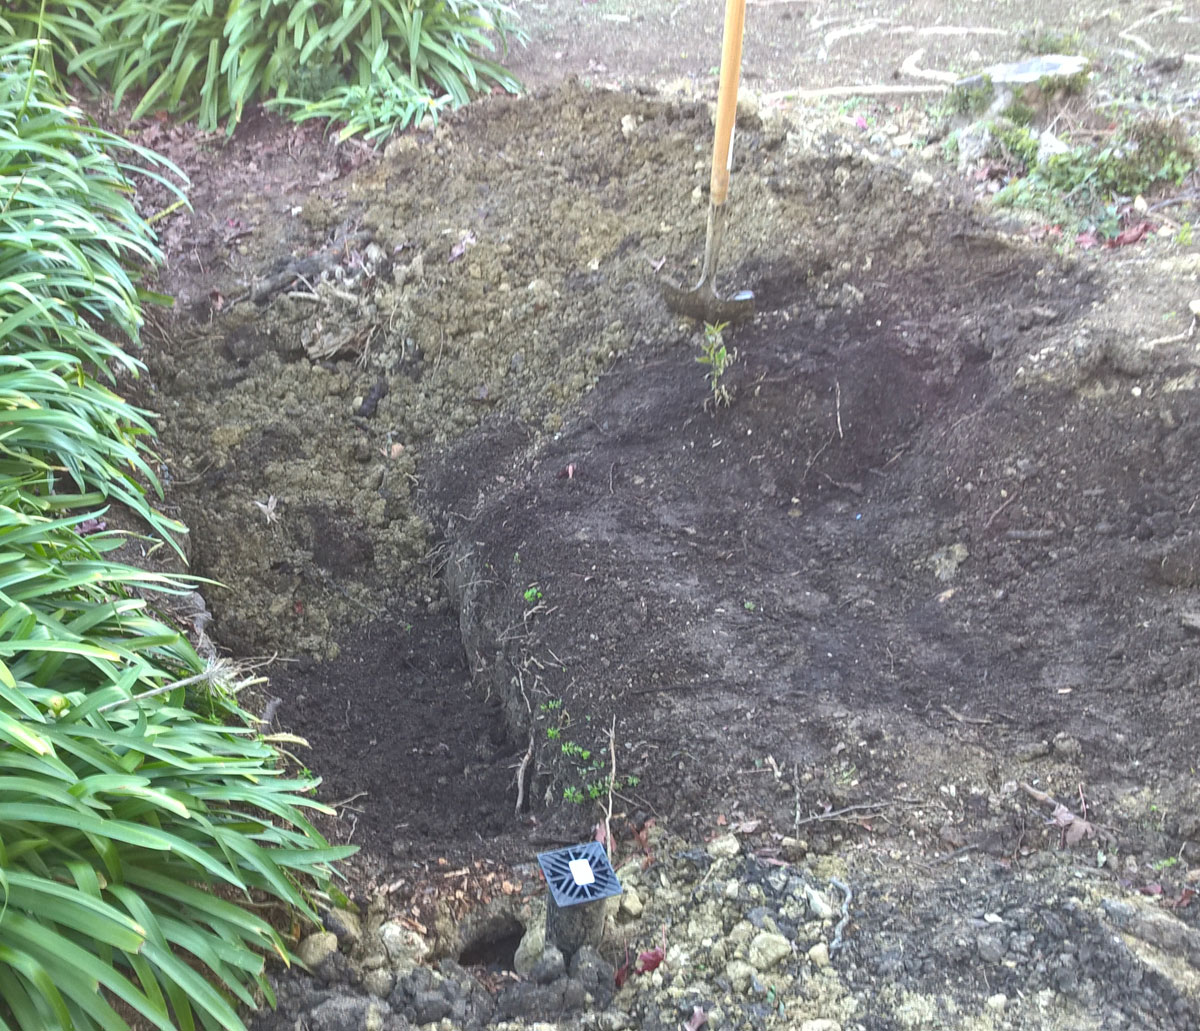 About one foot deep of dirt on top. |
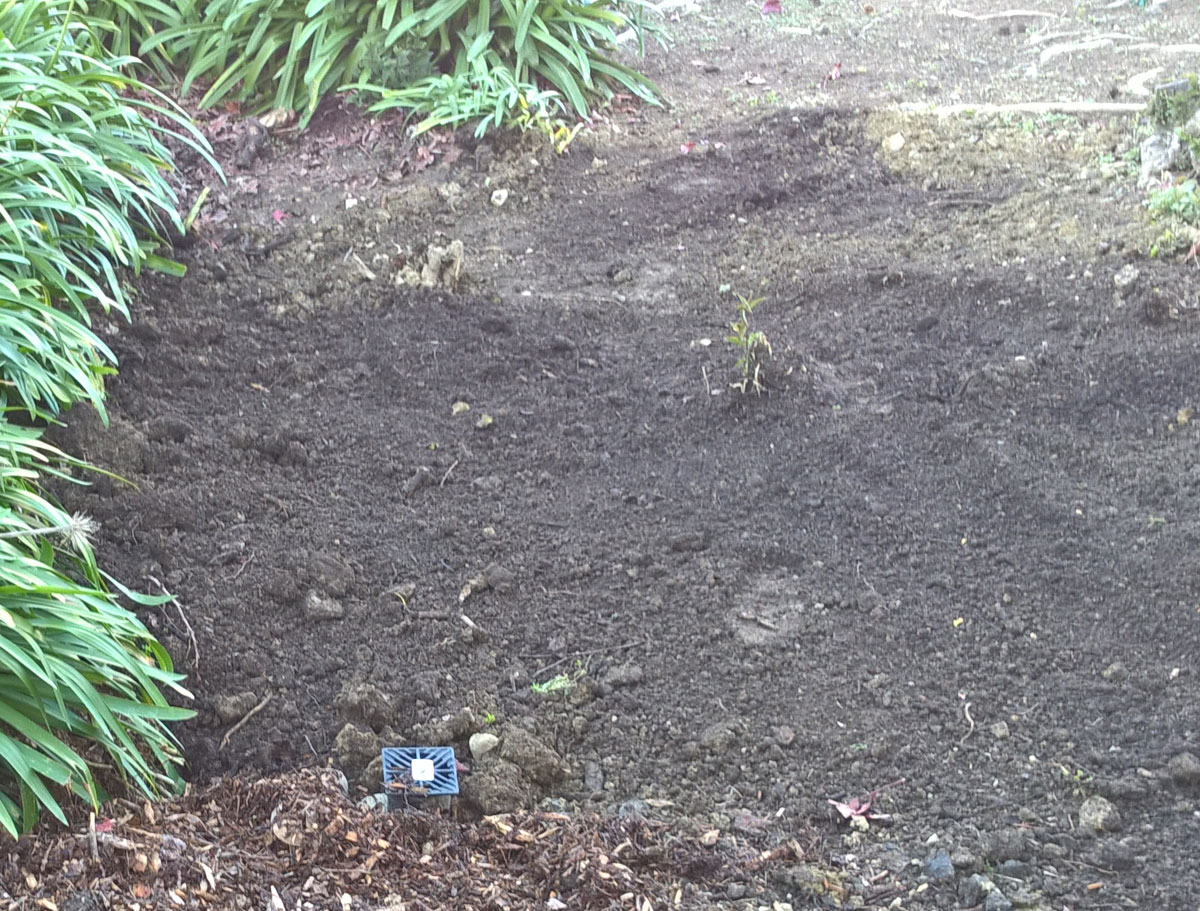
Dirt leveled out.
With the dirt leveled out and the area cleared of trash and debris, it was time for another rain storm. This would be the test to see if it worked.
The infiltration trench worked exactly as it was designed. Water from the roof flowed down the drainage pipe and when the trench was full it properly overflowed to the street. There was no sign of any dirt overflowing through the pipe and the area where the AquaBlox were installed didn’t sink. The bare dirt on top of the AquaBlox has since been covered with a 3″ layer of wood chips.
The final part of this project is to overlay some decorative rock and plant some more plants that will be able to utilize this new source of water.
Leave a Reply