
As a followup from our site preparation post, lets focus on following our design for an infiltration trench and actually dig one in. We left off with having dug up a birch tree stump which should leave us with enough room to put the dirt from the trench.
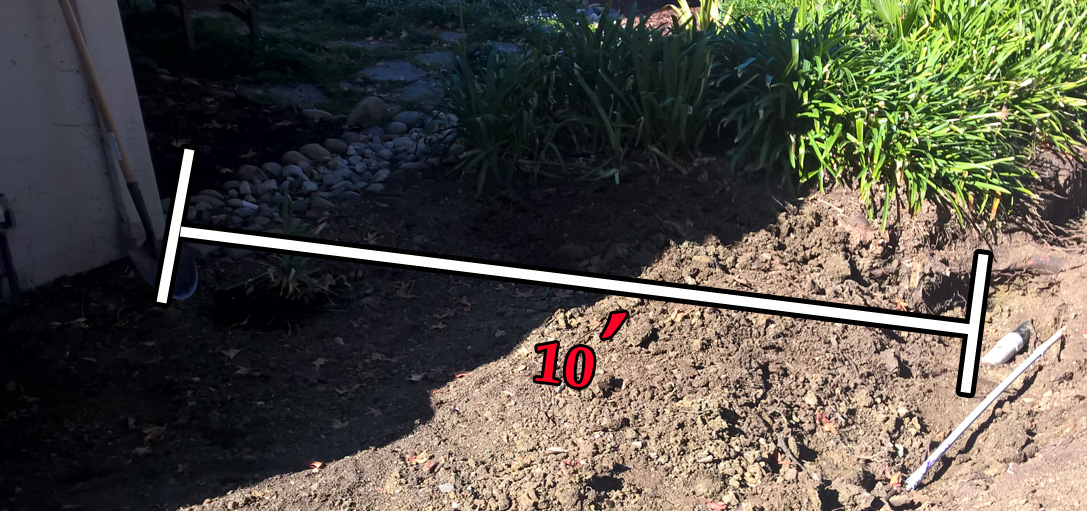
Start trench at least 10 feet from house foundation.
The infiltration trench is designed to allow rainwater from the roofs’ gutters to flow into an underground chamber and then overflow to the street. This will provide the rainwater from the roof a chance to percolate into the ground first before contributing to storm water runoff. This example has been taken from “Capturing Urban Runoff At Home – Part 1“.
The next task is to measure 10’+ from the foundation corner and start the trench there. We chose 10 feet as the basis because we don’t want any water percolation to affect the cement foundation. During this digging process, it is important to ensure there won’t be any utilities in the area. If you are unsure, contact 811 to have them locate underground utilities that you DON’T want to run into.
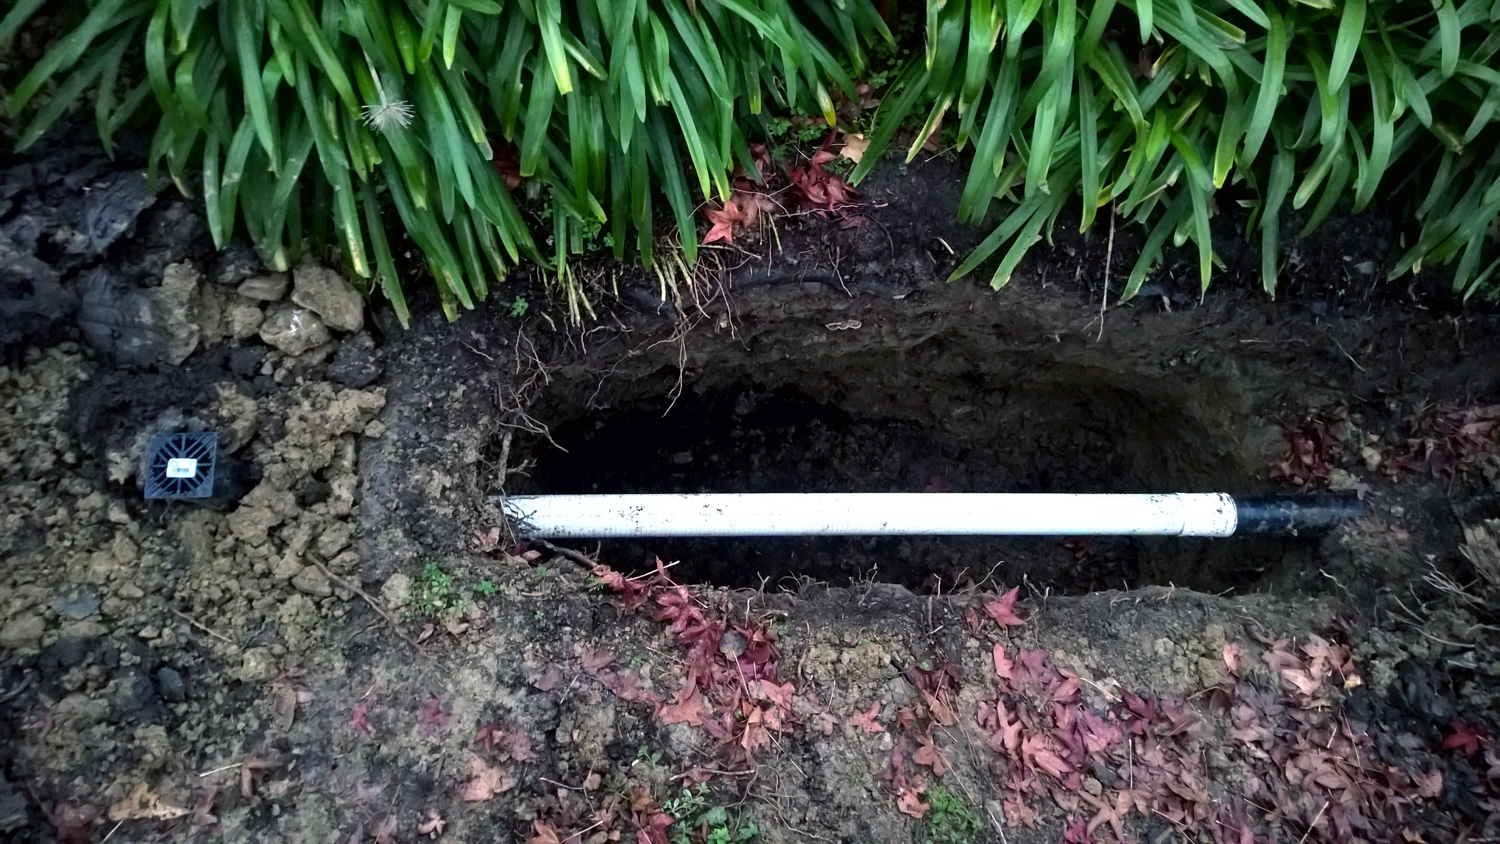
Infiltration trench dug.
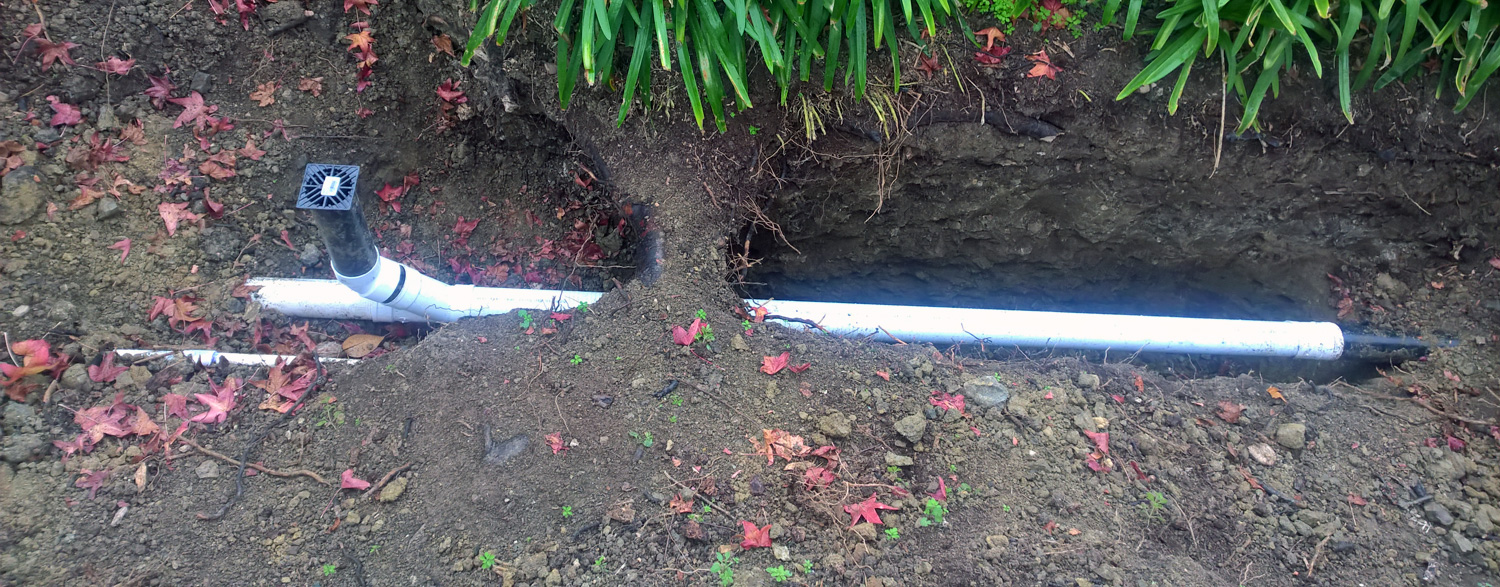
I found when digging my trench there is a large tree root that I didn’t want to remove and had to dig under. This changed where the trench would actually start. I found it worth while to include a clean-out, so that if there were problems with the piping in the future and I could rod out the pipe. It also provides an overflow if there is a backup.
Drain clean-out
The clean out is made up of these parts:
- 3 in. PVC DWV H x H x H Wye – $6.40
- 3 in. PVC DWV 45 Degree Hub x Hub Elbow – $3.45
- 3in. Plastic Black Structural-Foam Polyolefin Grate – $1.74
- 3in. x 10 ft. Perforated Drain Pipe – $7.71
- Extra 3in black pvc drain sections to be used as risers
Total cost: $19.30 (under $20).
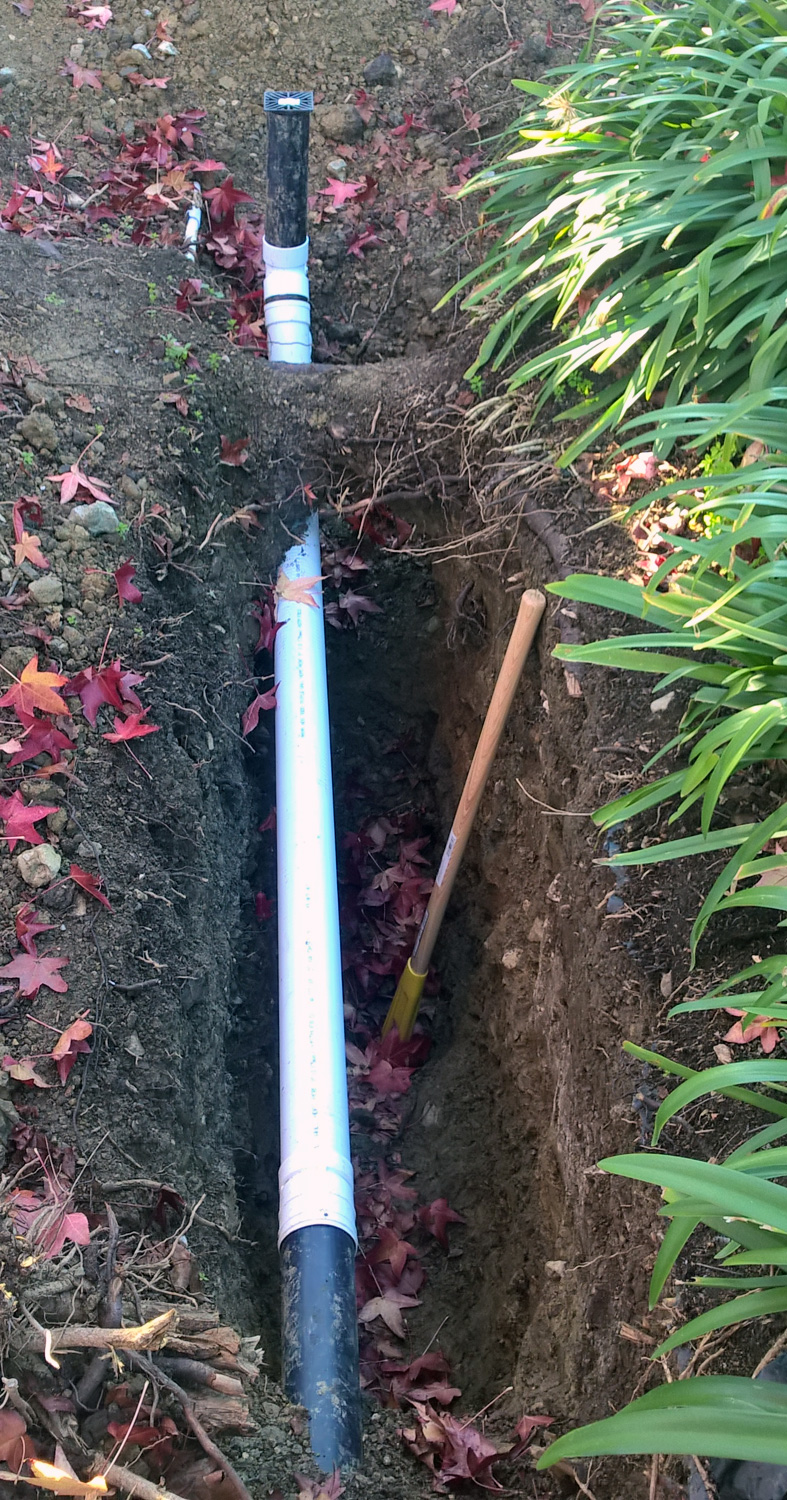
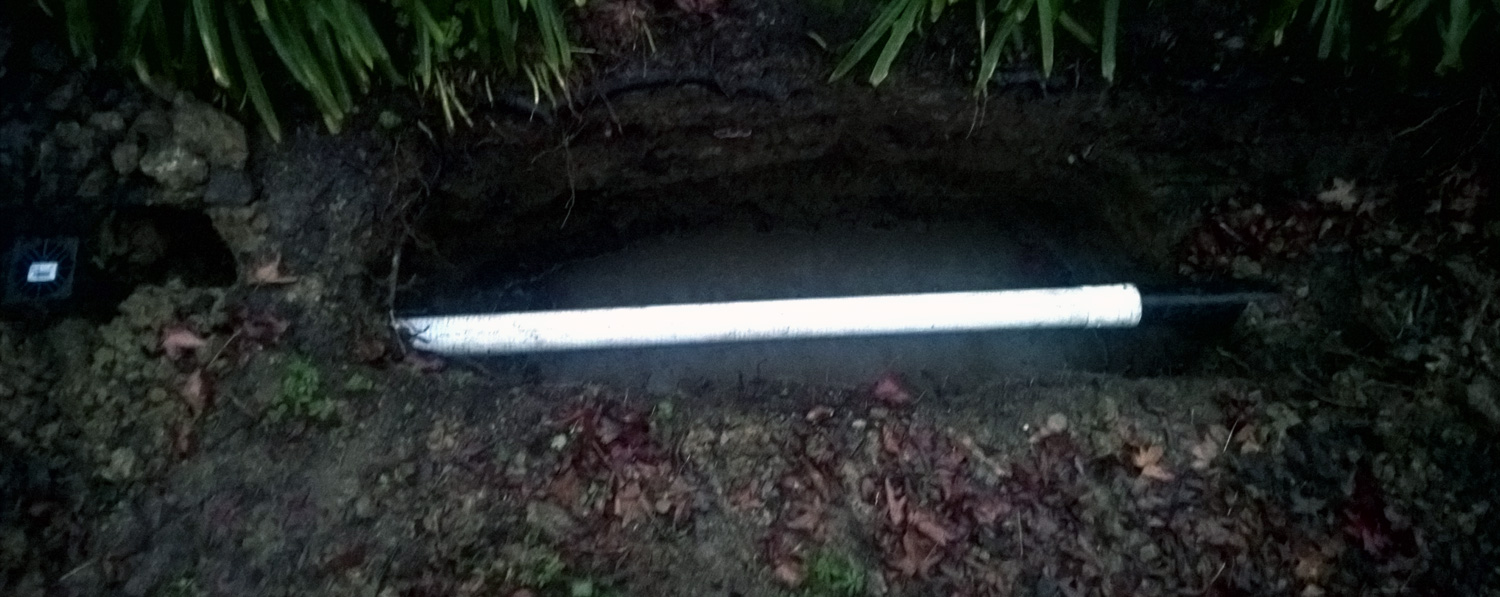
Infiltration trench dug 2 feet below drain pipe.
Per my original design, I needed to the trench to be 12 to 14″ wide, which was the plan when I originally dug the trench. The design also had it set to be about 2 feet deep, below the drainage pipe. In the photo on the right, the ax handle is 3 feet long, so the trench in this photo was about 2 feet below the drain pipe.
I had dug the dirt away from the drain pipe on the left side of the photo so that the pipe could be easily installed without running up against a dirt wall. This proved useful when standing in the trench.
At this time, I had figured the trench would hold about 75 gallons of water if I didn’t fill it in.
I had performed a test previously and learned that drainage gravel would take up about 66% of the available space. With this information my trench would only hold about 24 gallons of water. A huge difference when considering my original goal. Plus, gravel has a cost to buy, a delivery cost usually ~ $50 plus a minimum delivery volume. Plus, moving all the material is a lot of work and I was getting tired from digging up that massive tree stump.
Researching trench fill options
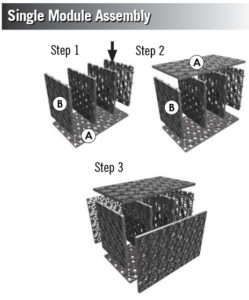
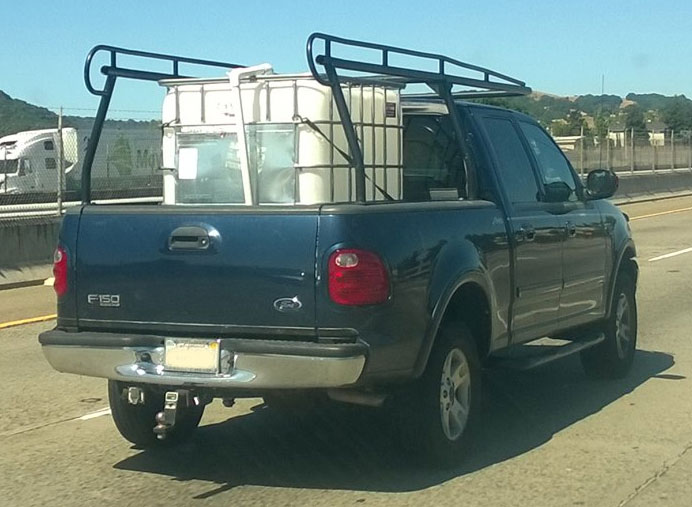
Aquablox Large from Atlantis
Perhaps this would become a good time to research other options, such as “Aquascapes’ AquaBlox modular system, also known as the D-Raintank by Atlantis. It uses an underground storage and infiltration technique, resulting in clean water that can be reused or allowed to re-enter the natural water system. The light weight modular design of the AquaBlox make installation quicker, safer and cheaper than traditional options.”
The AquaBlox sizing of 26.5″ long, 16″ wide and 17.5″ tall meant I needed to change the size of my trench. I knew I would use 2 of these sections, so my trench needed to rectangular, at least 53″ long, 16″ wide and 17.5″ tall. But I also needed an extra 3″ all the way around to take into account sand and geotextile fabric. So I would need to make my trench 6″ wider and at least 3″ deeper.
Dimensions would end up being 59″ long, 22″ wide, 22″ deep. The extra half foot on the width and 3″ on the bottom would be filled in by sand/gravel per installation instructions. The voided space in the trench would hold about 64 gallons of water, a big step up from the 24 gallons of water available by using drainage gravel.
New, wider trench dug for 2 large Aquablox.
Real world testing
Rainy season was upon us and figured setting up the trench without the Aquablox installed would be a great way to test how the trench would function. After the first rain storm, the trench had about a foot of water in the bottom. Nothing overflowed to the street. I learned that the 0.3″ of rain that fell on my roof, all of it went into the ground. This is exactly what I wanted to occur.
Testing the infiltration trench with a 0.3″ rain storm. Worked flawlessly.
It was the second rain storm that I learned I would need to drill more holes into the bottom of the perforated pipe. More water flowed to the street than into the trench. This was because only 1 set of holes were facing down.
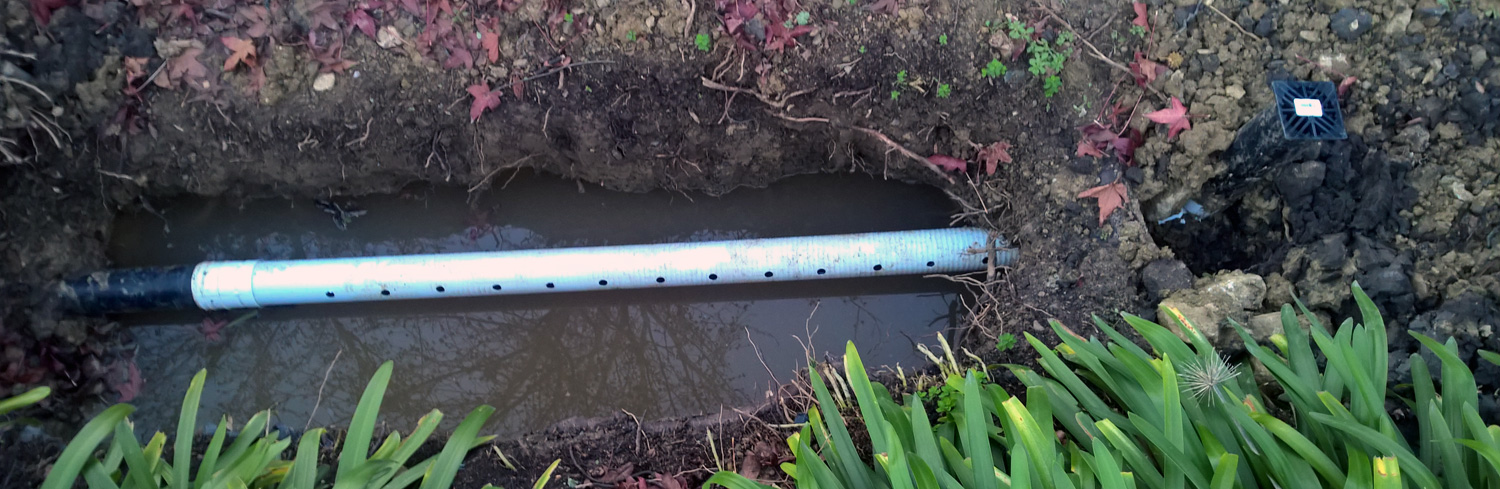
Second storm filled trench and overflowed to street.
It took about 3 days for the water level to drop 6″. If the trench was 18″ deep then it would take 9 days without another storm for the infiltration trench to dry out. This was acceptable to me as I want water to percolate into the ground.
Now that I had my trench dug and I had seen how it would perform I was ready to install 2 large Aquablox and get this project finished.
Leave a Reply